


"Blue Freak Machine"
I've tried some photoshop to my primary image, as an experiment.
Just made a picture of the progress..
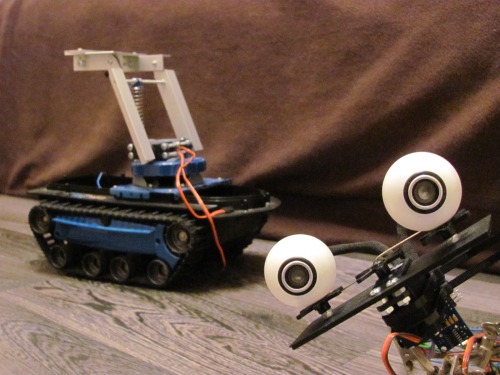
I had the strange feeling being watched.. weird..
From now i will add the lastest updates at the bottom of this page.
**************************************************************************
As Yellow freak machine is as good as finished, it’s time to start with another robot.
It will be a kind of Johnny 5 someway, but totally my own version.
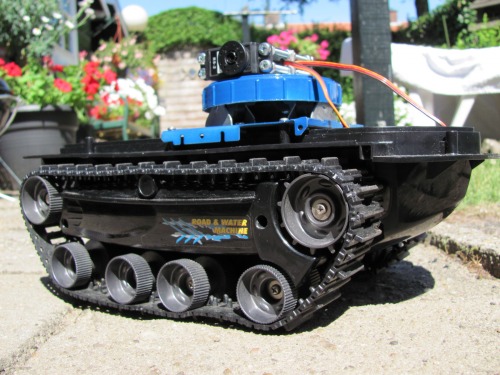
So I needed some nice tracks.. and bought a 2nd hand R/C toy:
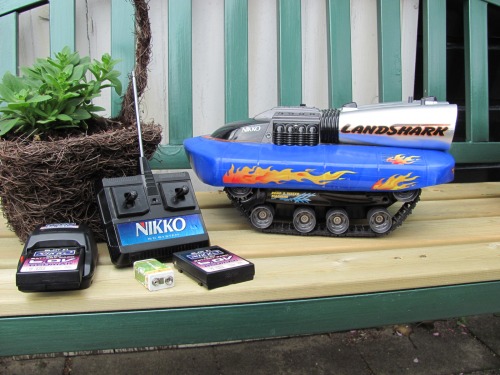
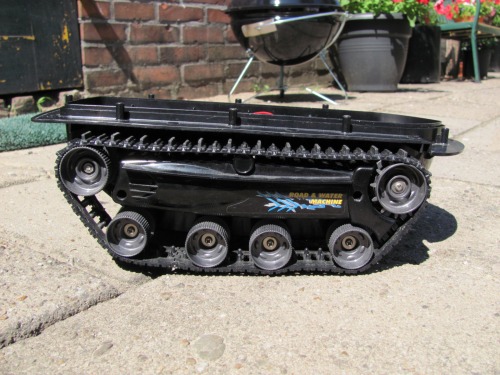
After removing all unnecessary parts I’ve got a nice tracked base for my robot.
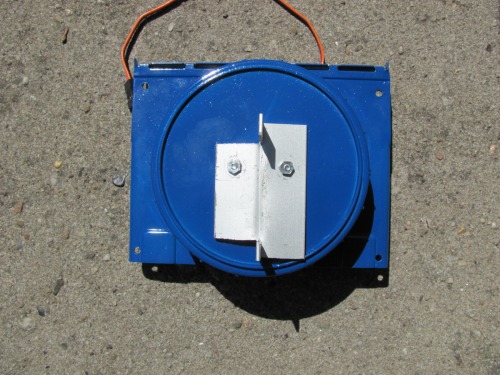
As I want the robot be able to turn its complete torso left and right, and want to have some bearing in the construction so I made this: I’ve taken some metal part out of a DVD-burner and, after some measurements, drilled some holes in it, bend it and sprayed it nice blue:

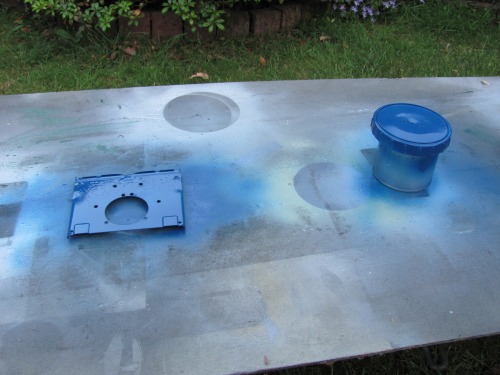
I also found some nice lid that fits nice over it and sprayed it also blue.
After mounting the wheels and servo it looks like this:
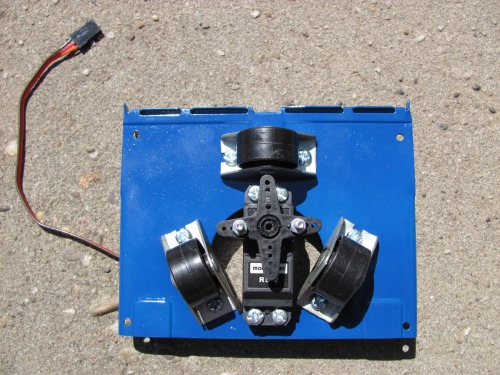
So i mounted the lid, and made a servo bracket out of aluminum.
…Then the Servos are screwed into place. Note that I’ve modified 1 servo so that it turns in the opposite direction of the other servo.
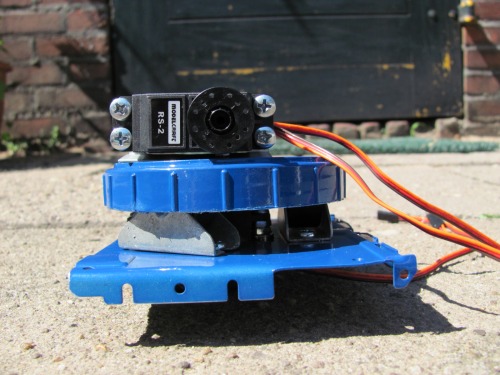

I realy like how it’s looks now, and I couldn’t wait to mount it to the base:
I thought the body color didn’t completely match the top so sprayed something more blue:
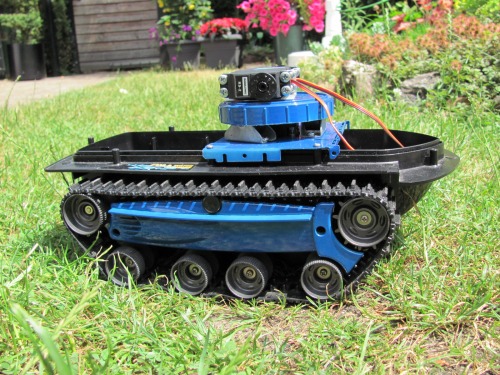
Looks nice! Don’t you think?
Top view: (that blue piece of tape Marks the modified servo ;-)
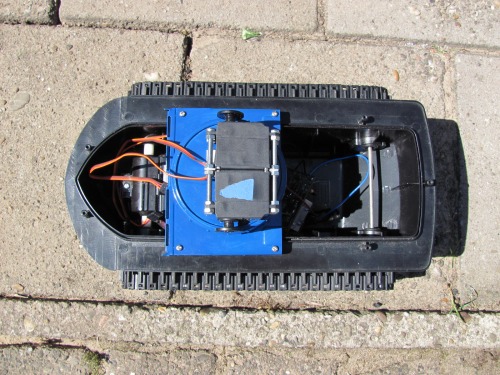
Look those big nice tracks! They are quite fast.. so I will need to PWM them.
This is what i got now, and it will be continued..
Update!
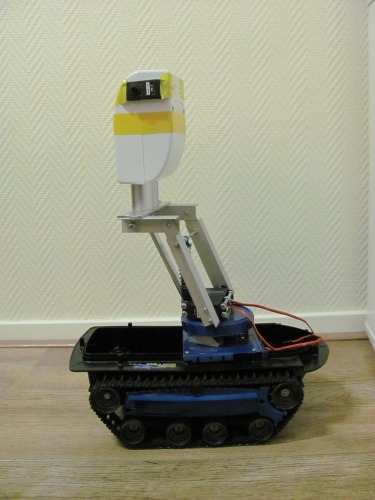
I've made an aluminum construction to lift the body up and down. when i tested it the first time it wasn't strong enough to lift all those servos weight. After some thinking I've found a nice blue suspension spring on a old rc car, a perfect spring for my robot! now it works really nice :-)
See the video..
Update!
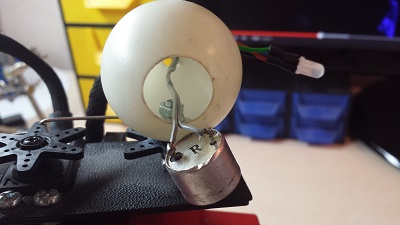
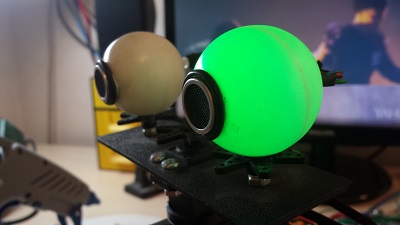
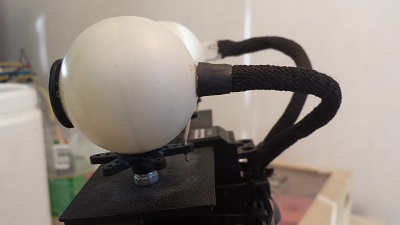
Now he has become little more shape with some new body parts. They are 2 plastic caps normally used for cable TV connection onto the wall. I taped them together to show you how it will look like. Later I'll put his head on it ..
Update!
After long time finally an update. One of the bigger problems of this build was that the drive motors were rediculous fast. Way to fast actually for an autonomous robot to drive around the room.
Then in the microbot challenge I did win 2 very nice faulhaber gearmotors (big thanks to lmr!) and I decided (after some other ideas I had) to put these In this robot.
And here's a pic showing the faulhaber gearmotors installed:
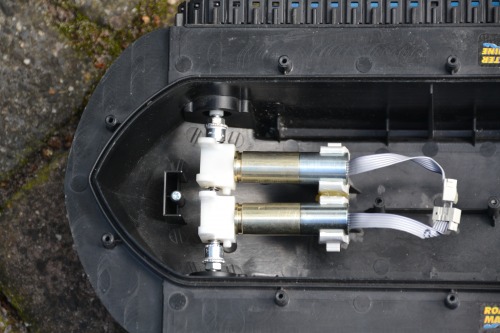
I did use these propellor adapters from ebay to attach the toys driveshaft to the 3mm gearmotor shaft.
that's it for now..
Update!


- Actuators / output devices: 12 Servos, the 2 original motors
- CPU: Microchip PIC.
- Power source: 7.2 V 3000 mAh racing pack
- Programming language: Picbasic Pro
- Sensors / input devices: Parralax Ultrasonic Sensor
- Target environment: indoor and outdoor