


Blinky
10/19/08
I got tired of waiting for my Arduino to "process" and ship. It's been almost two weeks (apparently it's getting here tomorrow), and I'm just too damn anxious. So I went down to Radio Shack and took it upon myself to build a robot purely from component parts.
I found the BeetleBot tutorial on Instructables that I'm sure everyone is familiar with and I really liked the design, but I didn't like the fact that it uses a wiring trick for its brain as opposed to circuit components. So I began experimenting with NPN and PNP transistors and figured out a combination of parts that would make the robot react to SPDT switches in exactly the same way, only without the "third wire" and half voltage trick. I'm not sure this is the simplest or most efficient way to do it, but it works, and figuring out how to get it to work at all has been a beneficial learning experience (that was kind of the point of taking on this project in the first place, so yay).
In addition to 2 transistors, 2 resistors, and 1 diode for each motor, I wanted my bot to have blinking LED's for eyes. Originally I wanted to have the lights on while driving, and then blink rapidly when hitting a wall via a 555 timer IC. This proved tricky, and I eventually just gave up on getting the eyes to do exactly what I want. So, the 555 setup is just linked directly to the power source, and the brightness and blinkiness of the "eyes" correspond to how fast the wheels are turning and how much they're encountering resistance from tough terrain. Although this is a bug and not a feature, I'm actually happy with that outcome. I don't yet know enough about the nature of electricity to fully understand why it's happening, but this is my first robot, so I think a sloppy design is excusable.
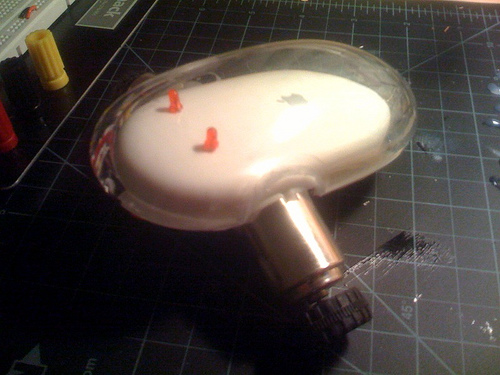
Anyway, the project is only on a breadboard right now. It's taken me a good chunk of the weekend to get it working since I'm new to electronics, but over the next few days I'll be soldering it onto a Radio Shack PCB and putting it into an old Apple Pro Mouse housing. I'm hoping it'll look pretty cool when it's done. :D
Sorry that everything in the photo is messy and hard to see. Also, those green wires are connected to the SPDT switches, which got cut off in the photo.
10/20/08
I put in Blinky's "eyes." :)
10/22/08
Made some more progress today. First off, I soldered my first circuit board! It's really exciting for me because before today I've only made circuits on a breadboard, and it took a lot of troubleshooting to get this thing working with all its short circuits (I'm still getting the feel of soldering). Anyway, here's the 555 astable setup that's going to blink the LED's:

Unfortunately the motors don't fit inside the body, so I had to mount them sticking out and Blinky doesn't have the same sleek look that he does in the above photo.
If he only had a brain ...
The next step is soldering the transistors, diodes, and resistors that will make up his very basic "brain."
10/27/08
Well, soldering the brain went so-so. It was a little better than my first attempt, anyway.

But putting the robot itself together is another story. I ran into an unexpected amount of problems with connecting things, fitting things, wiring things ...

If I learned nothing else from this project, it's this: plan ahead.
When nothing was fitting or working, I resorted to the "ghetto" method of just doing it however I could. Poor Ghetto Blinky has wires stuffed wherever they could fit, his switch is taped to his side, and he wears his batteries like a backpack. It's a sad, sad day in building robots.

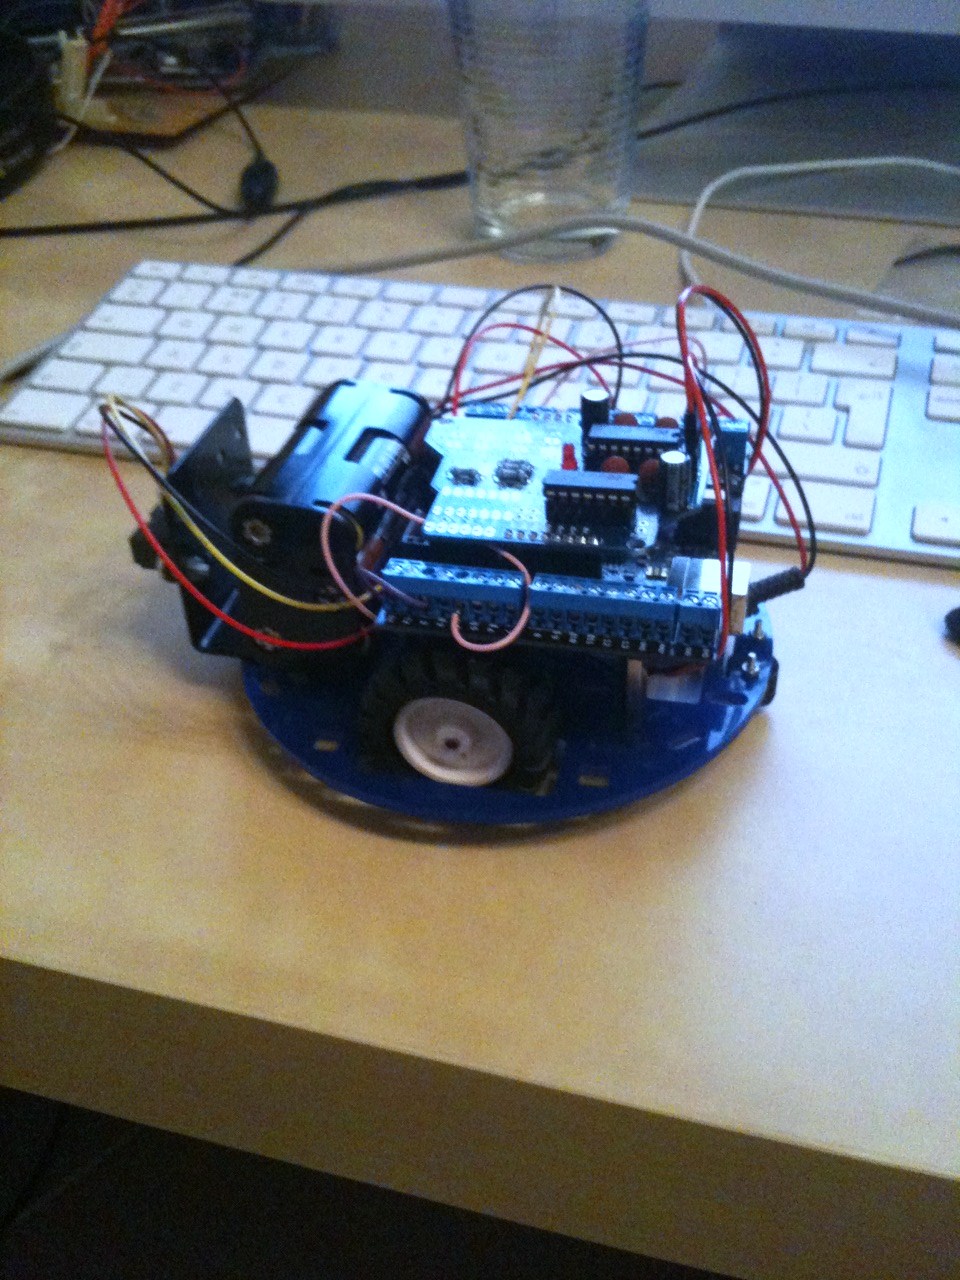
It barely works, and only on flat, hard floors. The wheels had to be removed since the motors didn't have enough torque. Oh well, though. This project was purely for me to learn about electronics, and I certainly accomplished that while at the same time learning first-hand many of the "don'ts" in robot building. Despite the fact that this project turned out nothing like I had hoped, I calling it done, and getting on with my next project: a robot with a "real" brain! AKA, Arduino.
Feels walls with paperclip whiskers
- Actuators / output devices: Radio Shack 1.5-3V motors
- CPU: Component parts including a 555 IC
- Power source: 3 AAA
- Sensors / input devices: Whiskers / switches