


Birthdaybot 7
"What kind of party do you want to have my son ?" asked a mother her son.
"A robot party!" answered the soon 7 year old boy.
A robot party without a real robot is not a robot party so the boy's father started to think about what that robot should be. First in his mind was this one but then the idea of a wooden desktop robot came to his mind.
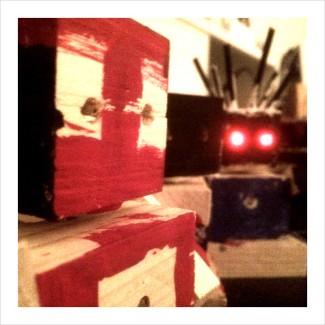
After a sunday of cutting wood and soldering electronics and programming the first prototype was here. Birthdaybot 7.
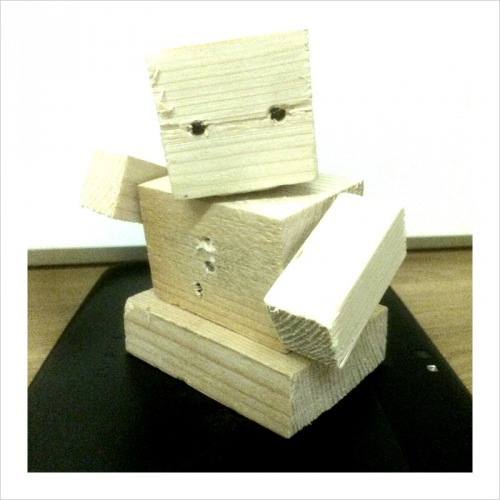
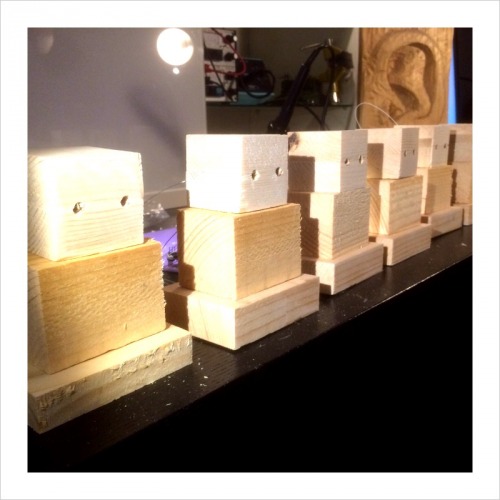
The Mechanics
All wood. Head made of 2.7cm x 2.7cm roof lath. Body from a 6cm x 6cm lath. Base from a 7cm x 2.7cm.
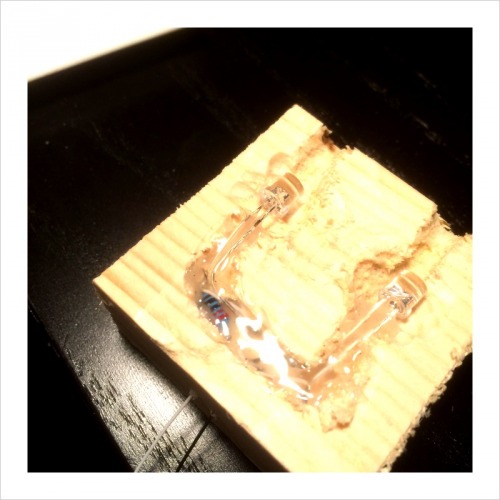
Headmount made with polymorph directly under the head with the servo adapter embedded into the polymorph.
The Behaviors
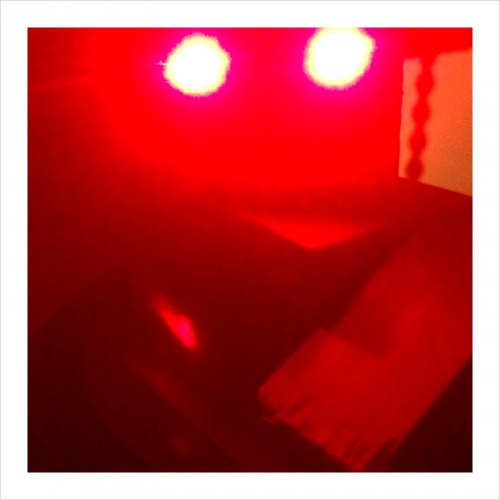
The robot stands still. If the ambient lights goes off, the robot turns on the lights in his eyes and becomes a nightlight.
The robot moves the head if it senses some vibration - like a tip on his head or a punch on the desktop.
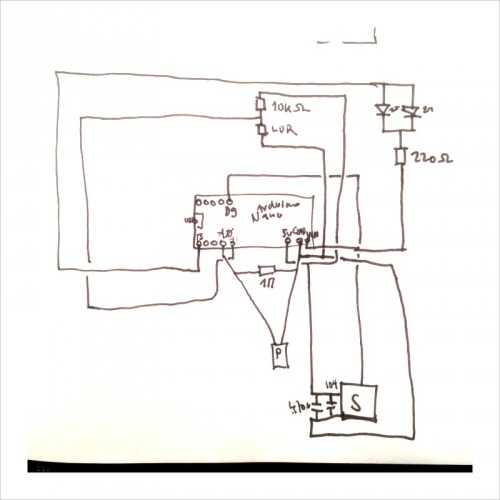
The Sensors
A LDR in the belly to measure the ambient light. A piezo resistor in the base plate to measure vibration.
The Actor
A small servo with metal gears.
The Electronics

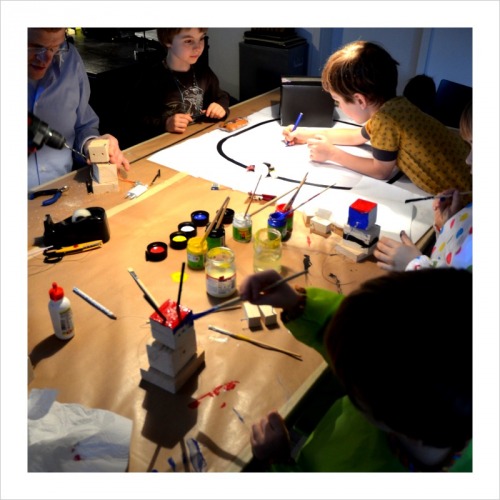
The Robot Party
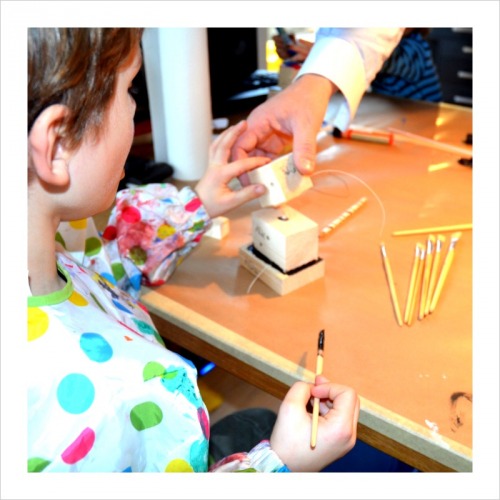
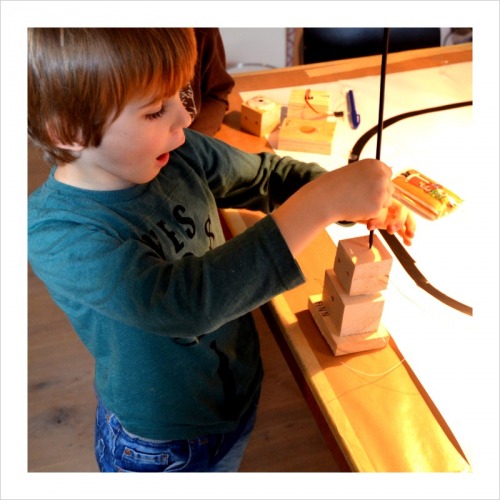
Every kid got a Birthdaybot 7 and could paint it and add a crazy wig. Further they had to
test each behavior of the robot.

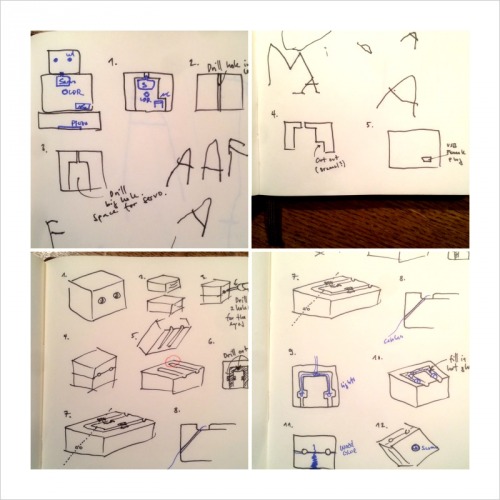
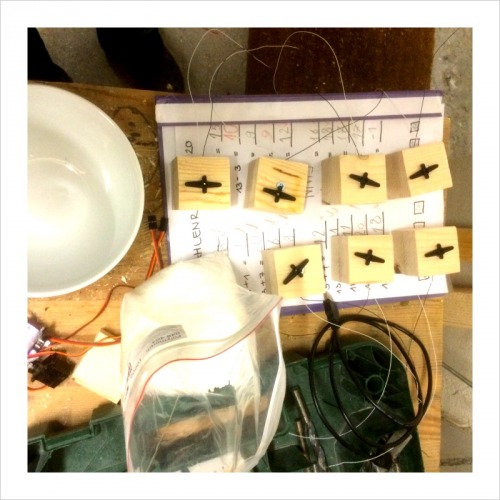
The Preparation (aka the father's work)
7 parts of everything. 7 heads, rumps, bases. 7 servo breakout boards with some caps. 7 pro-micro servos. 7 arduino nano. 7 USB cables. 7 power wall adapters. 14 arms.

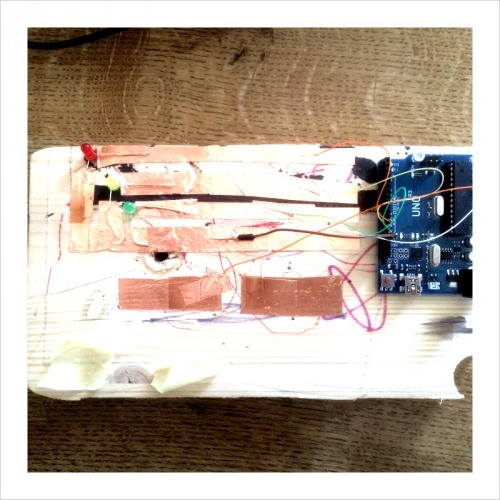
Testing the Behaviors
To make shure the kids have not messed up the electronics - but more important to give the kids an idea of what the sensors and the actor is all about - it was possible to test each behavior.
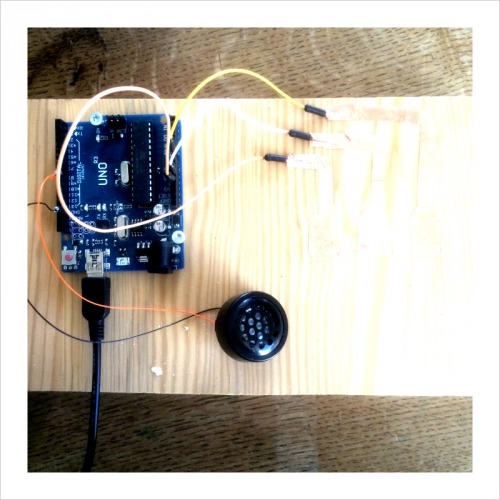
This test here is to check the piezo. If the vibration is high enough, the green light goes on. If no vibration is sensed, the red light is on. If some small vibration is sensed, the yellow light goes on.
This test is to verify the LDR. The analog input from the LDR is mirrored to a audio noise. So the kids can play with the flashlight and make crazy tunes.
Further Readings
- Smooth Head Rotation. How to rotate a head naturally.
- Knock. This tutorial shows you how to use a Piezo element to detect vibration, in this case, a knock on a door, table, or other solid surface.
- Simple Light Reading With LDR + Arduino. The LDR / Photo-resistor is basically a very simple light sensor that changes its resistance with light, lowering with more light.
Thank's To
Matthias from findling for his support on the wood work.
Nightlight, Rotates Head, Blinks with Eyes, Children Fun