


BigTrak Robot on the cheap!
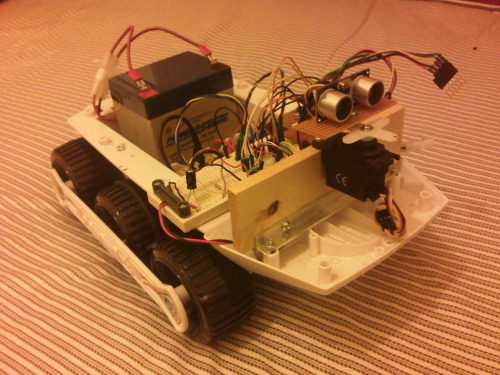
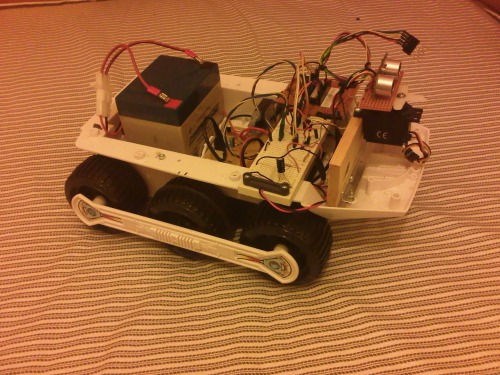
My first attempt at building an autonomous robot on a tight budget. Having seen the prices of robot chassis with motors and gearboxes, and knowing that I needed quite a large base to work from, I decided the cheapest way to get started would be with a second-hand toy.
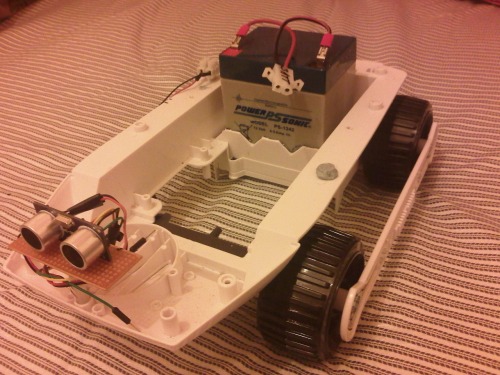
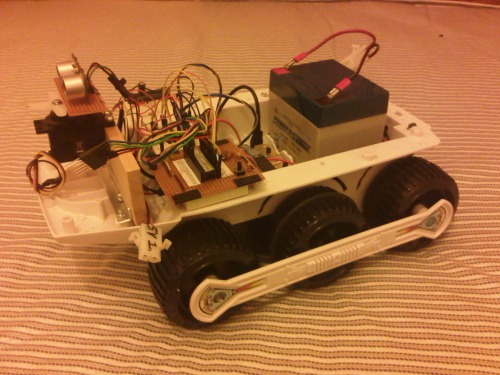
I removed the gearbox and main PCB, then cut the battery compartment to fit my 12V SLA battery. I may have to use a different battery, as this one is very heavy, and 12V is overkill for what I need, but it will do for now. I have several old cordless drills and batteries, so I may dismantle the batteries and make up a couple of battery packs using the sub-C cells inside. I reckon 8.4V is a decent compromise between weight/size and having enough voltage headroom for the 7805 5V voltage regulator.
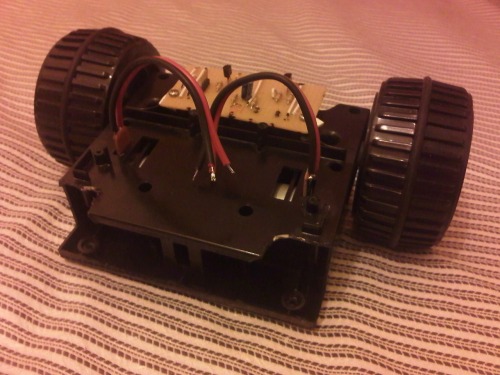
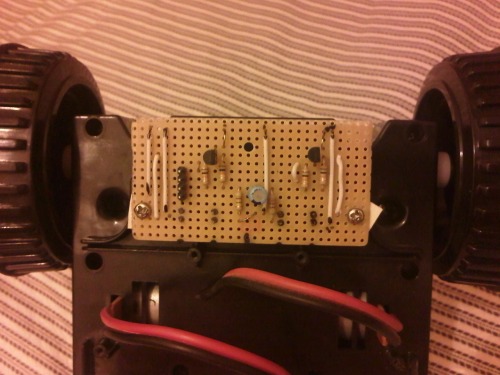
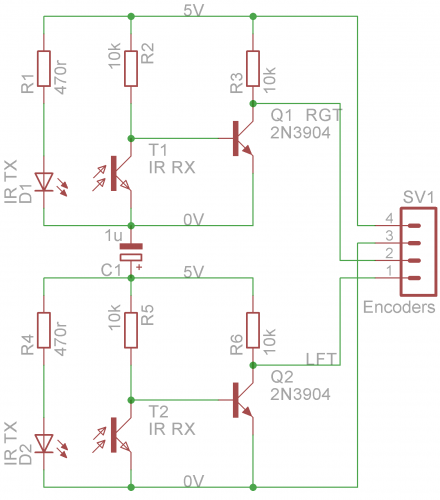
As I had removed the original circuit board, I had to make my own board for the wheel encoders. The circuit is very simple, the hardest part was aligning the IR LED and IR photodiodes either side of the slotted gears. A little trial and error, and a shim of plastic sorted that.
I have made another circuit board for the L293D H-bridge and 5V power supply and fitted that. Currently I am using a DIY 'Arduino-on-veroboard' and proto-board to control the motors as I work out the software.
As for cost so far, the BigTrak cost £13 in a second-hand shop, the battery and servo were about £5 each and the rest was just things I found in my junk box, but I would guess another £10-£15 worth of bits and bobs.
I am currently running various programs to test things like acceleration, deceleration, turning by a specified angle so that I can plug that data into the final motor driver program. Once I'm satisfied with that, I will start on the main behaviour control program, the aim being for the robot to wander around, possibly building a rudimentary map of obstacles until the battery voltage drops below a certain point at which time it searches for its charging point.
At least, this is the plan at the moment! Thanks for taking a look.
- CPU: Atmel ATMEGA 328P with Arduino bootloader, 16MHz, Microchip PIC18F4550 (to come)
- Power source: Currently 12V 4.2Ah SLA
- Programming language: Arduino C++, Microchip C
- Sensors / input devices: HC-SR04 Ultrasonic distance sensor, DIY IR obstacle sensors
- Target environment: indoor