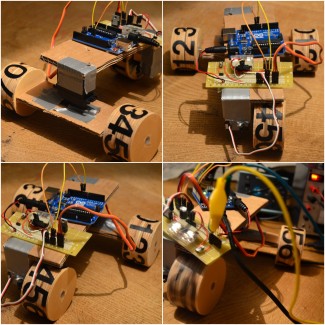
Berliner
## Update: Added some pictures from the mechanical prototype ##
This is the Berliner. A small Start Here 2.0 robot that is intended to live in Berlin at the Campus Party's LMR place and make fun with the geeks and nerds out there.
The Making-Of
Here some first impressions.
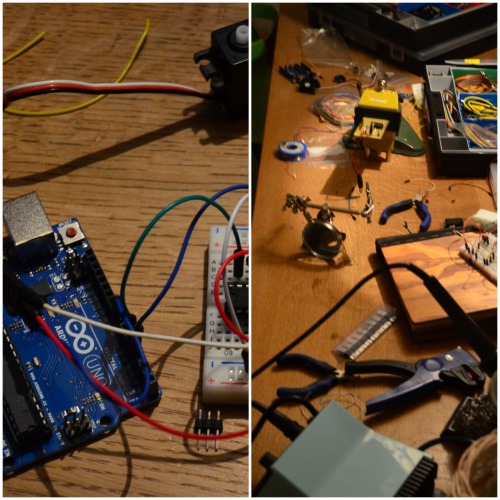
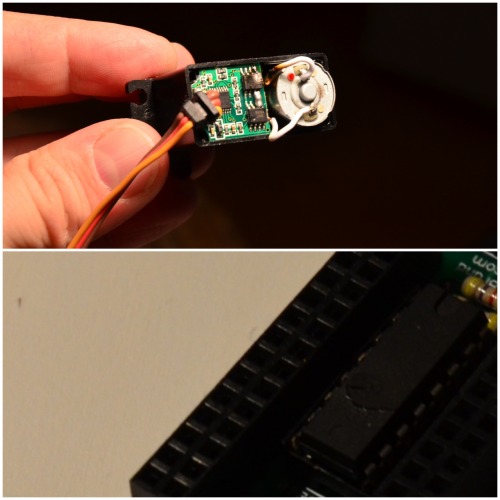
Yesterday I managed to let a little 1000mAh 7.4V LiPo first blew up the servo and then the H-bridge. White smoke.
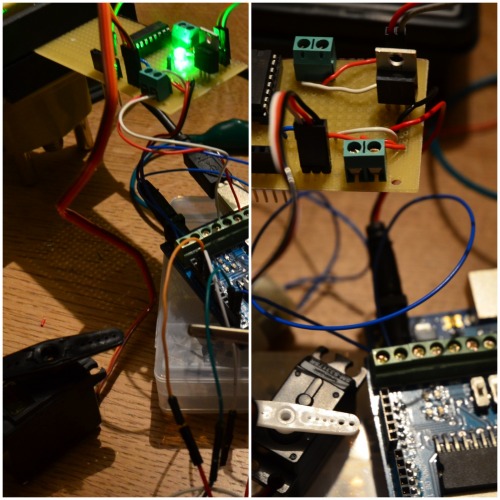
So before continuing this robot a electricity tableau with a fuse and a voltage regulator had to be soldered.
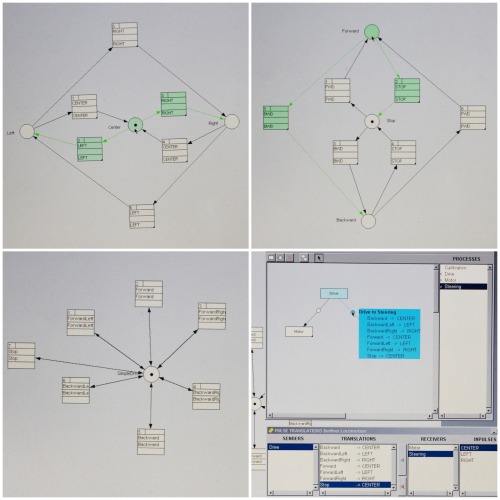
Then I went on to outline the control software. You see the motor and the steering process. And the control with the event-mappings. There is a finite state machine for the motor and the steering.
The Berliner makes a forward left turn when the motor is in state forward and the steering is in state left and so forth.
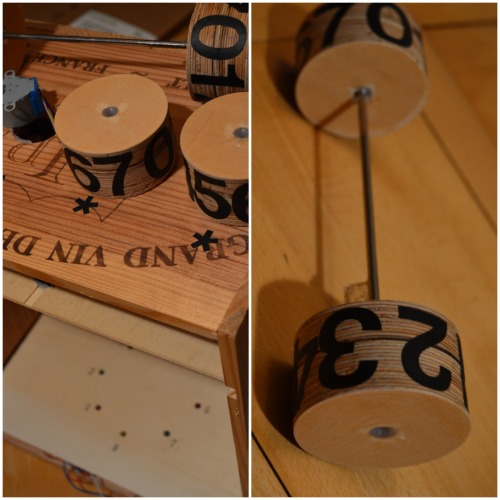
The wheels are taken from the Chaot and reused. One large axle for the front wheels.
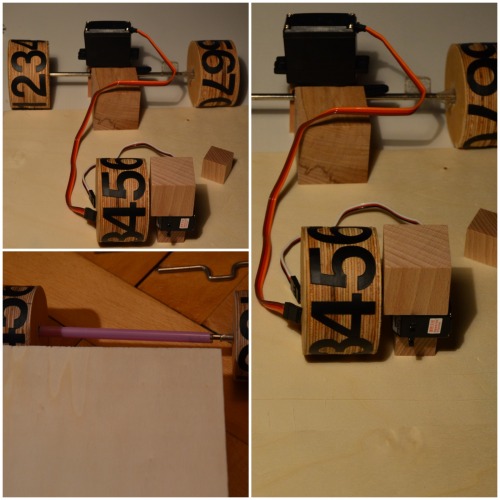
One servo for the steering and a continuous servo for the forward and backward move.
One possible approach to get to the final solution is via prototype. Here is this robot as a cardboard prototype.
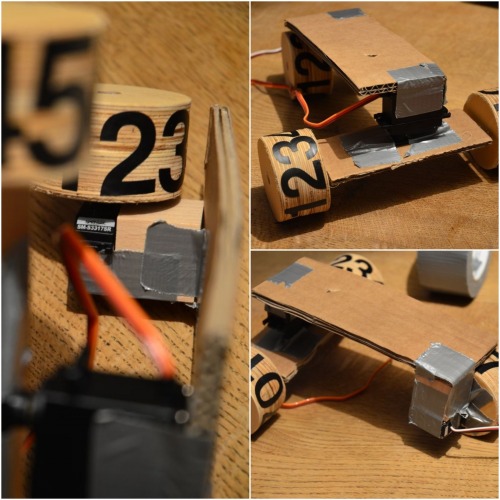
The electronics of the steering and thrust are added to the prototype.
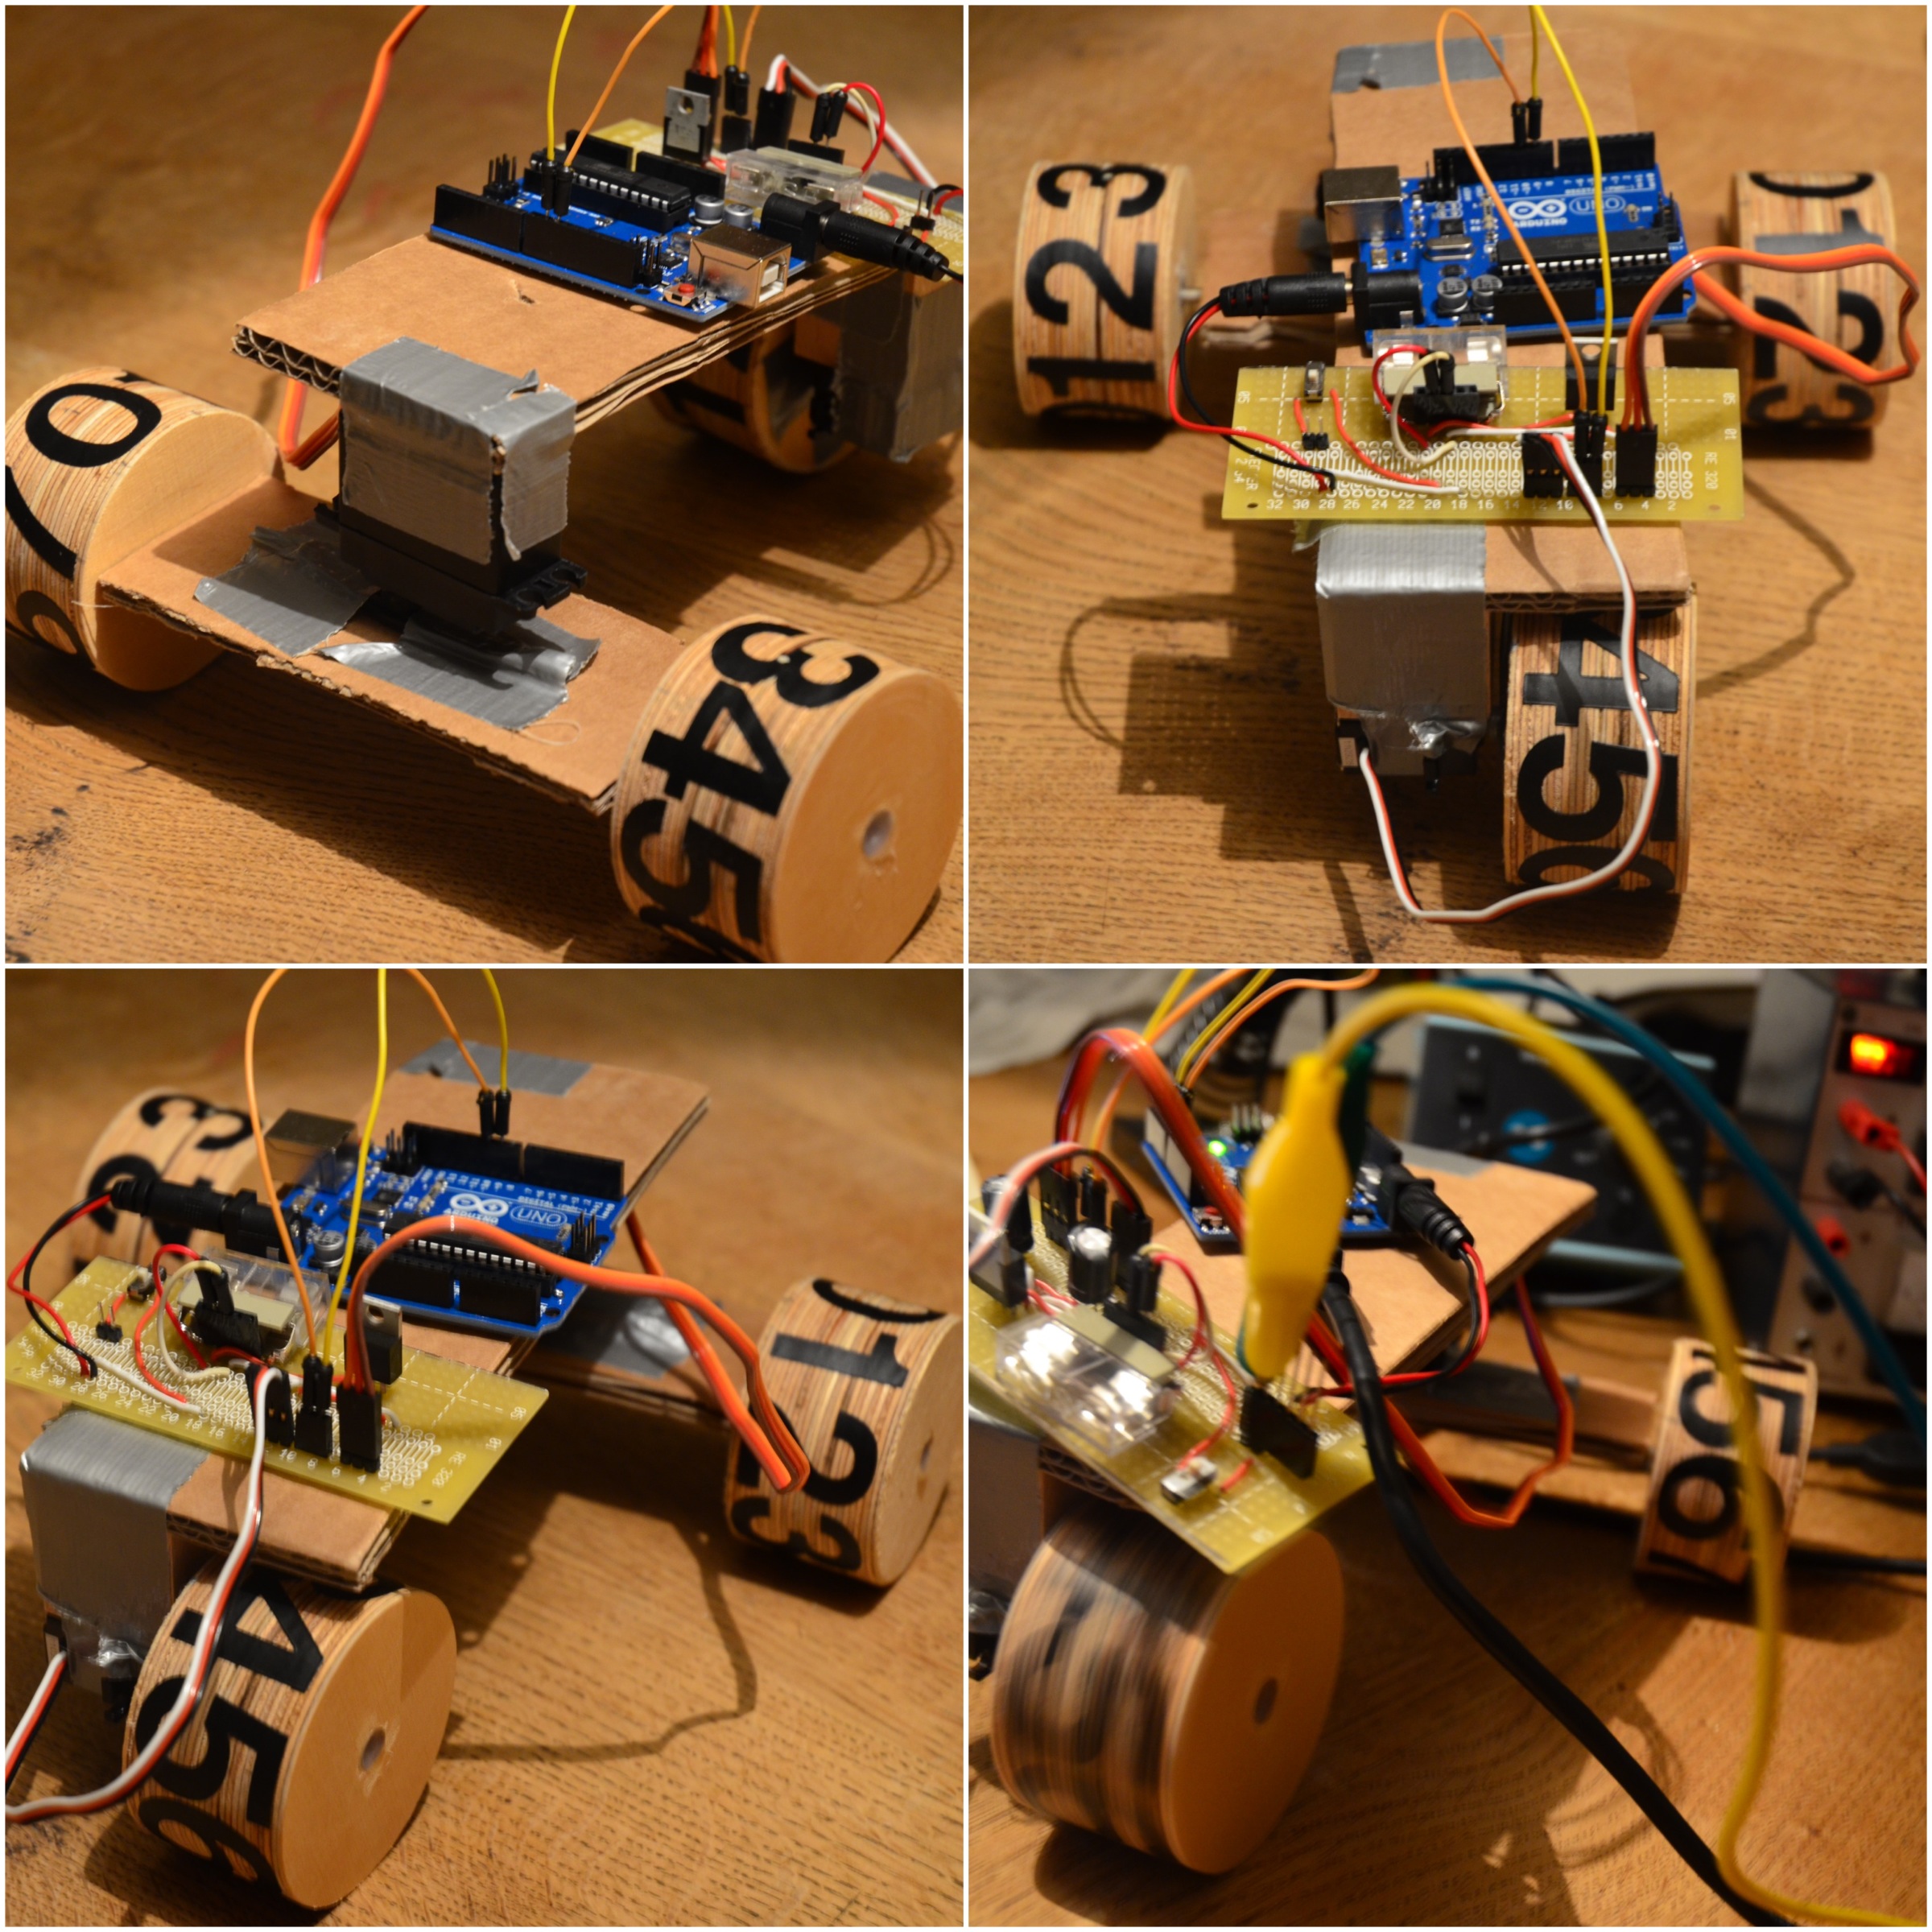
More to come. Mechanics, Sensorix, Software and Bling-Bling.
Further Readings
NEW V3 Arduino Motor controller Shield L298N 2 motors
"The Arduino Motor controller Shield is based on L298N chipset, which is a high voltage (46V max), high current (2A per phrase) dual full-bridge driver, that can control two motors simultaneously."
Selecting the proper battery for your robot
"Motors are much more suited to AA, AAA, D or C or even battery packs that are manufactured to a specific voltage and configuration"
A Bit About Batteries
"Ampere-hour (Ah): This measures the total amount of energy available from a battery before its charge is used up. In small batteries this is generally given in thousandths of an amp. (i.e. milliampere-hours or mAh)"
The CIP Method
Component- and Model-Based Construction of Embedded Systems
Appendix A: Motor Shield Settings
Motor voltage is 12V-16V
This case can only be extended through the motor drive board and the VEX GND terminals to the two power supply to the motor, motor-driven expansion of the board at this time 5V logic voltage converter circuit can work properly. In this case the motor-driven expansion board is set to:
- VLO:ON,Board need to motor drive circuit is extended
- VLC:OFF,Not with Arduino's 5V pin connection, security isolation
- VM:VEX, Extended through the motor drive board VEX / GND terminal for the motor to provide drive voltage
These settings because VLC has not Arduino's 5V pin expansion board with the motor connected 5V logic voltage, so we need any additional power supply for the Arduino (via USB cable or external power supply), mainly for security isolation Consideration, especially in the VEX relatively high voltage on the case.
Live at Campus Party, Make Fun with People
- Actuators / output devices: GM9 143:1 gear motor, servo, Continuous rotation servo
- CPU: Arduino Uno R3
- Power source: 7.4V 1100mAh LiPo
- Programming language: C
- Sensors / input devices: SRF04
- Target environment: indoor


