


Beetleduino
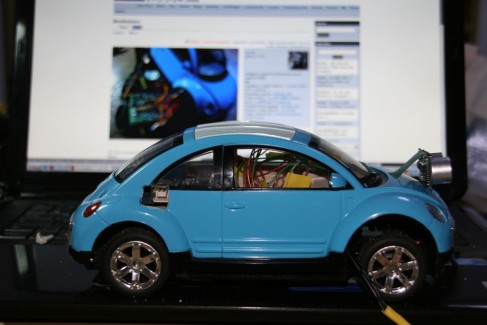
Ok, here I am and introduce you the Beetleduino Wall Racer.
Components:
- 1x RC toy car
- 1x Arduino Duemilanove
- 2x SR-04 ultra sound sensor
- some wire
- 1-2x additional battery(s)
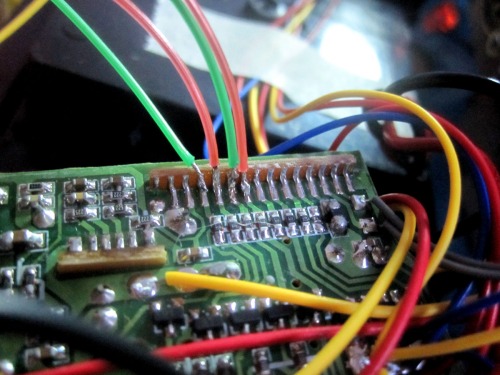
There is not much to see yet but let me tell you some details. I soldered wires on each output of the controller on the receiver board.
In the video (both videos are the same. Youku is just for the Chinese community) I just uploaded a test sketch to the Arduino to go throught all the pins and set them to HIGH for 1 second ;-) LED is just for debugging to see if the pin is doing something.
I am not going to go Fritsl's way (https://www.robotshop.com/letsmakerobots/node/928) since I had the idea to keep the receiver board inside the car that i still can drive the car by myself when the Arduino is offline.
I got the following functions:
- forward
- backward
- left
- right
- left lights
- right lights
- all lights
- output to speaker
Then I still have to figure out some more since the oscilloscope showed me an audio signal when the speaker was activated to make sound and according to the oscilloscope pin 3 is Start Engine but connected with an output it runs frward....strange...
The battery pack is just 4.8 V NiMH and I am going to add one or two more batteries for more reliability and speed (thanks for this idea Fritsl) ;-)
I also want to try to hide the two ultra sound sensors for front and right inside the chassis to protect it against crashes.
Sorry but pictures of the car before hacking it will come later. Also I have to add the link to the video later since the upload in China is not that fast ;-)
And yessss, I got the video editing done. Now the first video with the real LMR logo, see it first on Youku since the upload to Youtube takes a lifetime ;-)
ToDo:
- find a way to disconnect/protect the Arduino when using the remote control.
- make use of the speaker and the includes sound module of the car
- put the Arduino into the chassis -> DONE
- install the SR-04's in the chassis -> ALMOST DONE
- install a camera on a servo inside the car to look at the right when overtake another car (ok, Fritsl suggested to wear video glasses (https://www.robotshop.com/letsmakerobots/node/928#comment-66250) and turn the camera when turning the head but I think this is another stage and level of development.)
UPDATE June 1:
Above #3 & 4 done or almost done.
Have been busy the last couple of days buuuut now some news.
Openings made for the front sensor (into the hood....mean trunk) and the USB plug (see picture)
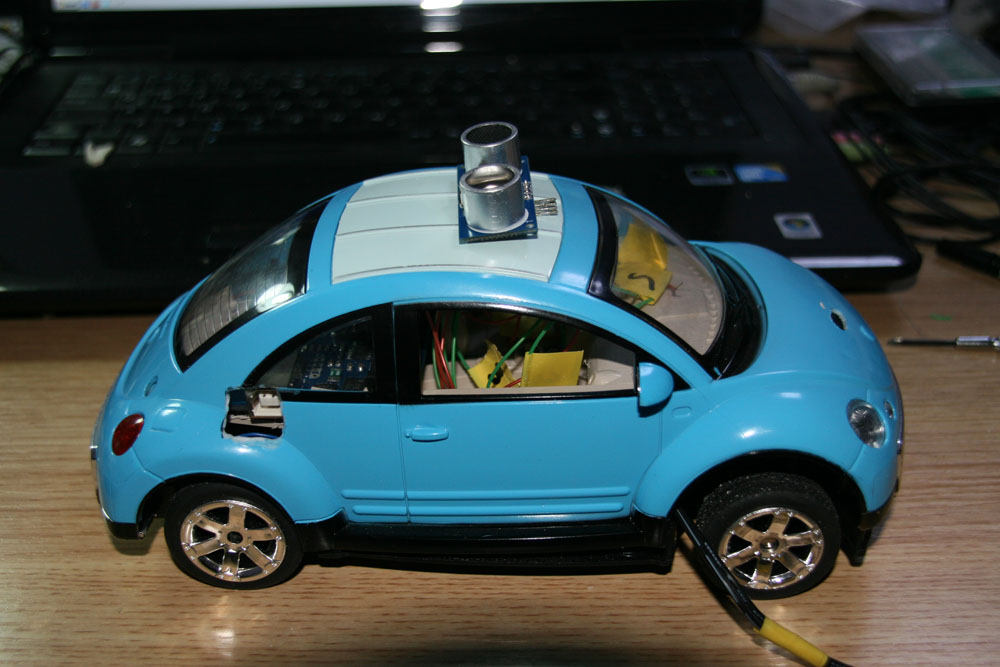
See the hole in the trunk cover (front part ;-) )
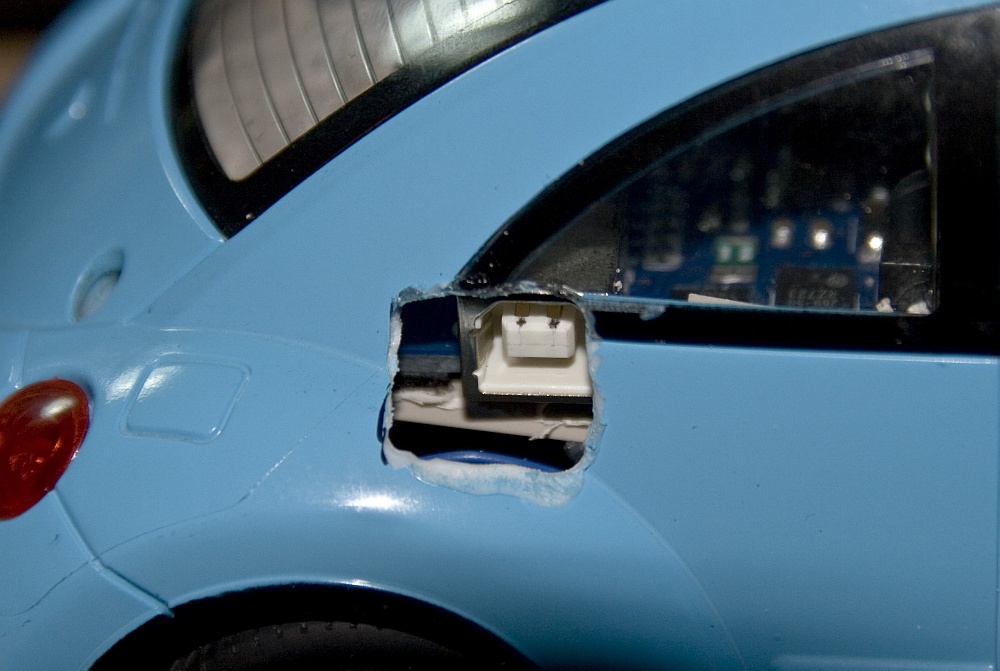
Here will no fuel coming in but data for the brain to hopefully move this little car around with ease....
UPDATE June 2 (1:45am):
Removed the already soldered wires from the receiver board to the Arduino...have to replace them with more flexible ones.
Got some polymorph melted to build the holder for the front sensor and a roof luggage rack to hide two more batteries...pics are done by tomorrow...why??? ...just watch the time of this update ;-)
UPDATE June 3 (12:10am):
Ok, before I start to program this little guy I just want to keep you up to date.
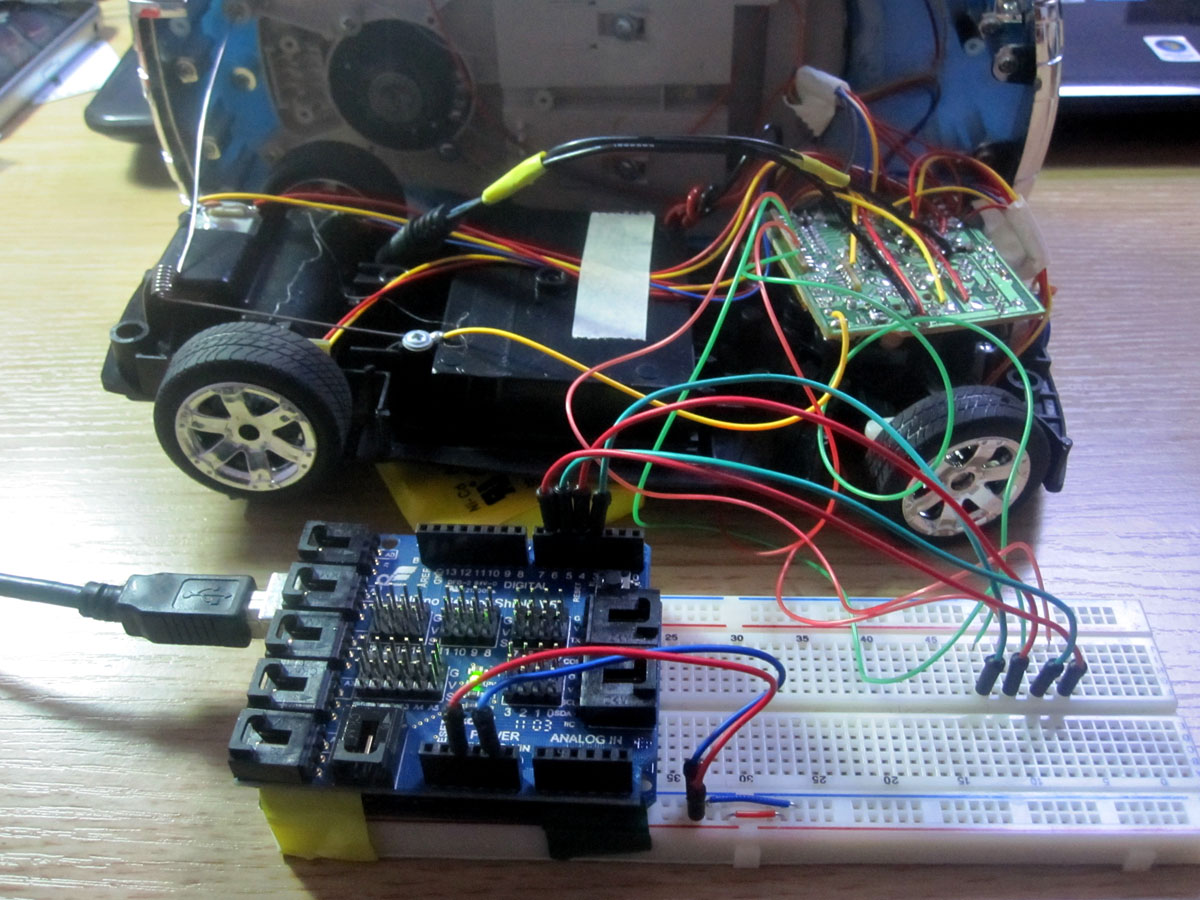
Today all the wires are connected and labeled (re-soldered some new and more flexible wires to the receiver board), the chassis is closed and the MC is ready to receive the first real code. First need to check if all outputs are doing the right thing and then will adjust the distance sensors.
Some more pictures:
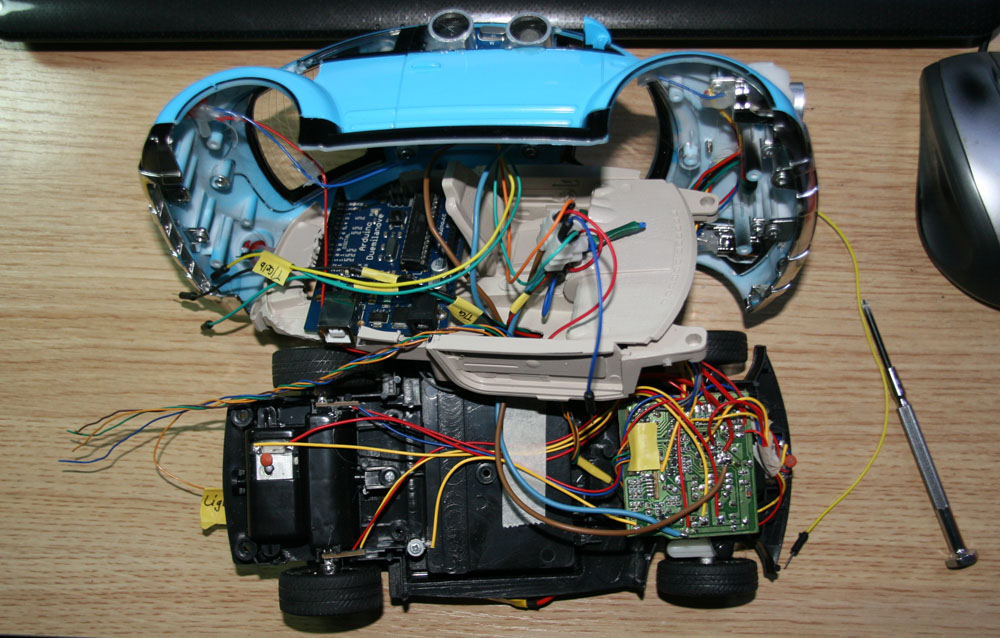
Here you still can see his guts and a lot of wires (yes Fritsl, i think with just the relays it would be not such a mess ;-) but I am still able to drive it by remote control)
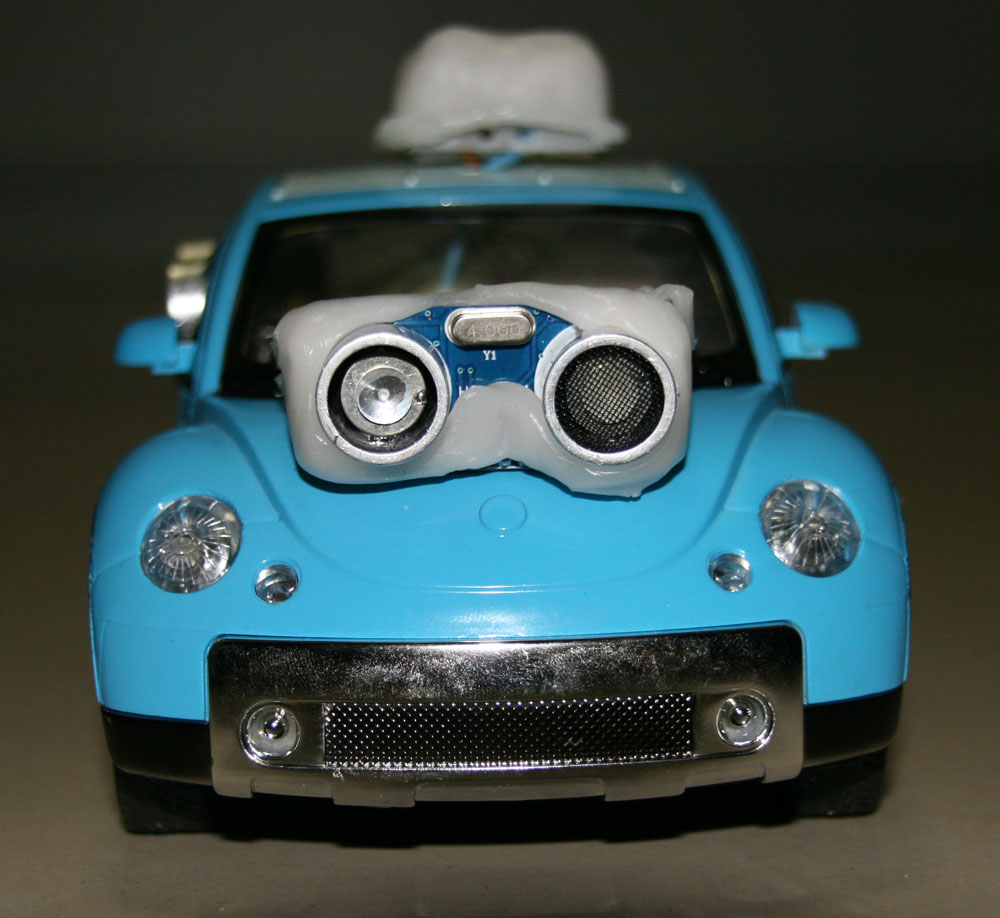
VW Beetleduino front sight. Do you see the polymorph holder for the sensor? I really want to make a new one...but later...
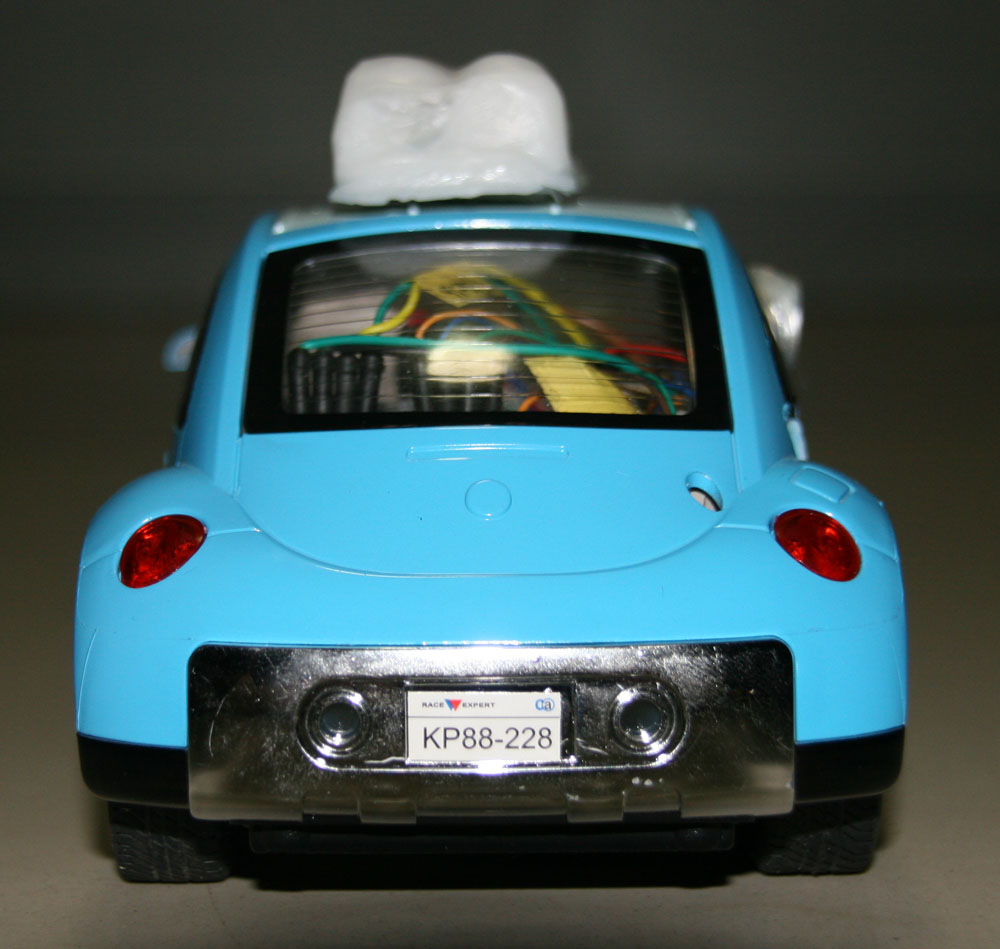
Sexy butt
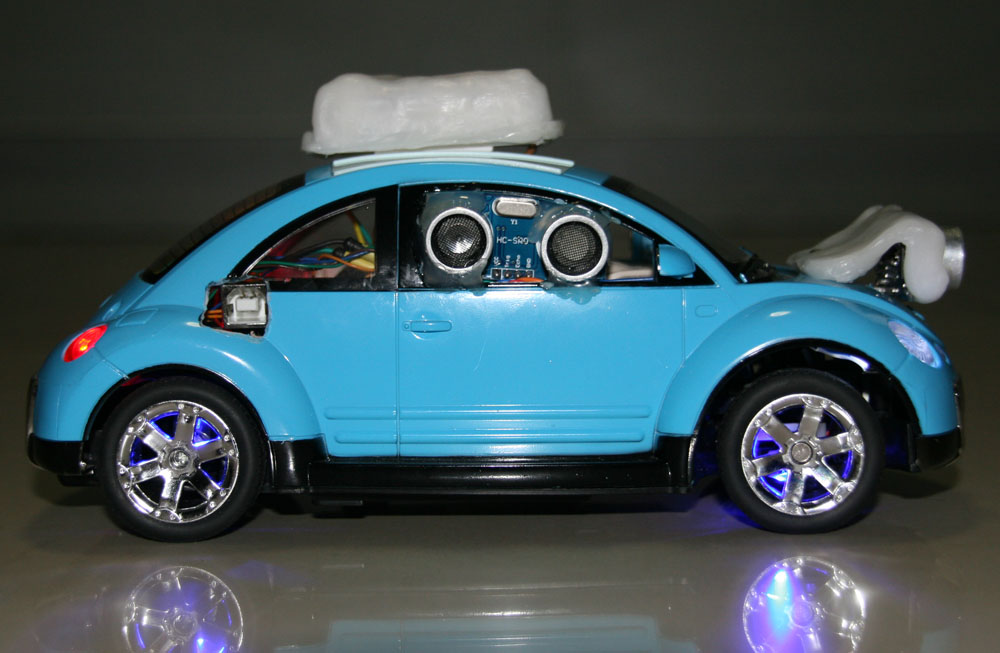
Does not look so bad uh?
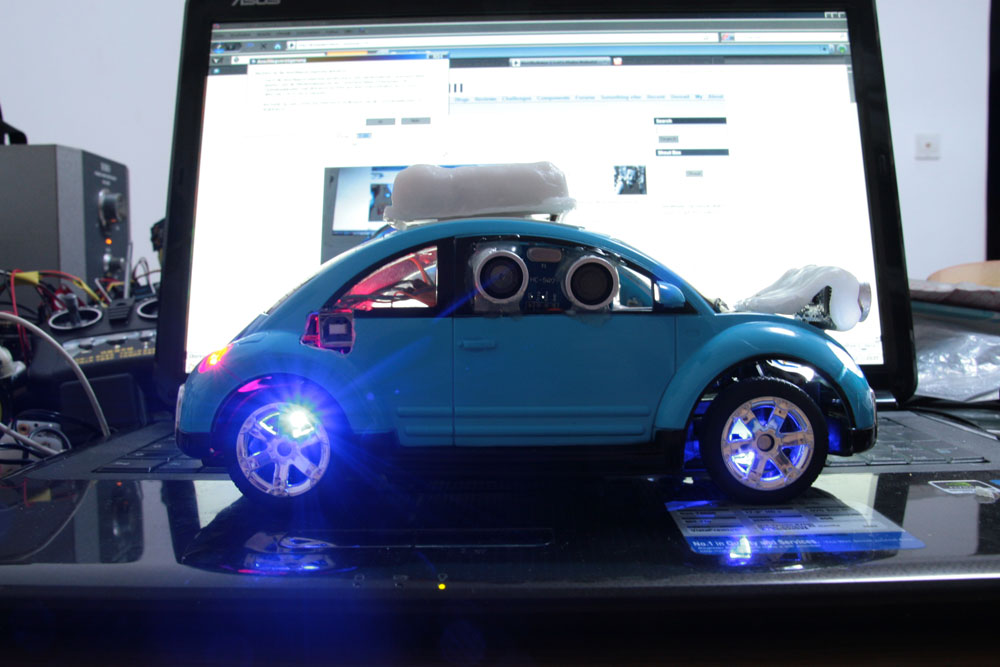
Waiting for a cable plugged in to receive some bits and bytes...ok...stop to write dude...fill my memory with instructions...I wanna have fun...
UPDATE June 4 (12:25am):
Blue smok...smells ugly... ahhhh. Just a couple of hours before i fried my receiver board. I don't know why but it went to heaven...maybe the more power was to much.
Ok, plan B - H-bridge. Done and running now. But the next desaster happend, by testing the code in the kitchen round course it bumped into the wall and after this i just heard the gear screaming...one tooth broken, damn.
Will see if I can fix this tomorrow in the hackerspace to take a video of the first rounds.
UPDATE June 16:
I am attending a robot race (freestyle) with this little car in July. Since I was busy with other things there is not much done since my last update. I have to tweak the code for more relyable steering since it crashes into the wall after steering back to it when turning or increasing the distance. Also I still have to fix that broken gear to make sure it will not fail completely during the race close to the finish line ;-)
The race is just a small competionin in shanghai where some roboto builders want to show their projects and what they are capable of. I am going to attend this race as there is no particular rule for the style of the robot. So my wall racer should complete the obstacle course if my programming is done and fine tuned. Also I still have tio lower the speed since the course is not that wide and does not have long straight lines. If you take a close look then you will see it among the big guys here -> http://xinchejian.com/2011/05/25/hcr-roboracing/ ;-)
UPDATE July 6:
Since personal matters I have to delay to finish the project. But for now I have included the code for the Arduino. It's based on Fritsl's wall racers
UPDATE November 7:
The project will be in pending or even canceled since I have other goals now. I learned a lot by doing this wall racer but do not have the time and the means to finish it in the near future.
UPDATE November 15:
I marked this project as finished since there is no time to proceed in the near future. When it's still sitting on my shelf next year it might be possible that I will reactivate it.
navigates around via ultrasound sensor
- Actuators / output devices: 1 motor drive
- CPU: Arduino
- Operating system: Arduino IDE
- Power source: 1x 4.8V NiMH battery pack + additional 2 batteries
- Programming language: Arduino ide
- Sensors / input devices: 2x SR-04
- Target environment: indoors/outdoors/small areas