


Beer Butler Robot, hacked Roomba Discovery 400 by Josh Starnes , powered by EZ Robot
This is my Beer Butler project. It could bring you any beverage even bottled wine :) The base is a hacked Roomba Discovery 400 series and controlled by a EZ-Robot Microcontroller through Bluetooth to a PC. I may upgrade to WiFi for the connection. I have a mini fridge compressor I can add to the robot to keep it cool just like a fridge. The compressor would only run while docked at the Roomba base just for clarification. A steel trash can will be the cooler section and insulated with expanded foam. I will post more later... :) Here is my build thread progress so far and I will post more.
Aprox cost-
Roomba- $45
Big Trash cns- $40
Small trash can- $30
Ez- Robot developer kit $229 ( EZB PIC, EZ Camera, Ultrasonic and servos)
Minifridge used - $15
50 ft copper-$40
swagging tool- $30
Propane kit- $22
Expanding foam- $12
Tub bender $6
Roomba dock /charger- $25
New Roomba 14.4v battery- $38
I will note other expenses as I come across them.
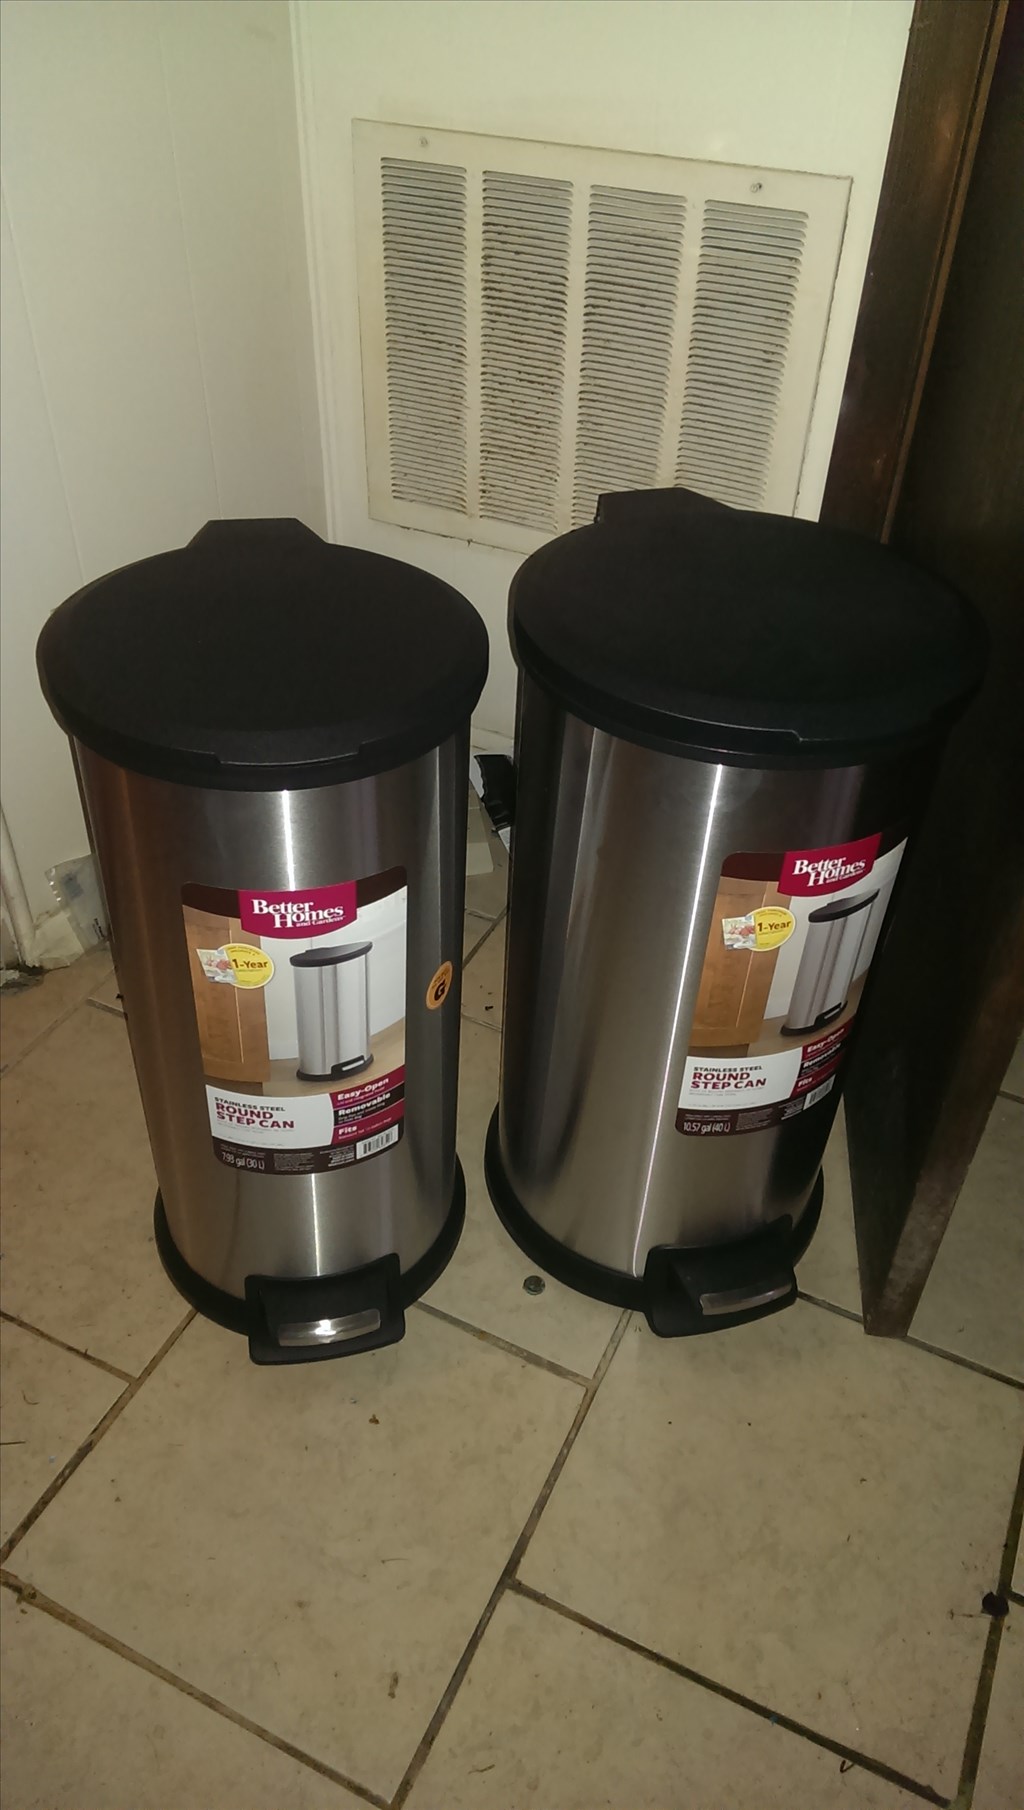
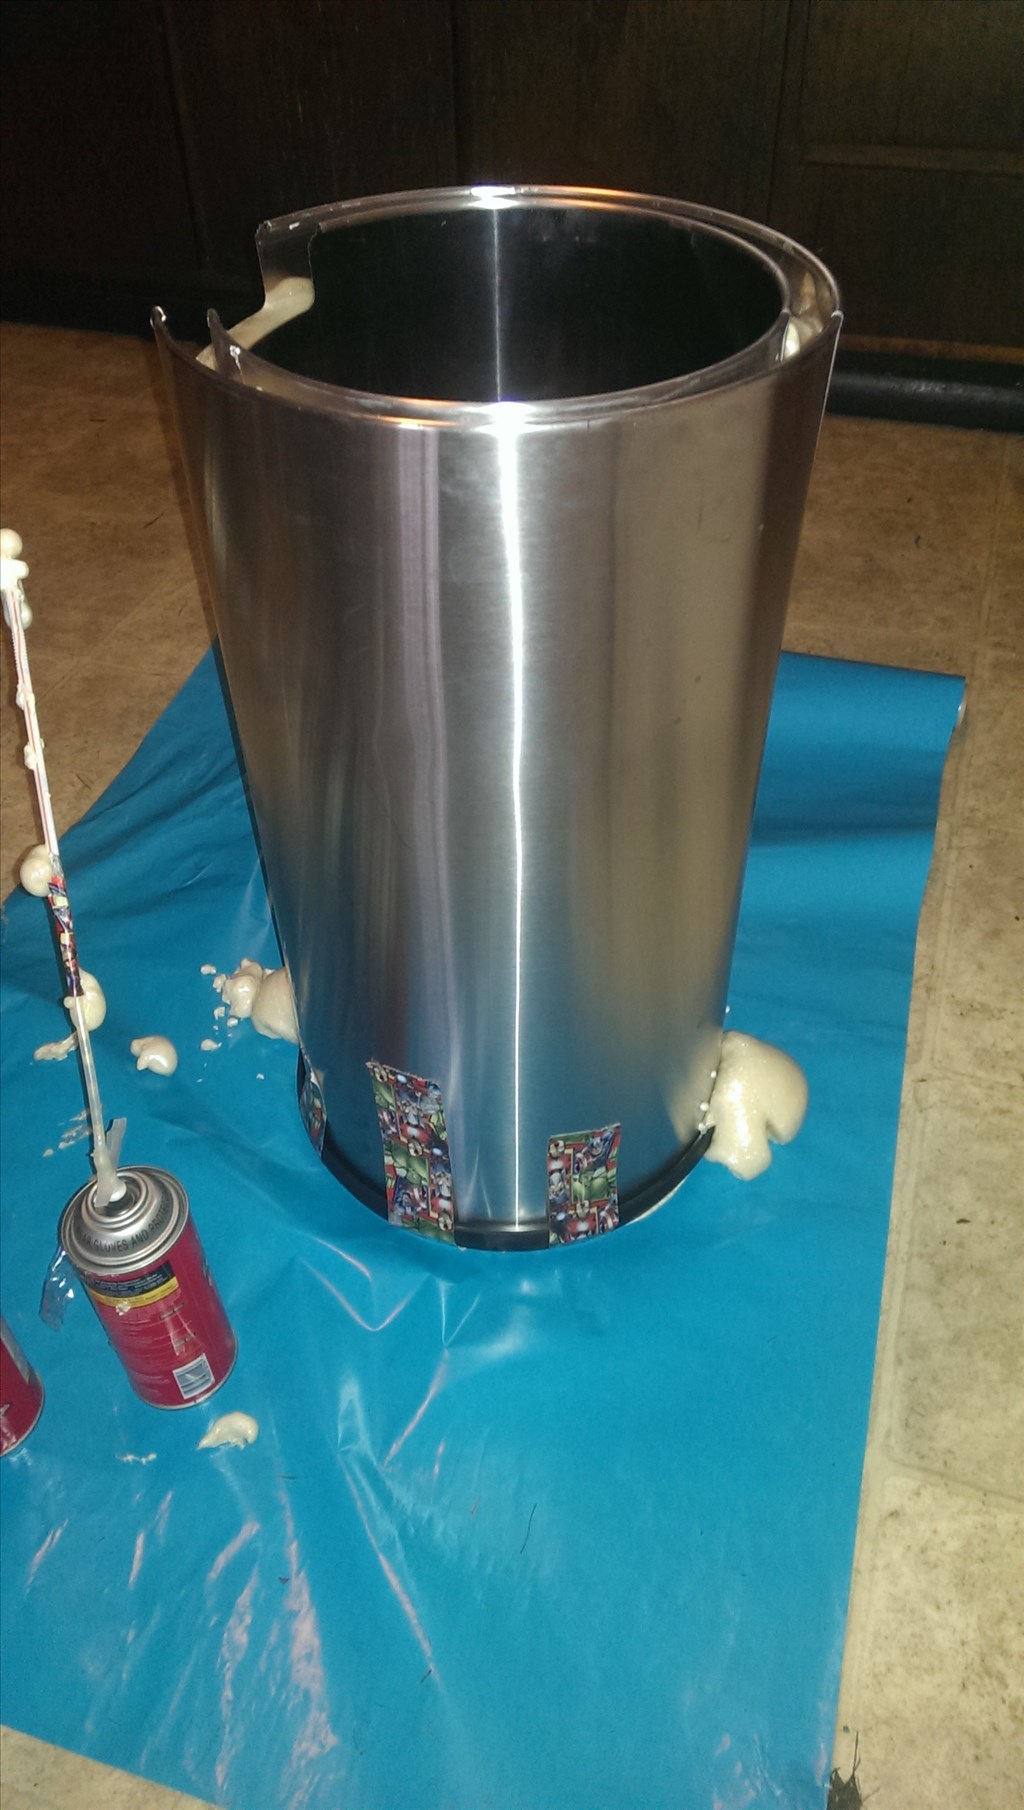
The body of the robot was my first concern. I descided to go with trash cans. They were 30 dollars for the thin can and 40 for the wider one that will be the outside of the robot. Once i took the trashcans apart I insulated them with greatstuff expanding foam. the pictures explain more here.
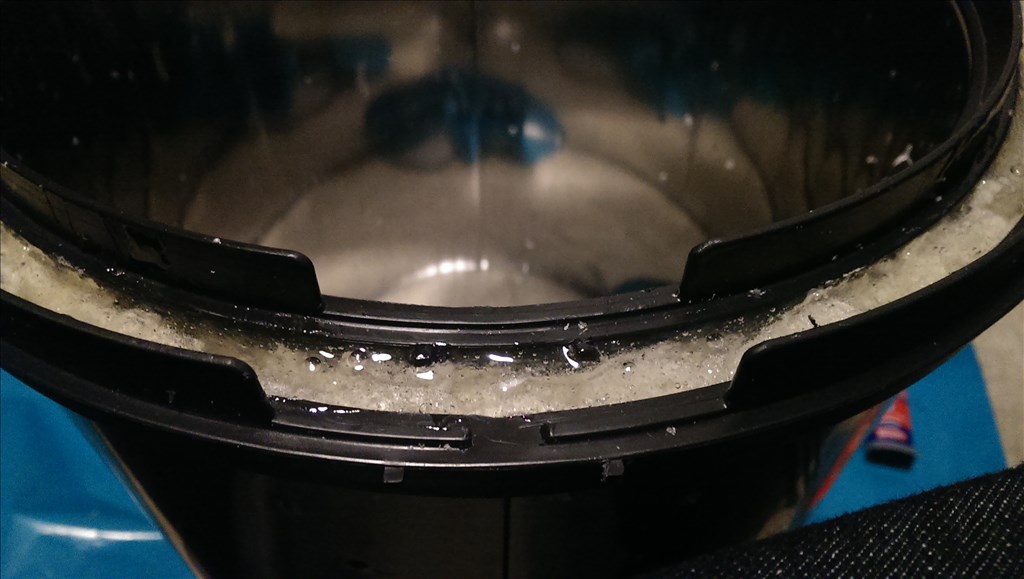
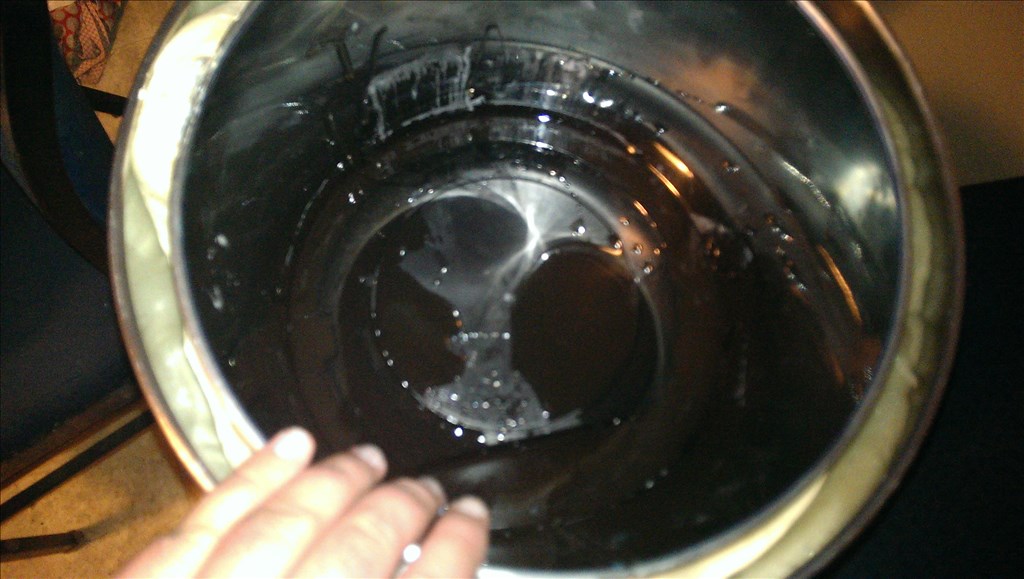
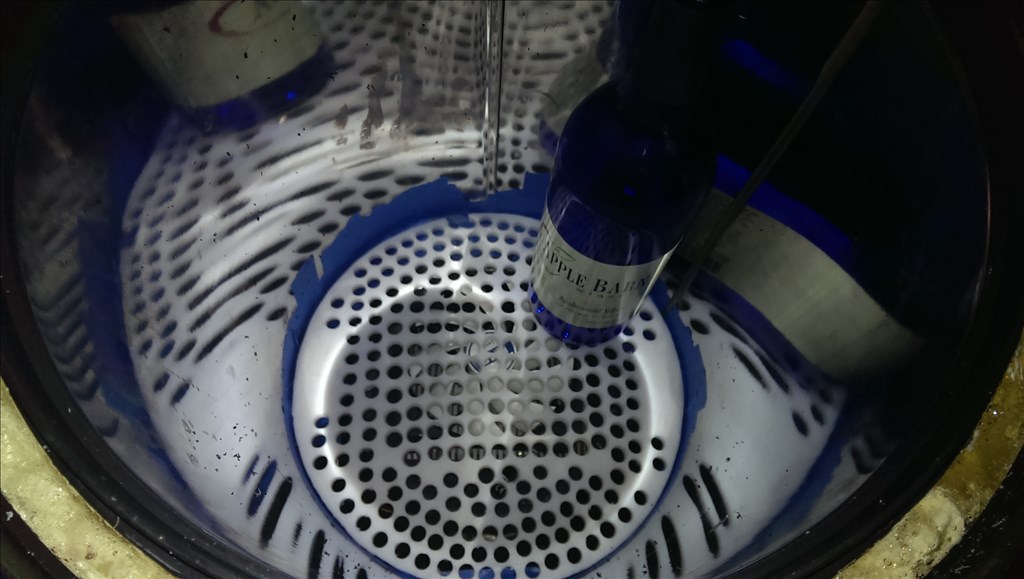
This is the bottom of the chiller section. I filled it with fiberglass resin I had on hand that was too old to use for normal purposes. I really should have used epoxy instead honestly but hindsight is always 2020.
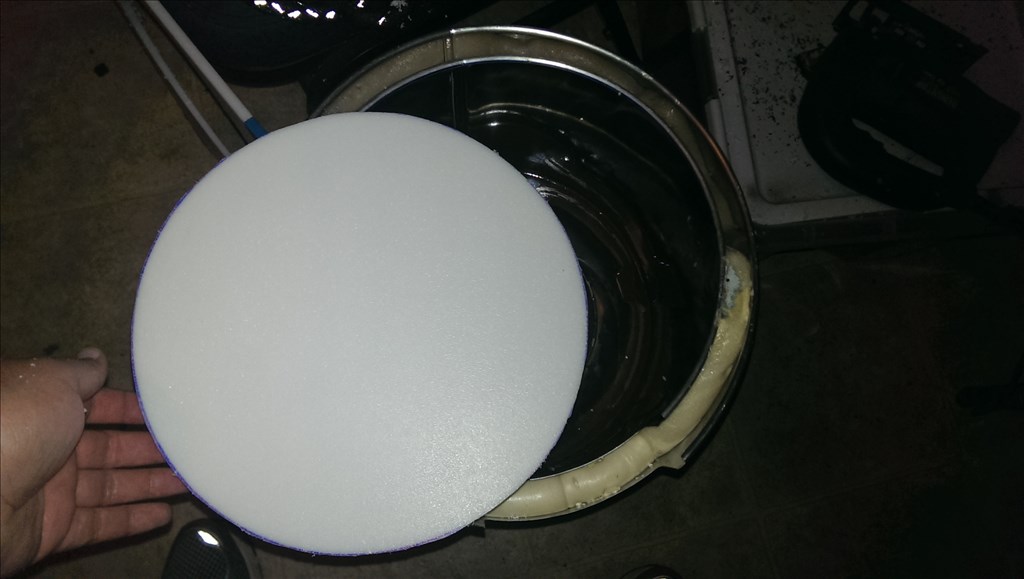 I cut out a grate for the bottom of the chiller section from food grade plastic. It started out as a $8 poly cutting board. Next I will pattern drill it.
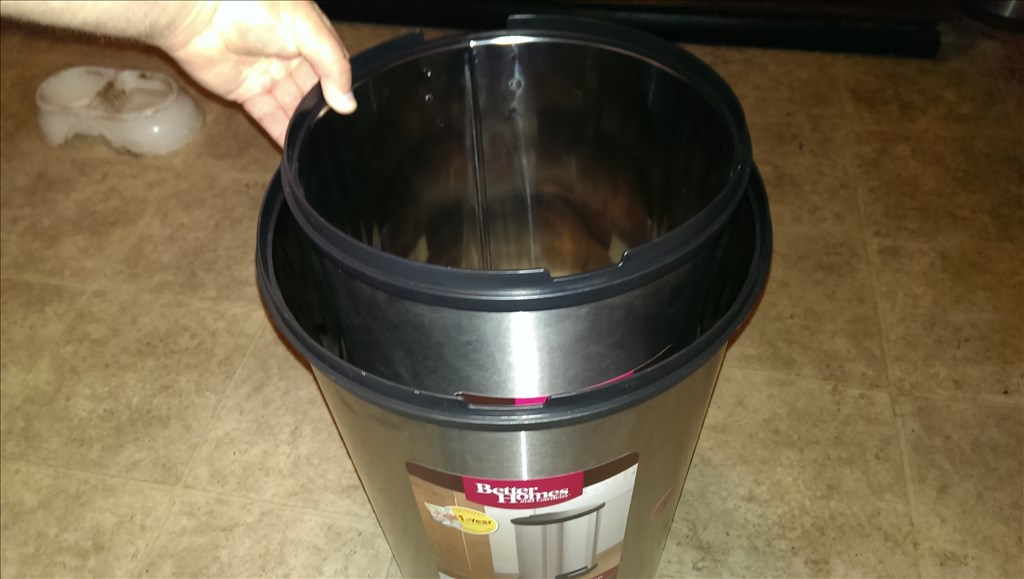
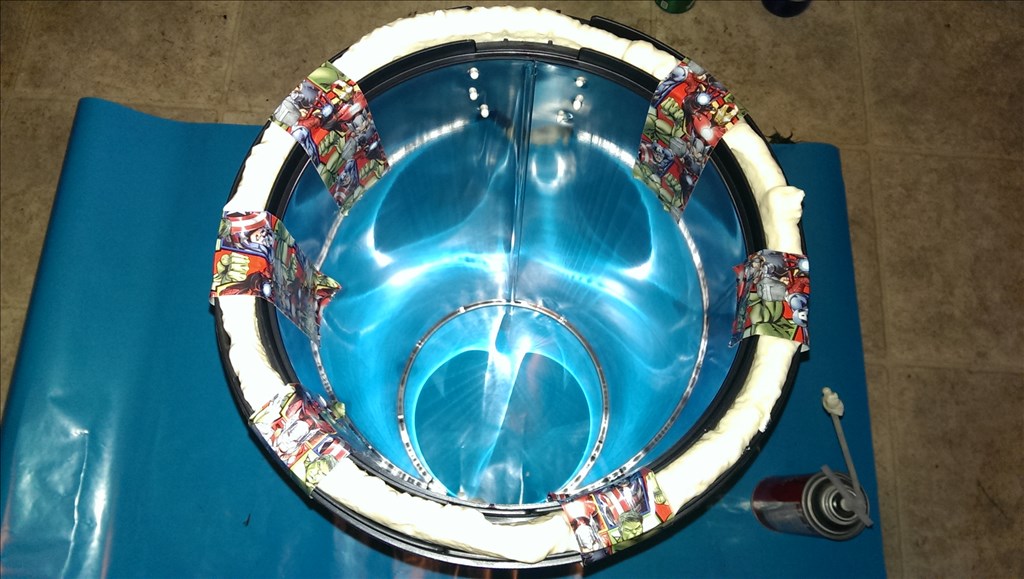
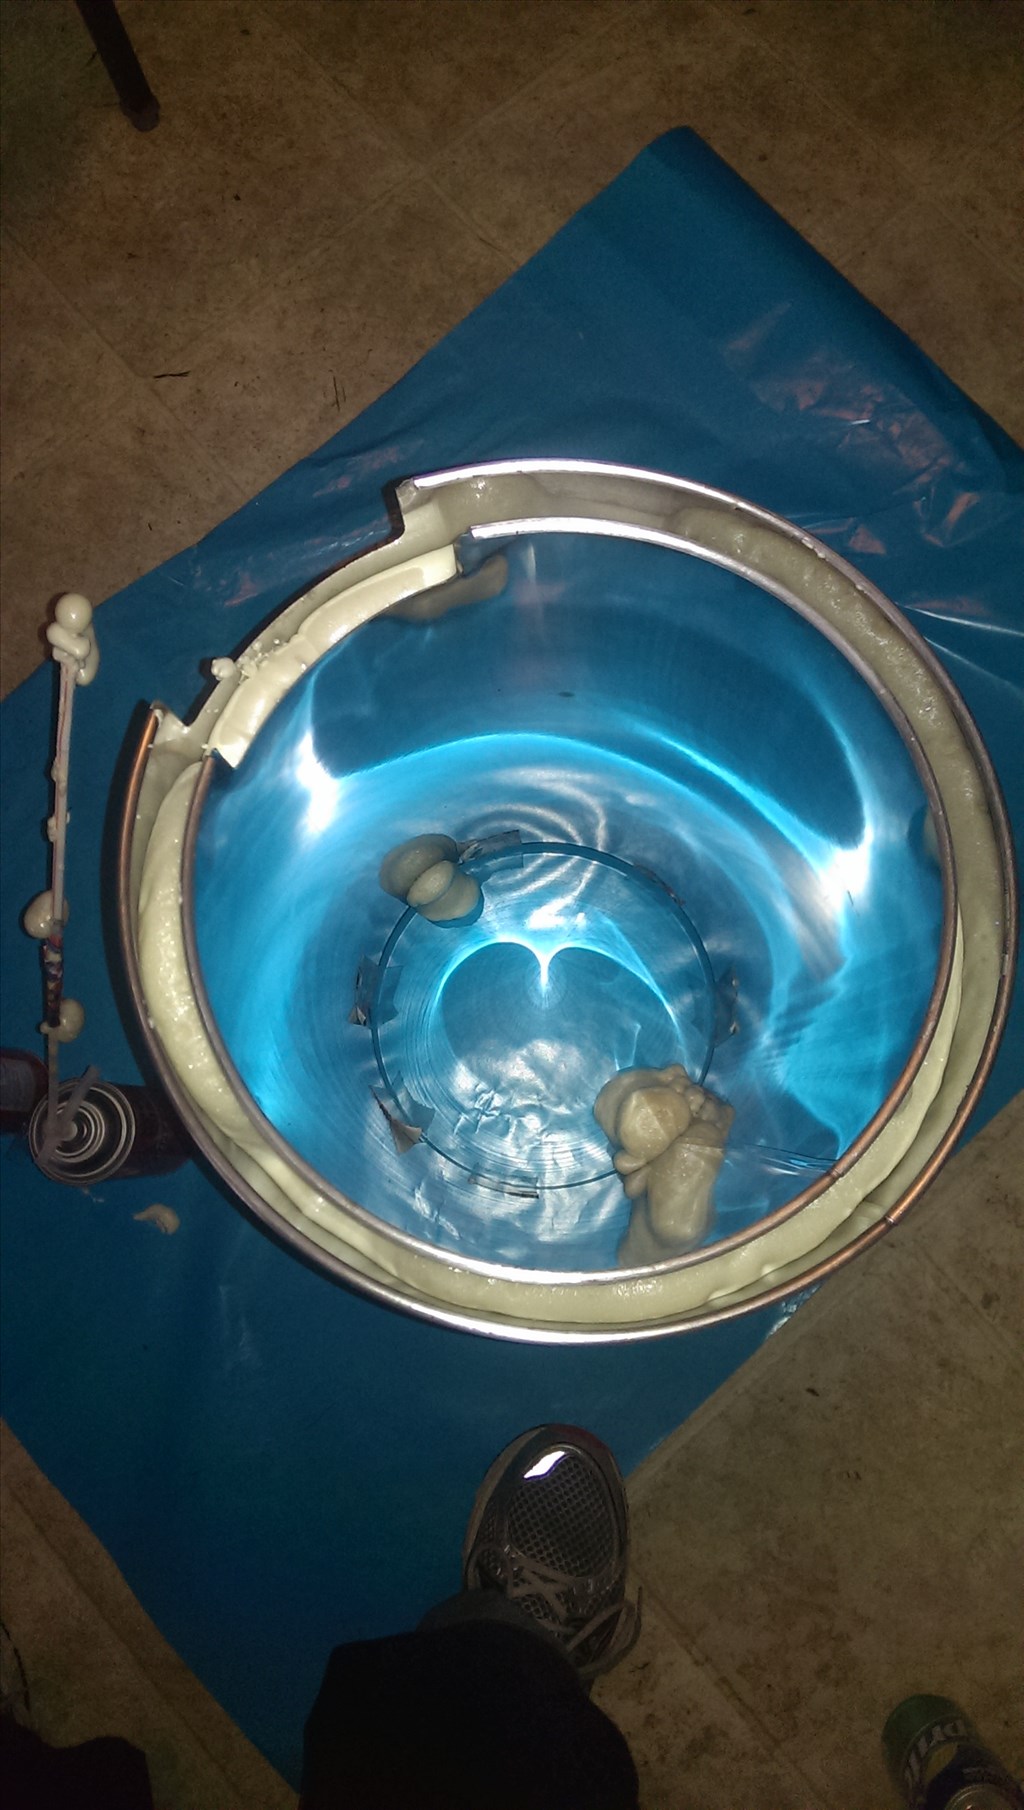
 Ok so here I cut out the excess of the center chiller so I can insulate the inner liner from the outside. You can see the part I removed to the left of the picture.
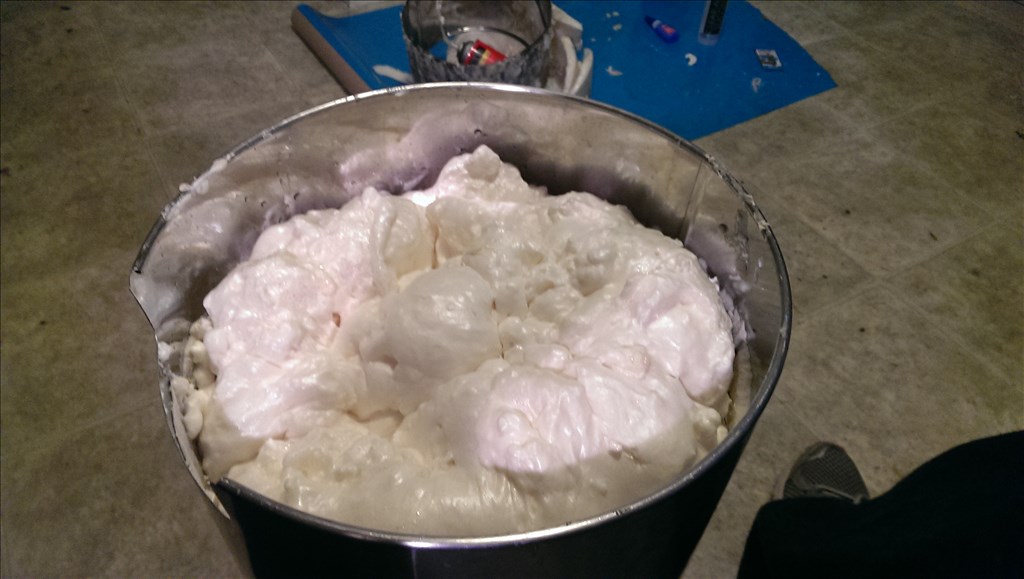 I filled up the bottom with expanded foam. this is the first of at lest two layers
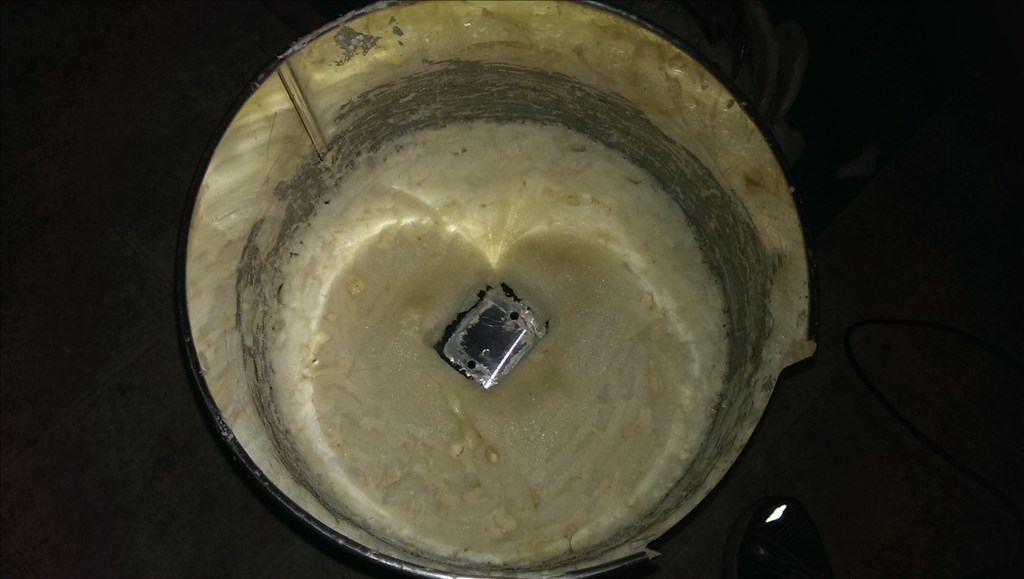
Next I needed to start working on the bottom half so I can get the two pieces attached. Once I do this I will finith the insulation of the chiller section. I use a Roomba Discovery 400 and the vacuum parts have been removed. Here are the Roomba modifications.
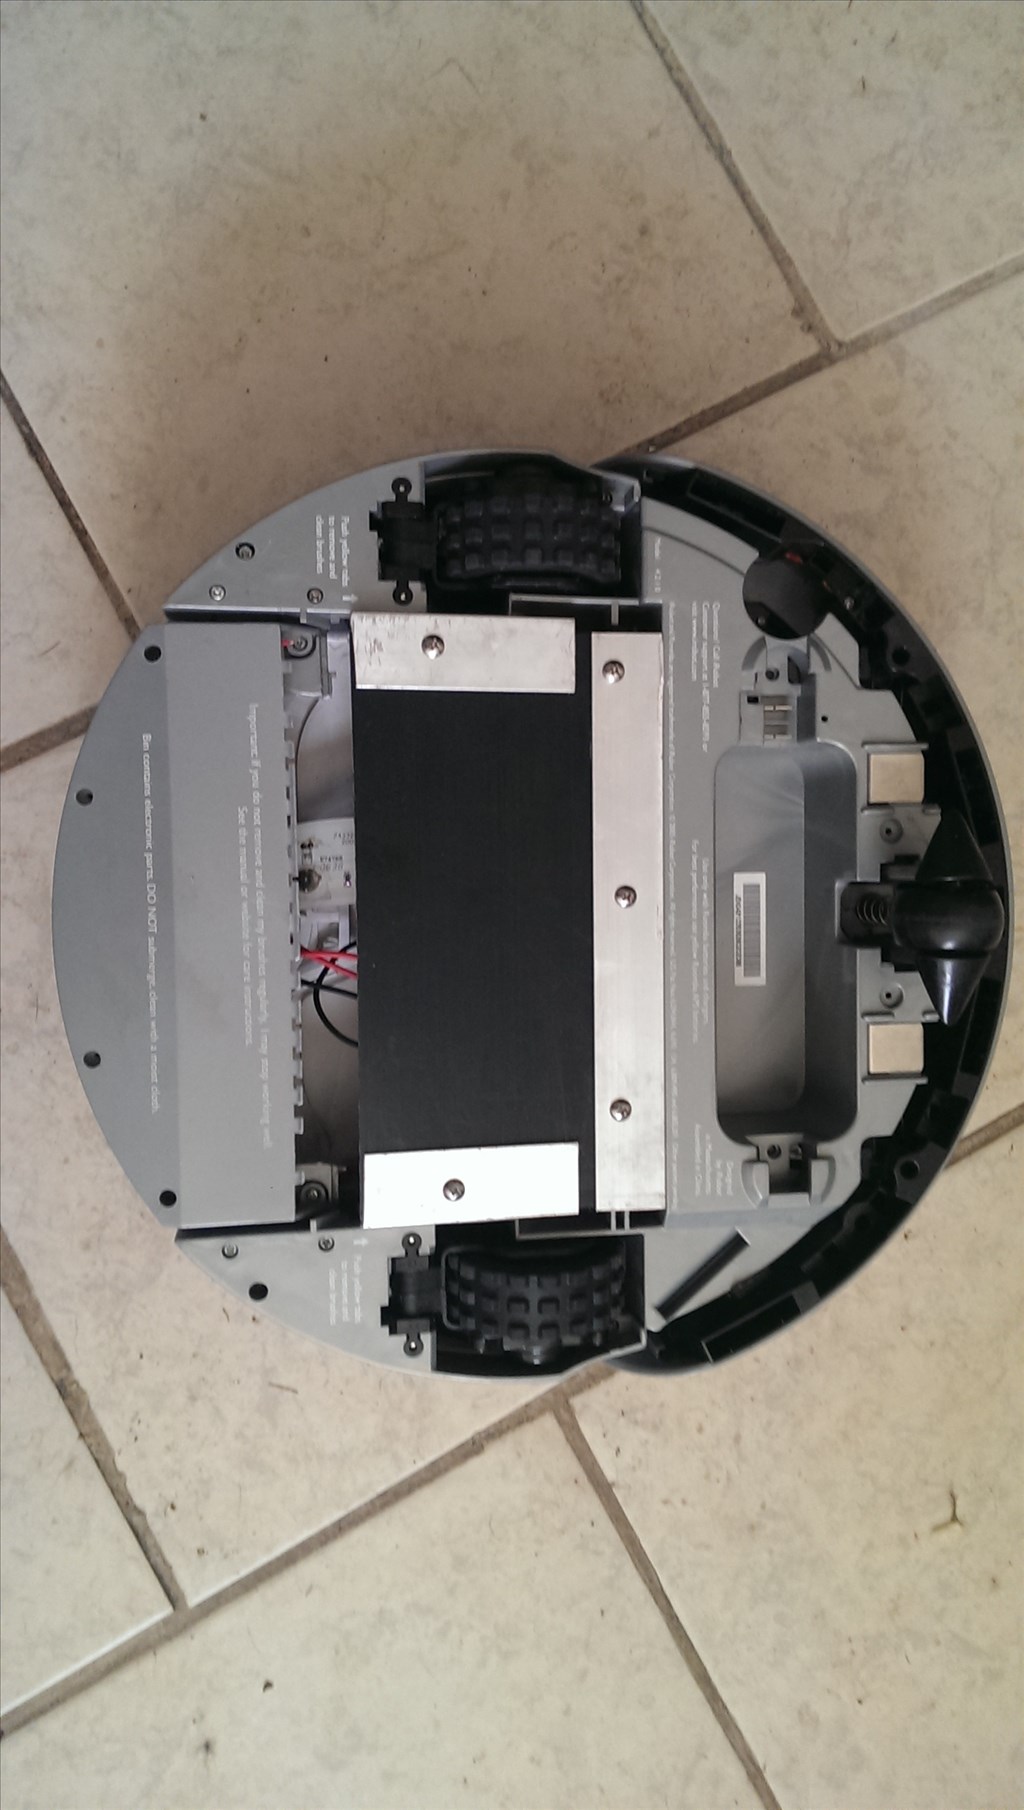
Right now the buttons are tucked away. The only thing I really need from this is the two status leds and the power button. I will solder them and remote mount them to the outside somewhere later when Im to the stage of wiring everything.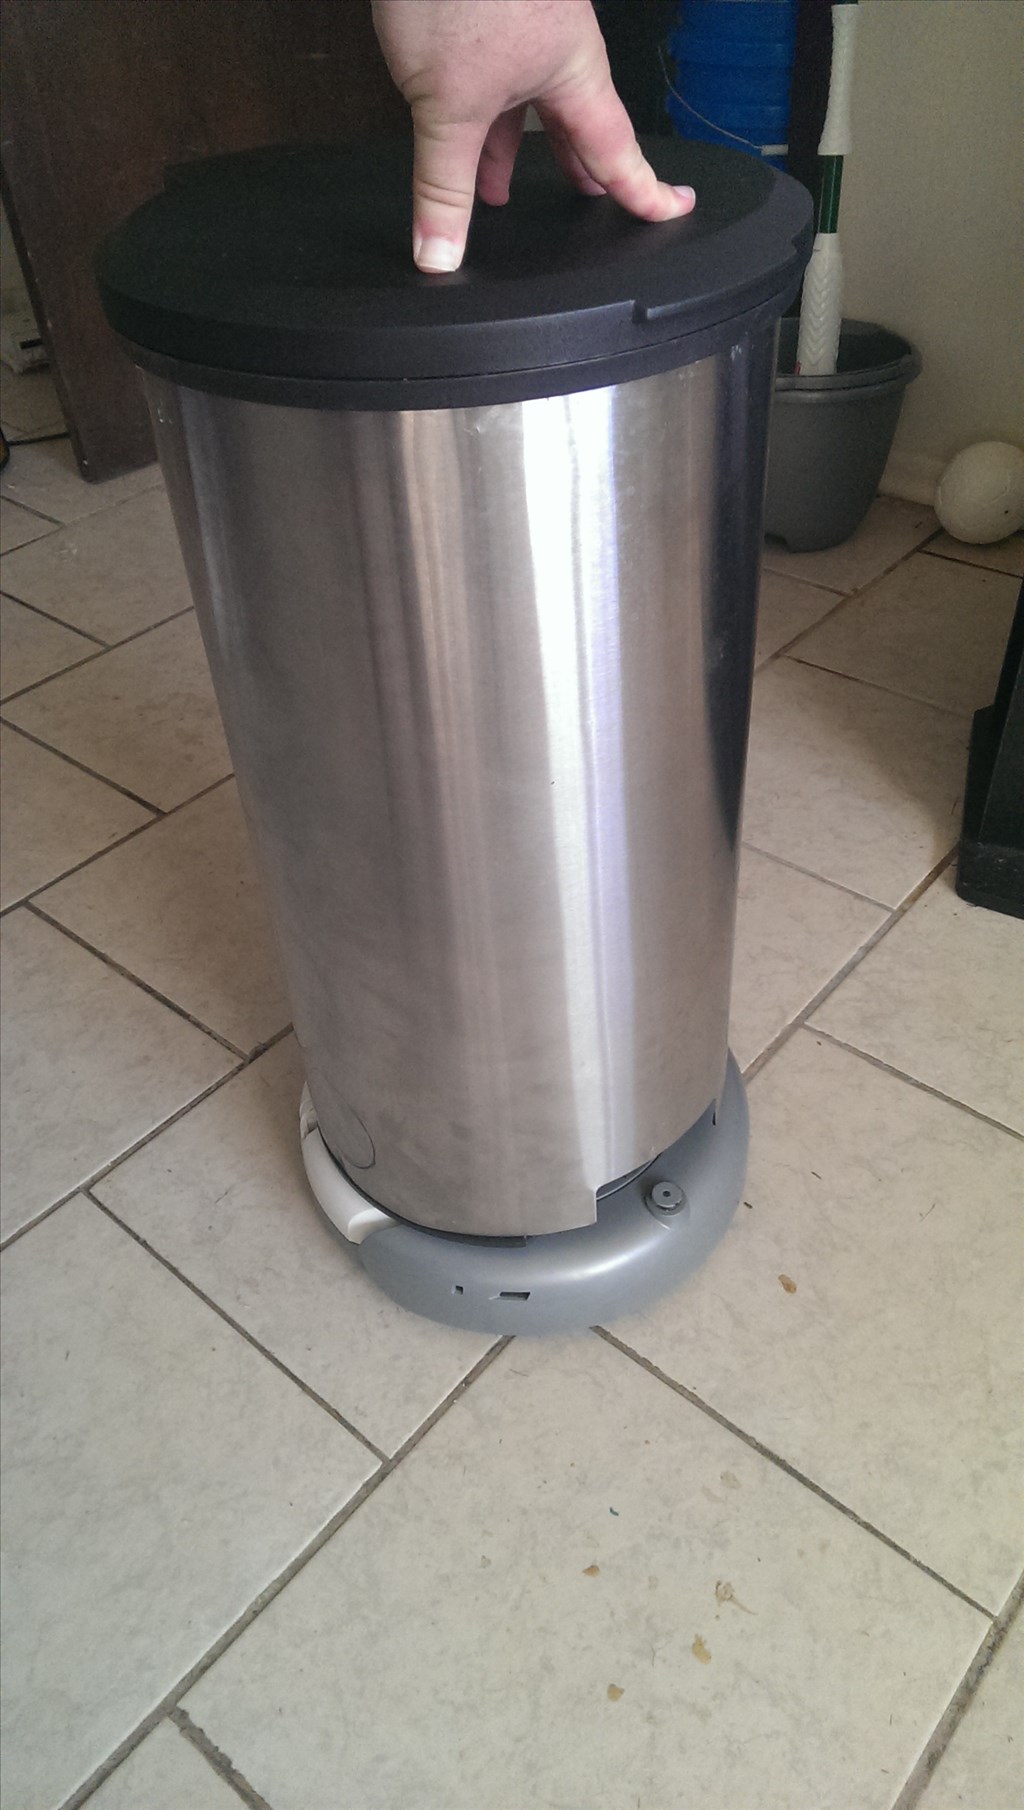
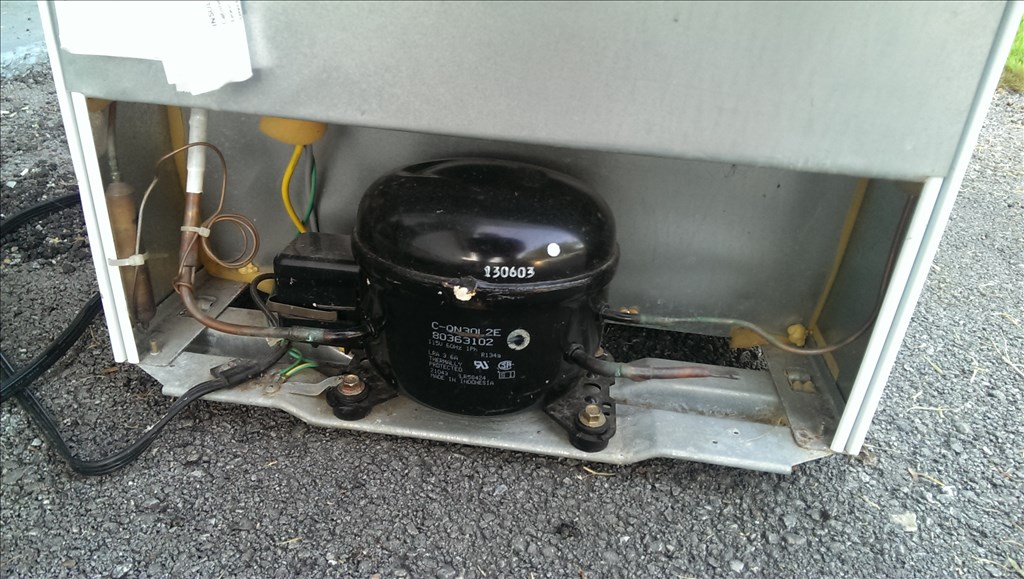
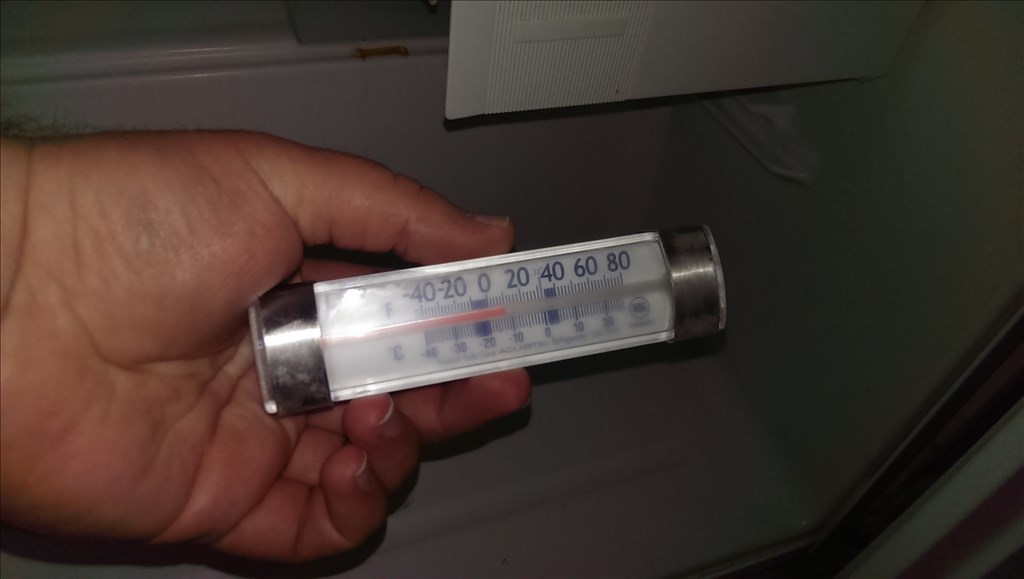
Ok so I would like this robot to be more useful that just a cooler filled with Ice on wheels. I found a mildly used fridge and tested it a few days. The area beside the evaporator element was about 5 degrees F and the farthest point away from the evaporator was 25 degrees F. Even if this only performs 3-4 as well when I make a custom evaporator from 1/4" copper tubing it wil still cool more than enough to keep a 12 pack or 4 bottles of wine chilled. I know the first question will be " how are you going to possibly power the compressor"? First off I could use a inverter but I dont think I will do that approach. Instead I beleive I will add a couple more connection pads to the roomba base that will transfer the 110v ac current only while docked. For safety the 110v will be on a relay triggered by the roomba charging circuit. The compressor will only be able to run while its docked
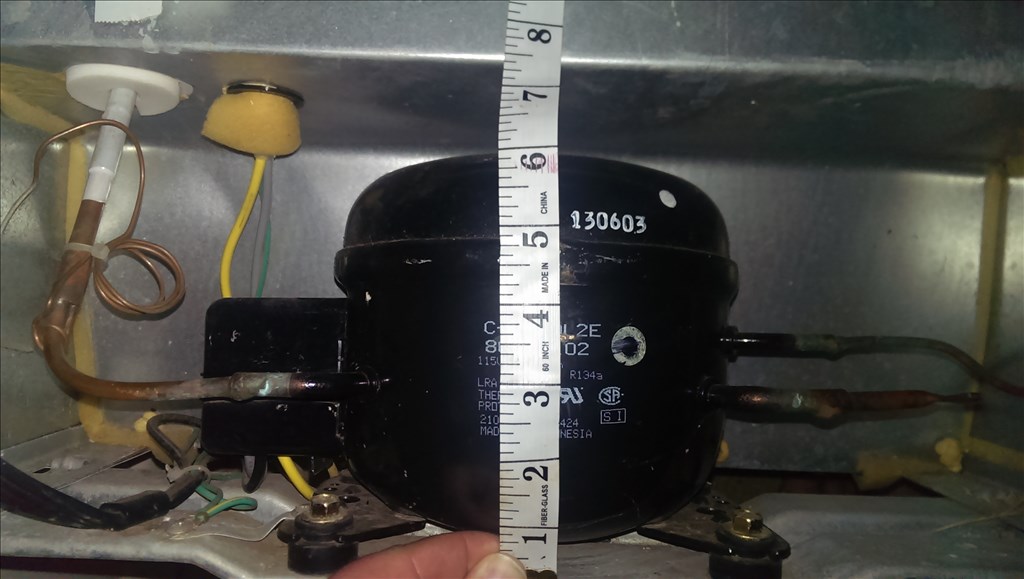
Lucky me the compressor is about 6 inches by 8. I belive it will fit in my impossibly tight space.. well lets test fit !!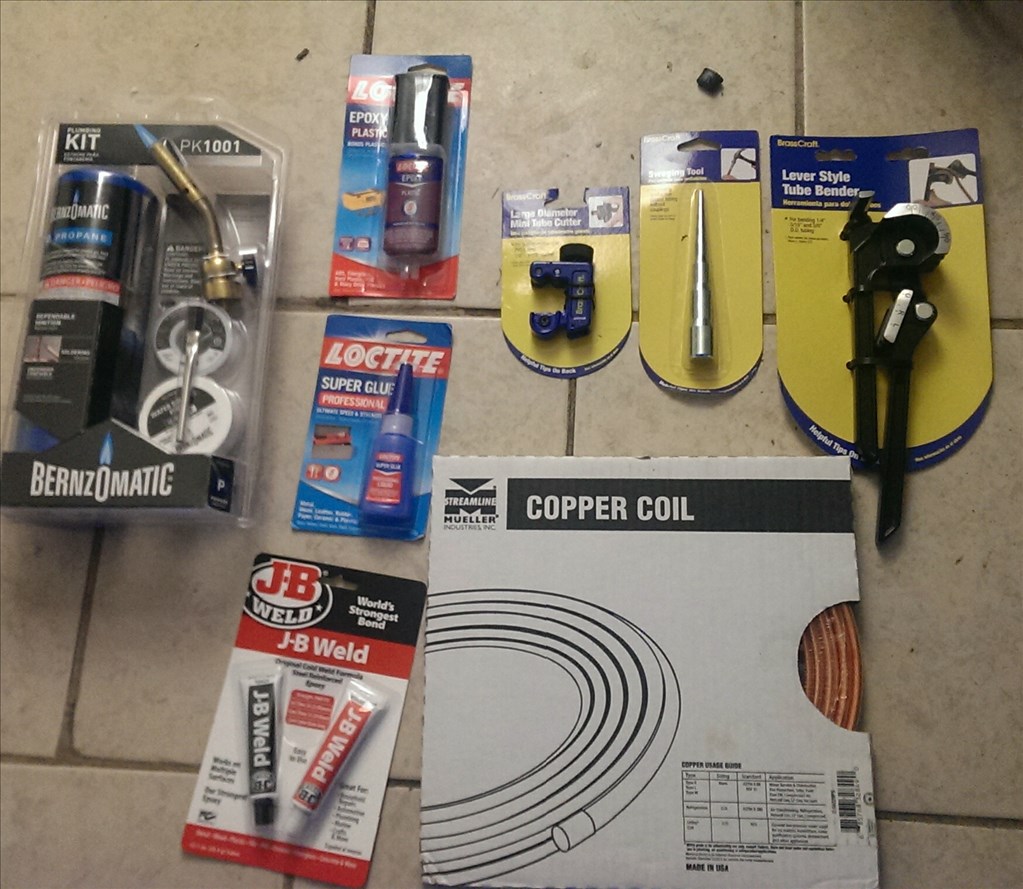 Here are the main tools to install the compressor. the copper piping has to be brazed which is just some seriously large scale soldering with a propane torch.
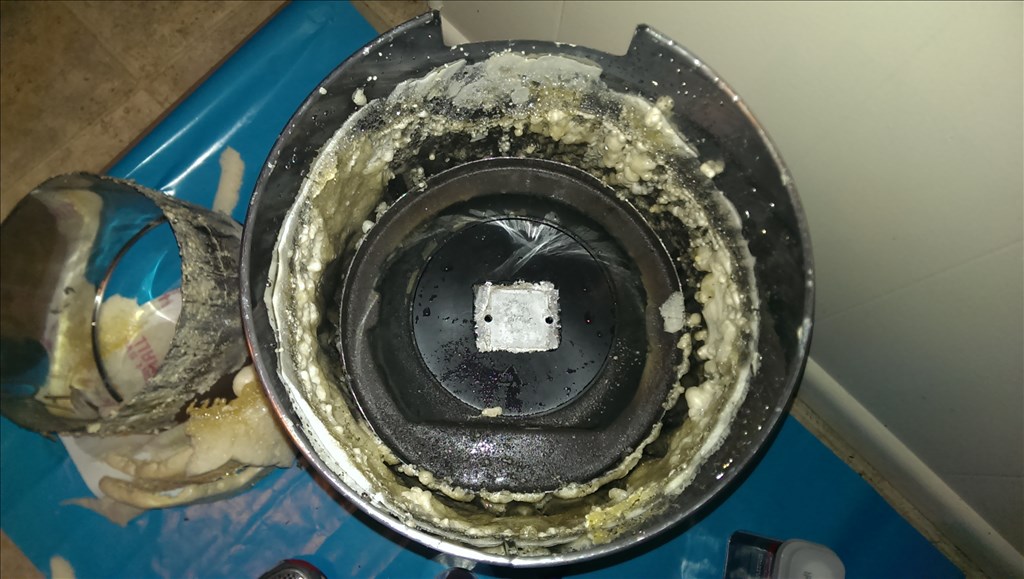
To figure out how I will make the evaporator I removed the original square one and traced the path. It is basically 1/4" tubing that is spread in a mazelike pattern to maximize surface area in a small space. This is not needed for me because the reason they did this is to have a small area to freeze ice cubes. I will spread mine out more as I never really need any of the beverages to actually freeze. I measured the tubing and it comes to 6 ft in length I will need to match the surface area of this evaporator
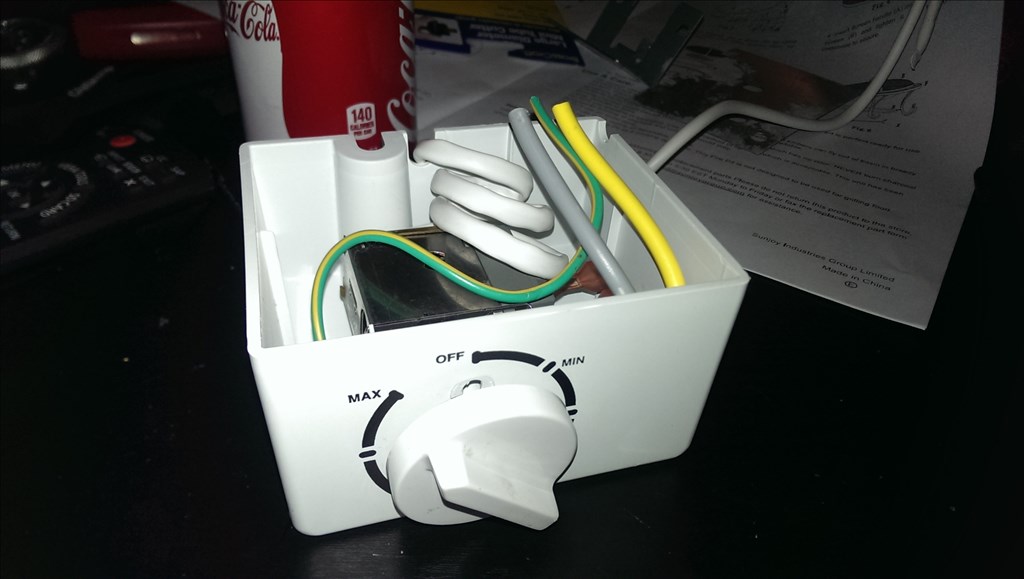
Ok here is the thermostate unit from the fridge. I will mount this somewhere inside the chiller as its designed to be in the area where all the cold stuff is. I have not mounted it yet.

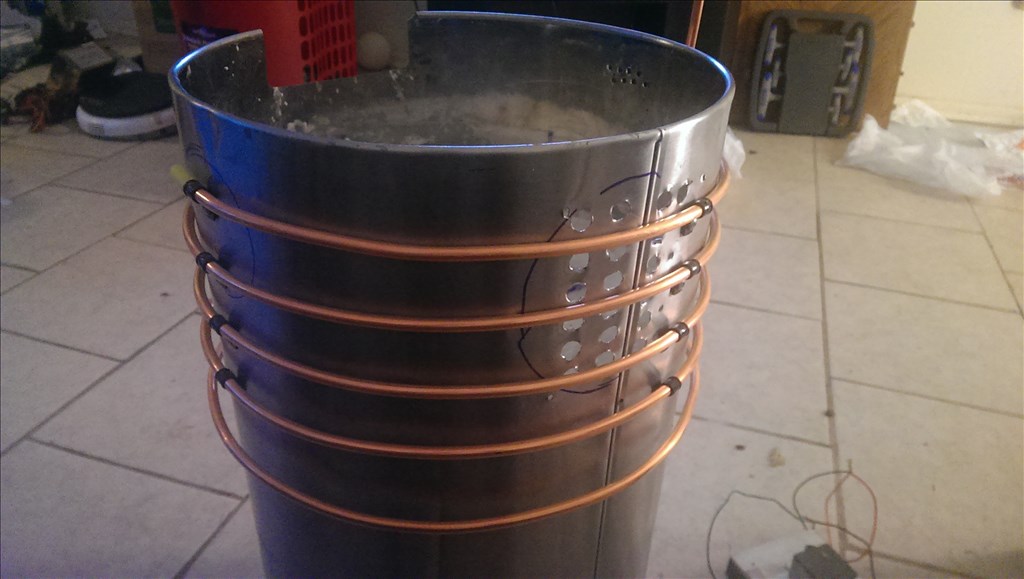
Here I am trying my hand at tube bending for the ouside condensor. I will end up removing this and reding it with better mounting hardware made from metal because the plastic ones seen here break too easy.
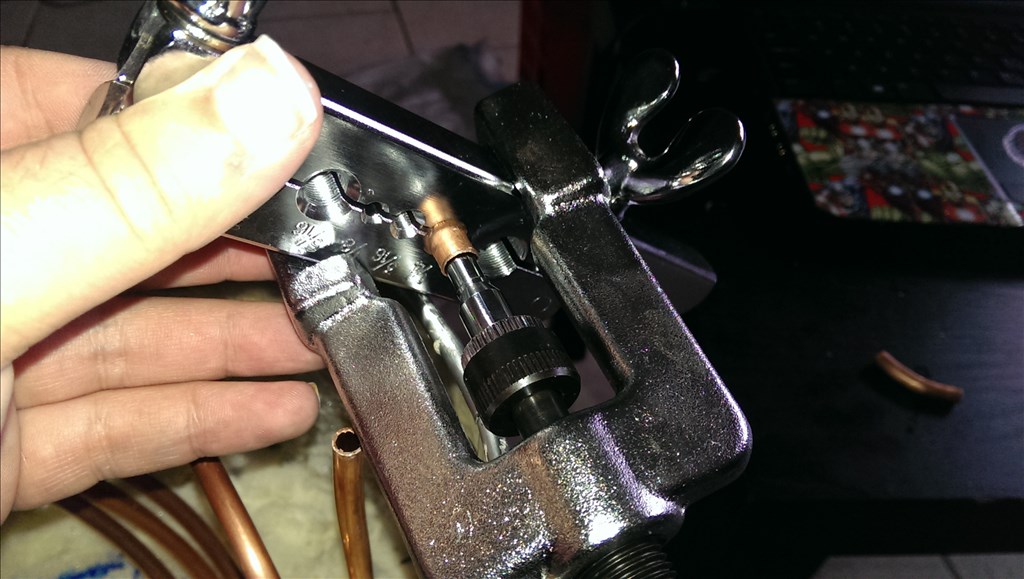
Awesome my new swag tool workes! now I can make custom fittings to get this guy together. Here is a picture of the finihsed swag. I will need to repeat this a dozen or so times to make the connections for the compressor, evaporator and condensor and dryer.
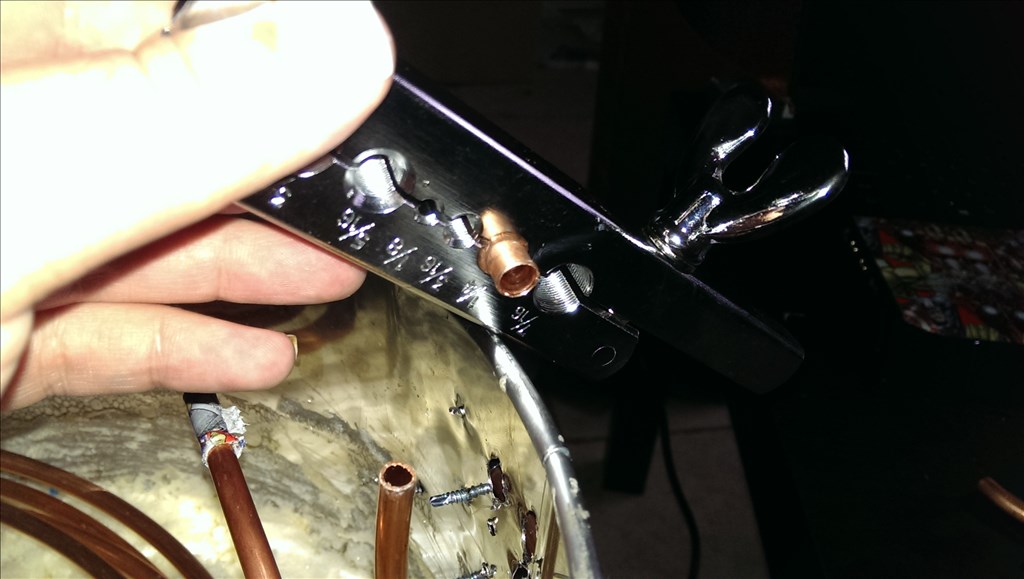
Awesomesauze it worked ! I waited two weeks for this thing but it works perfect.
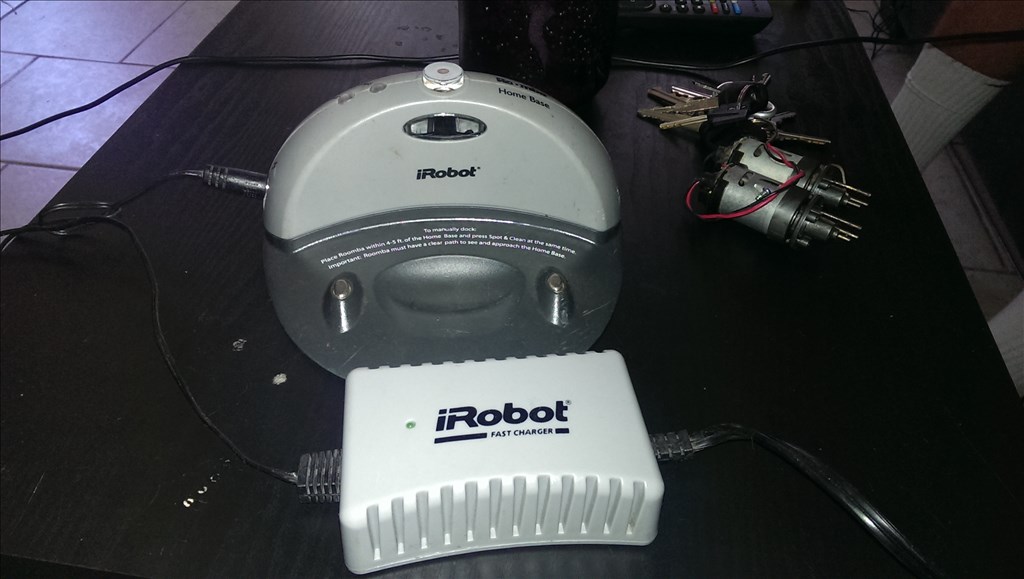
I bought a random charger on ebay but I am confident I can utilize it once I hack the roomba SCI system
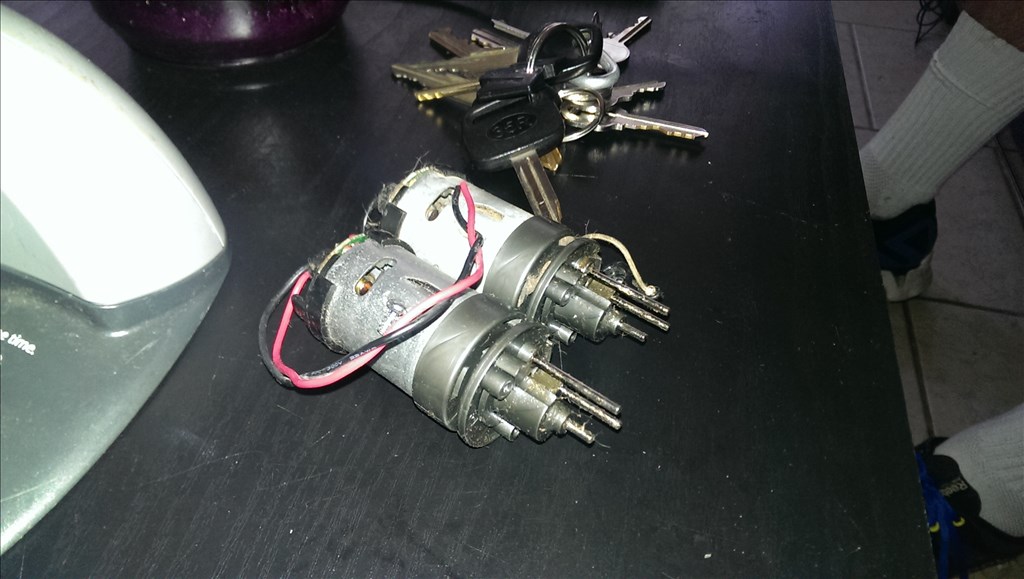
I also purchased heavier duty motors I can custom the roomba with for higher capacity. Here they are. they are main brish motors but they have shaft diameter similarities and width of the motor case matches as well. To prevent overworking myself I wont swap them in unless I see the original motors are not doing the job. so far so good.
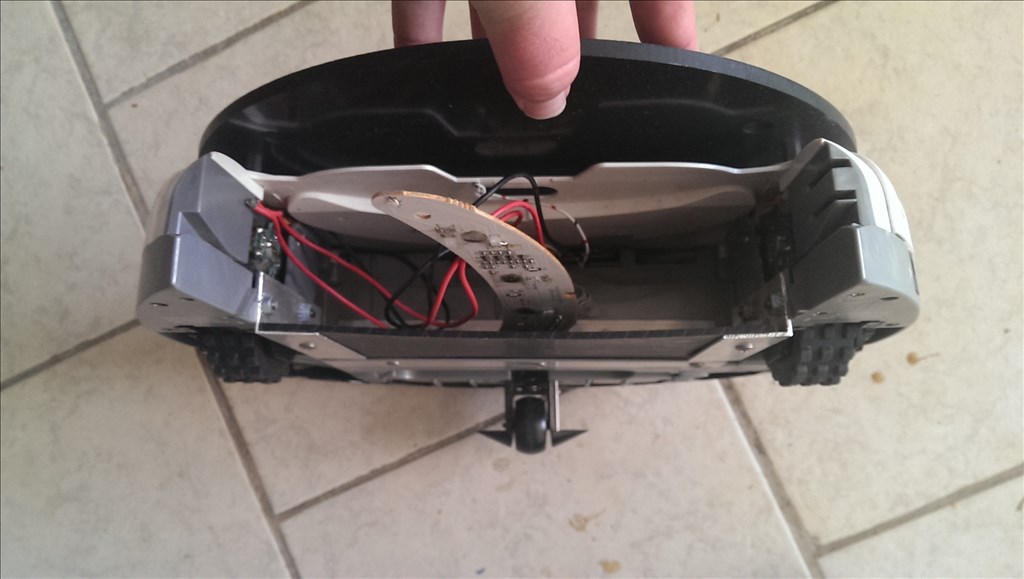
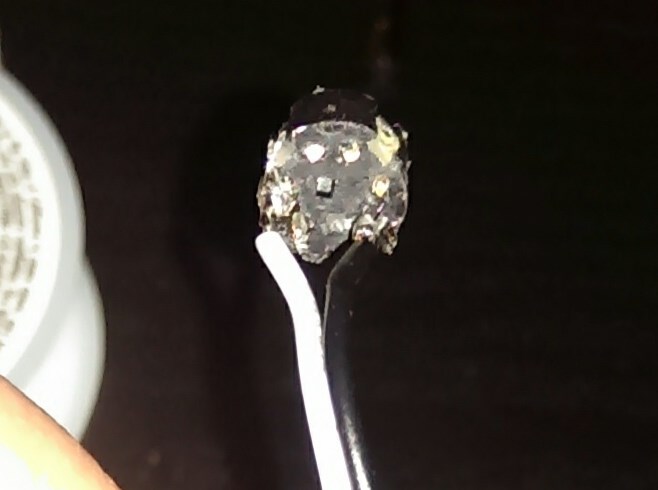
The Roomba serial interface is a PS2 style connector without the centerblock. I used a PS2 mouse and hacked the tail off. It took about 20 min but I eventually was able to fashion my own plug. here is the result...
Ok so here is the signal and ground wire attached. Later once the mounting is done I will tap the 14 V out as well to power the Ezb microcontroller and any servos ect.

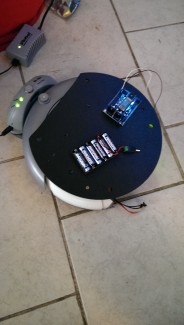
So its time to HaCK A RoomBA and get this guy to move around by himself. Right now I just used double sided tape to hold down the EZB controller and the battery pack while learned how to dock and undock the roomba remotly. I have a youtube channel which is machinepsychology . You can see all my videos there and I will upload the progress from here. Two nights ago I was able to get roomba to dock, undock, initialize , power of and back on remotly and I did a video on that progrees I will post once I learn to use your video posting tool on this site that everyone insists I use.
Update 11/6/13
I needed to start building the frame. I need a fixed point to start measuring the supports from. I will make the supports long maybe the length of the body with knotches to fit over the rings. I cut the first ring and quickly realized the can is not perfectly round. I used superglue to tape off the back of the ring and filled the gaps with epoxy resin. I used about 4 oz.
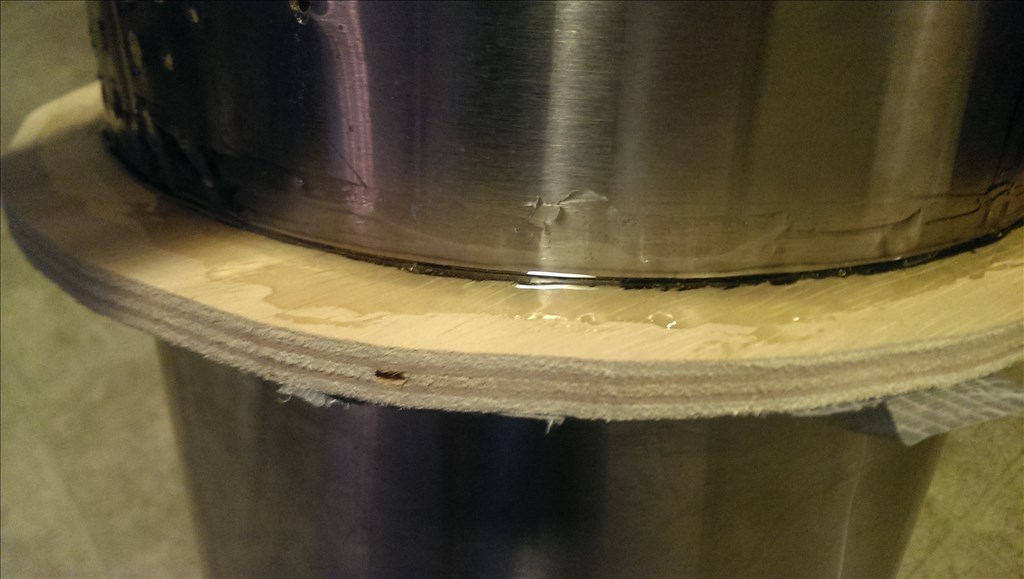

You can see I used ducktape to back off the wood frame. This should made a very sturdy starting point. I will predrill some holes later and run 3 screws through the wood into the sheet metal to finish it off.
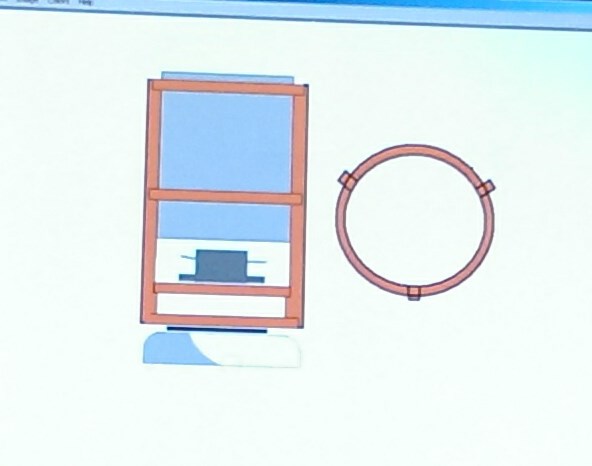
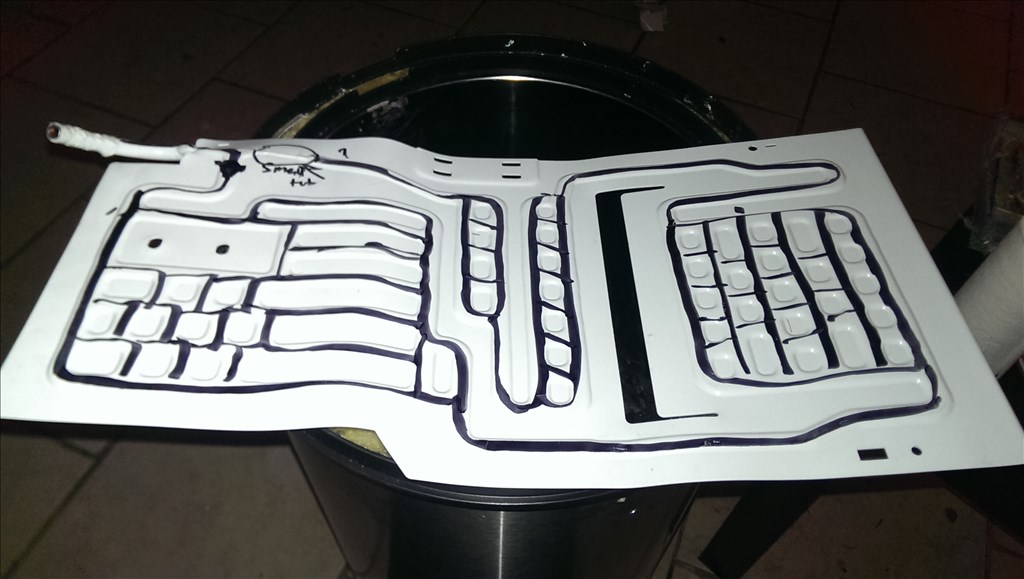
Here is the paintshop sketch i did while planning to cut the frame out.
The Beer Butler Robot Stays on your base and acts as a beverage cooler and will undock and bring you a drink on command then return home to charge and cool drinks
- Actuators / output devices: hitec 645mg servos
- Control method: Semi-autonomous, voice controlled
- CPU: EZB 120mhz
- Operating system: Windows 7
- Programming language: Ez Builder
- Sensors / input devices: camera 640 x 480, ultrasound sensors, clif sensors, roomba bump sensor, directional pyro sensor
- Target environment: indoor, home, Parties