


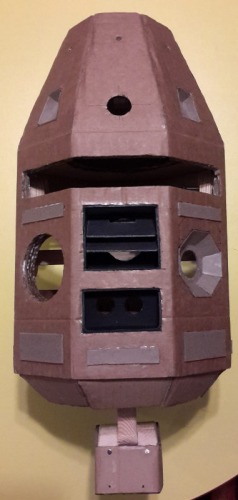
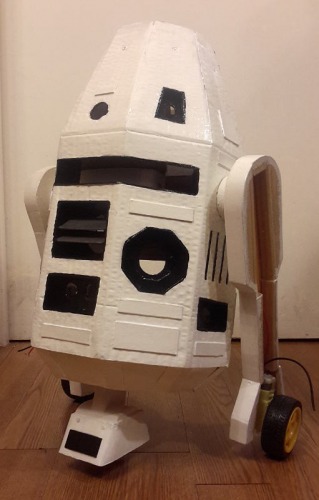
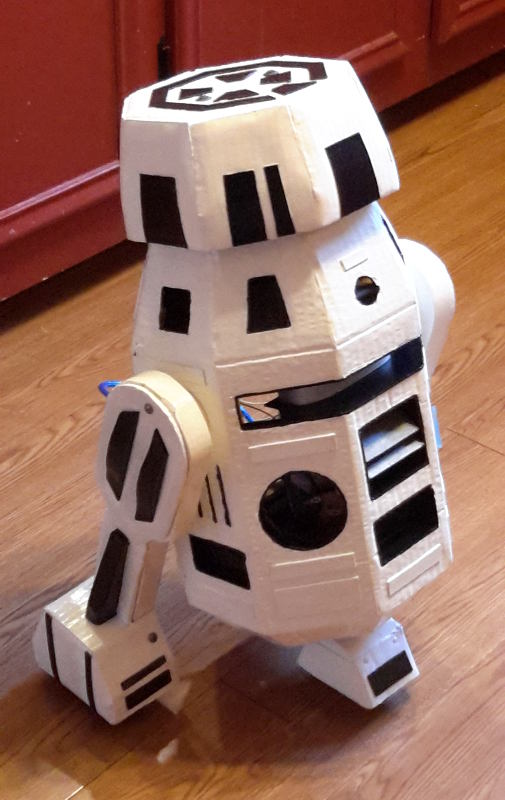
Astromech droid R3-B9
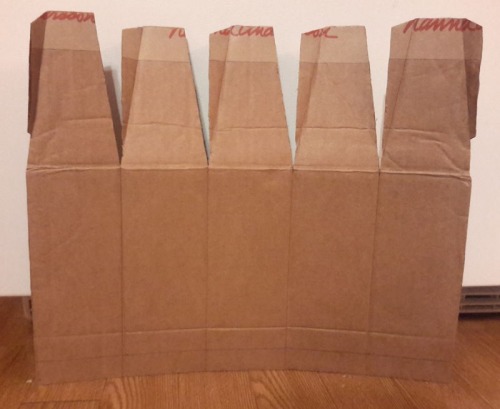
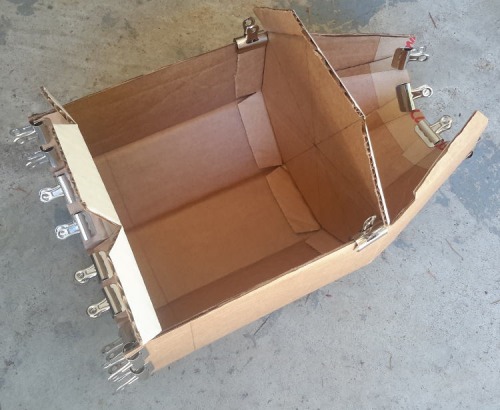
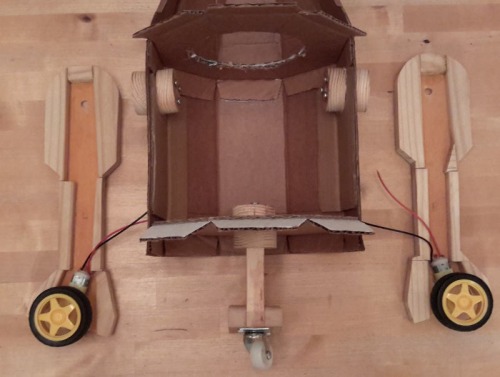
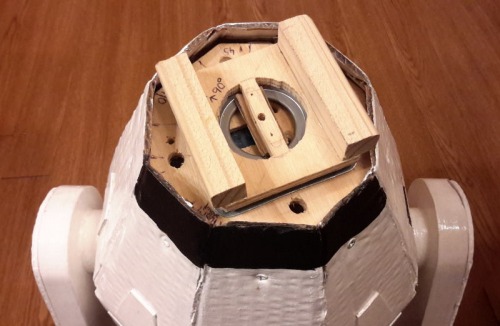
Seven months ago, I decided to get into Arduino programming and to build a robot. On YouTube, I found many videos of obstacle avoiding robots built from a 2-wheel-drive chassis and an ultrasonic distance sensor which I liked a lot. However, I wanted my robot to look like a "real" (movie) robot. So I chose the basic design of R2-D2 as a starting point. It was clear to me that I did not have the skills, time, and money to build a real R2-D2. On the other hand, I didn't just want to copy an existing design, but be able to use some creativity. So I went ahead building a related droid whom I named R3-B9 (only later I learned that the R3 series has a well-specified design which I am violating here - sorry for that!). My R3-B9 is built from cardboard and wood using the motors and wheels from the widely used cheap 2-wheel-drive chassis, and controlled from an Android tablet via a custommade app made with the MIT app inventor. Here are a few essential steps from the beginning to the current status:
More details from the making are documented on my blog at https://mynewrobot.wordpress.com. R3-B9's first steps (on Christmas 2016) are shown in the YouTube video above.
Navigate around via bluetooth (later: via ultrasound, light, sound), display LED patterns, play sounds, rotate head and open arms
- CPU: Atmega2560
- Operating system: Arduino
- Programming language: C++ (Arduino)
- Sensors / input devices: PIR sensor, 2 photoresistors, 2 microphones, 3 ultrasonic sensors HC-SR04
- Target environment: indoor on smooth surfaces