


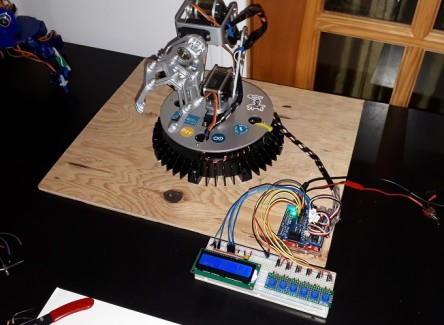
Video:
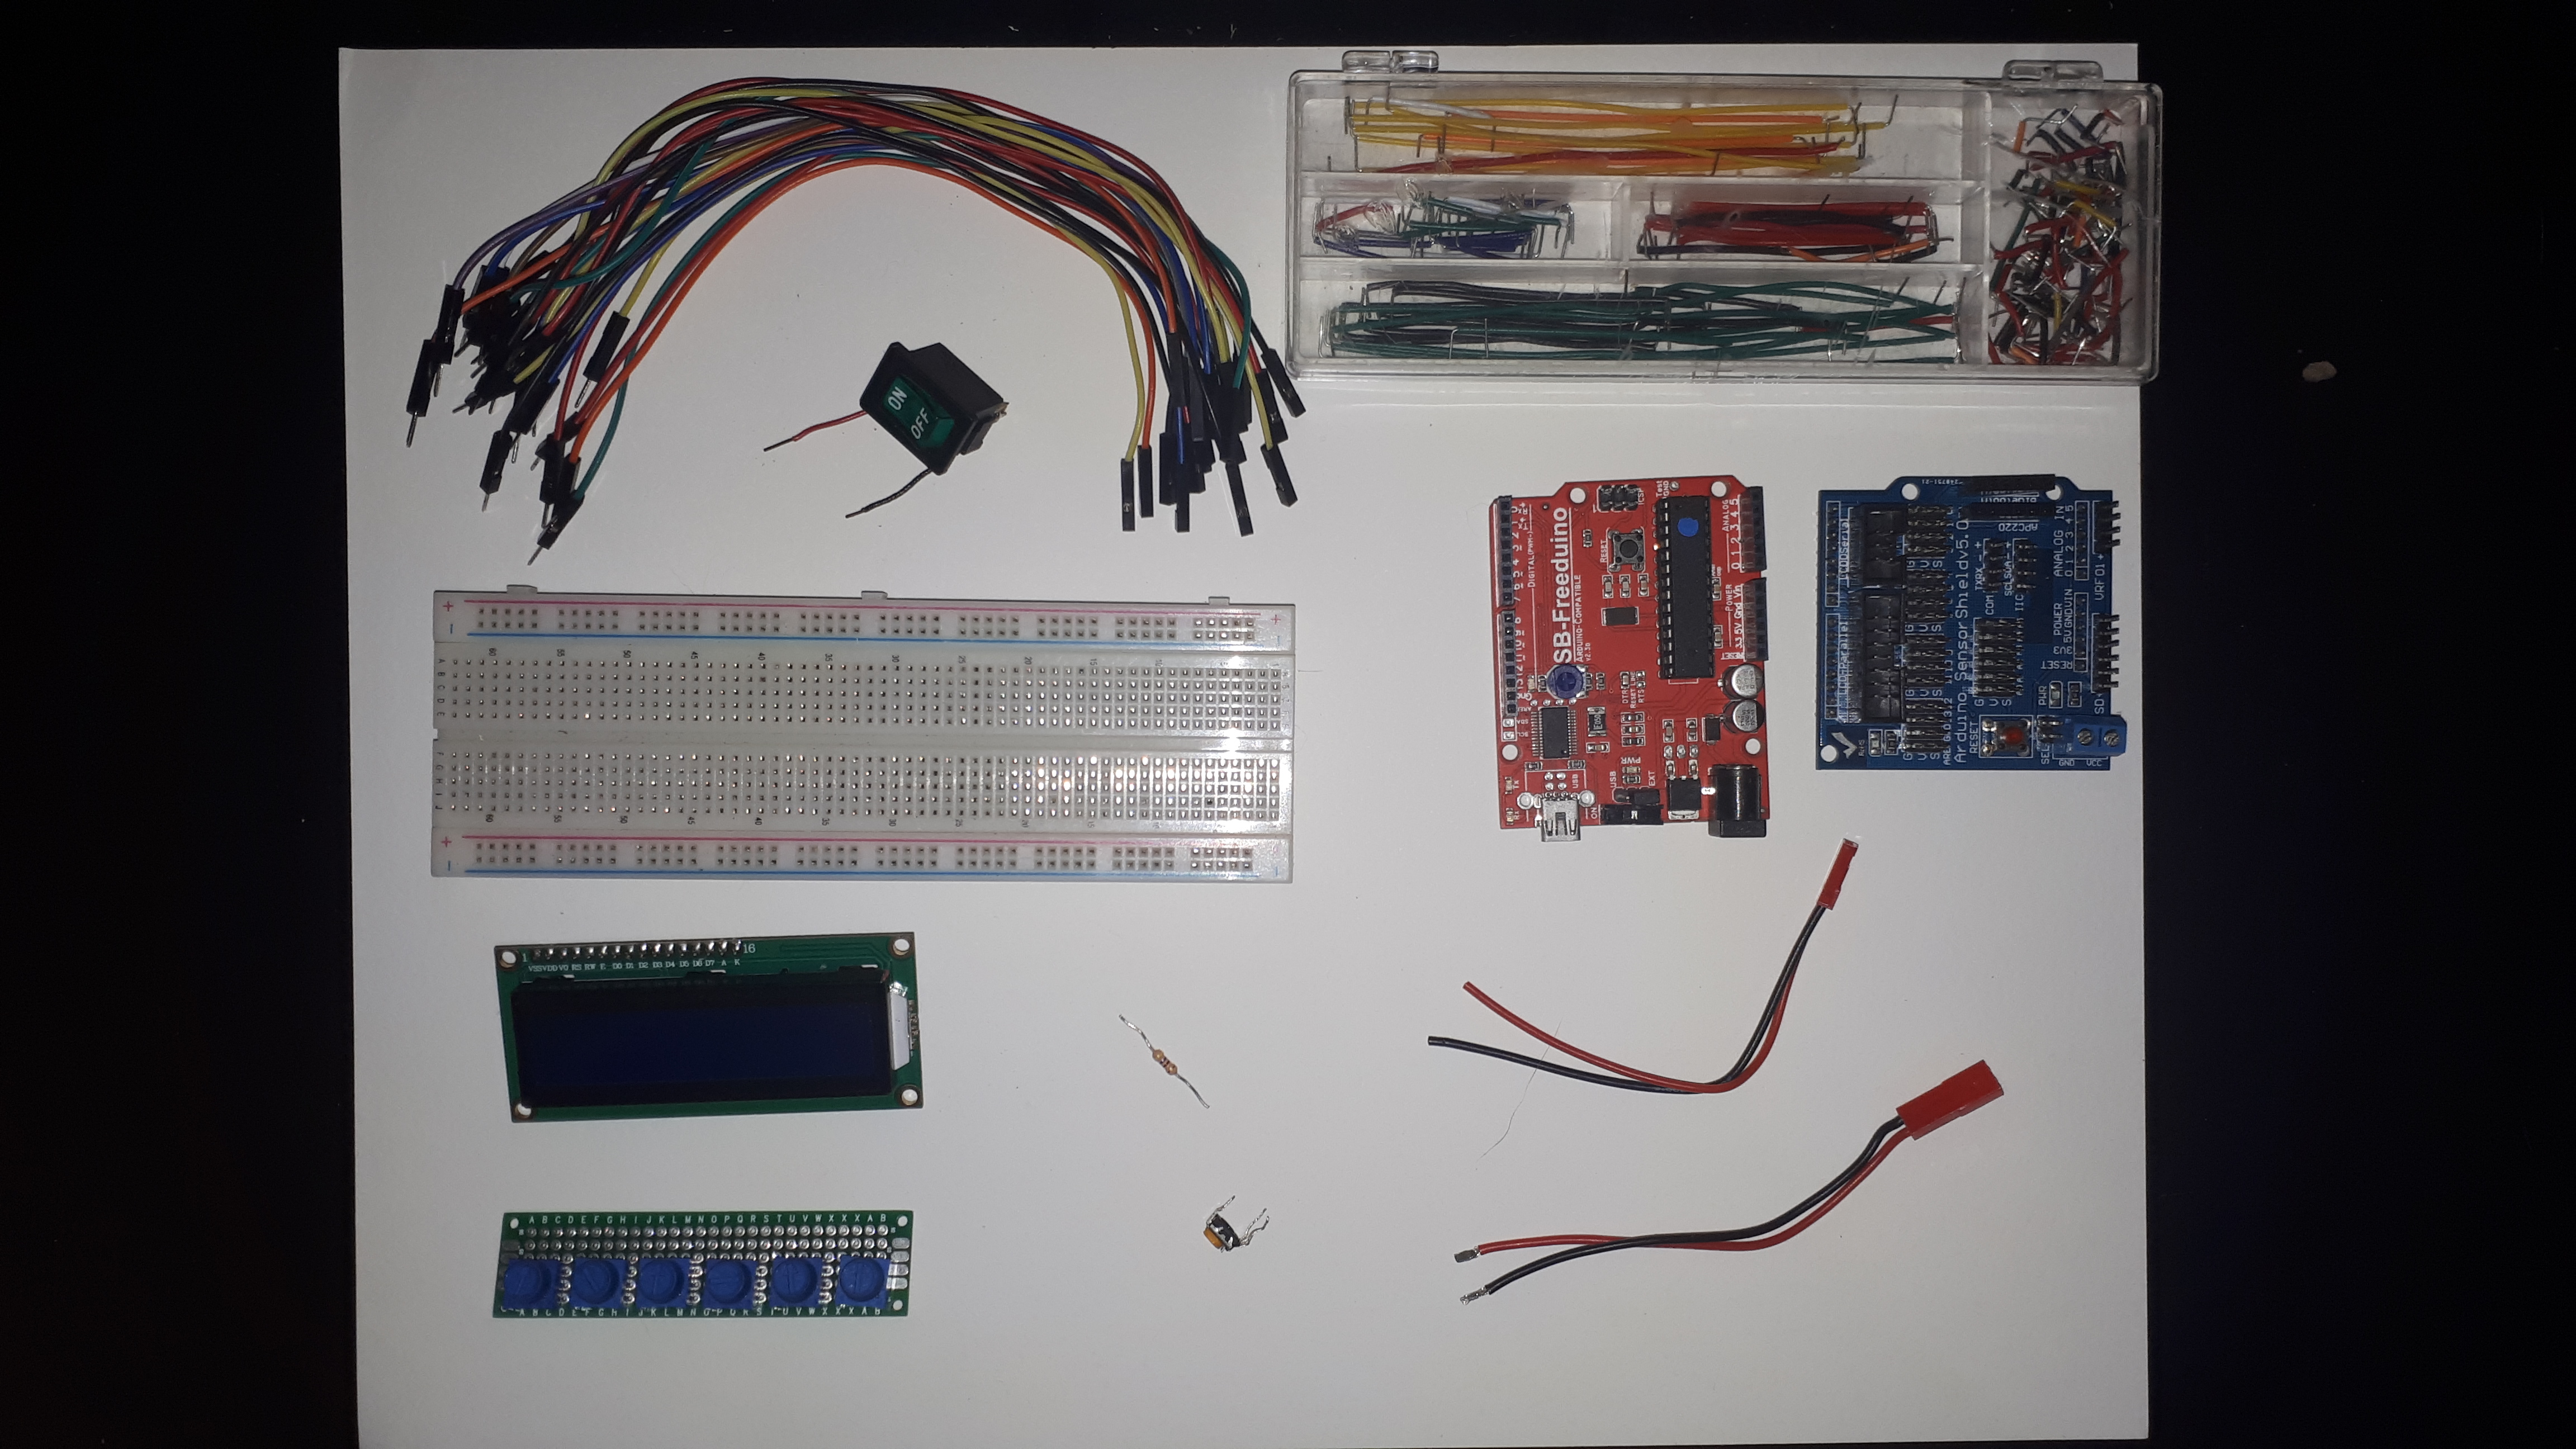
This is a picture of pretty much everything I've used except the power suplies (see below):
I made a Fritzing diagram you can use to follow along:
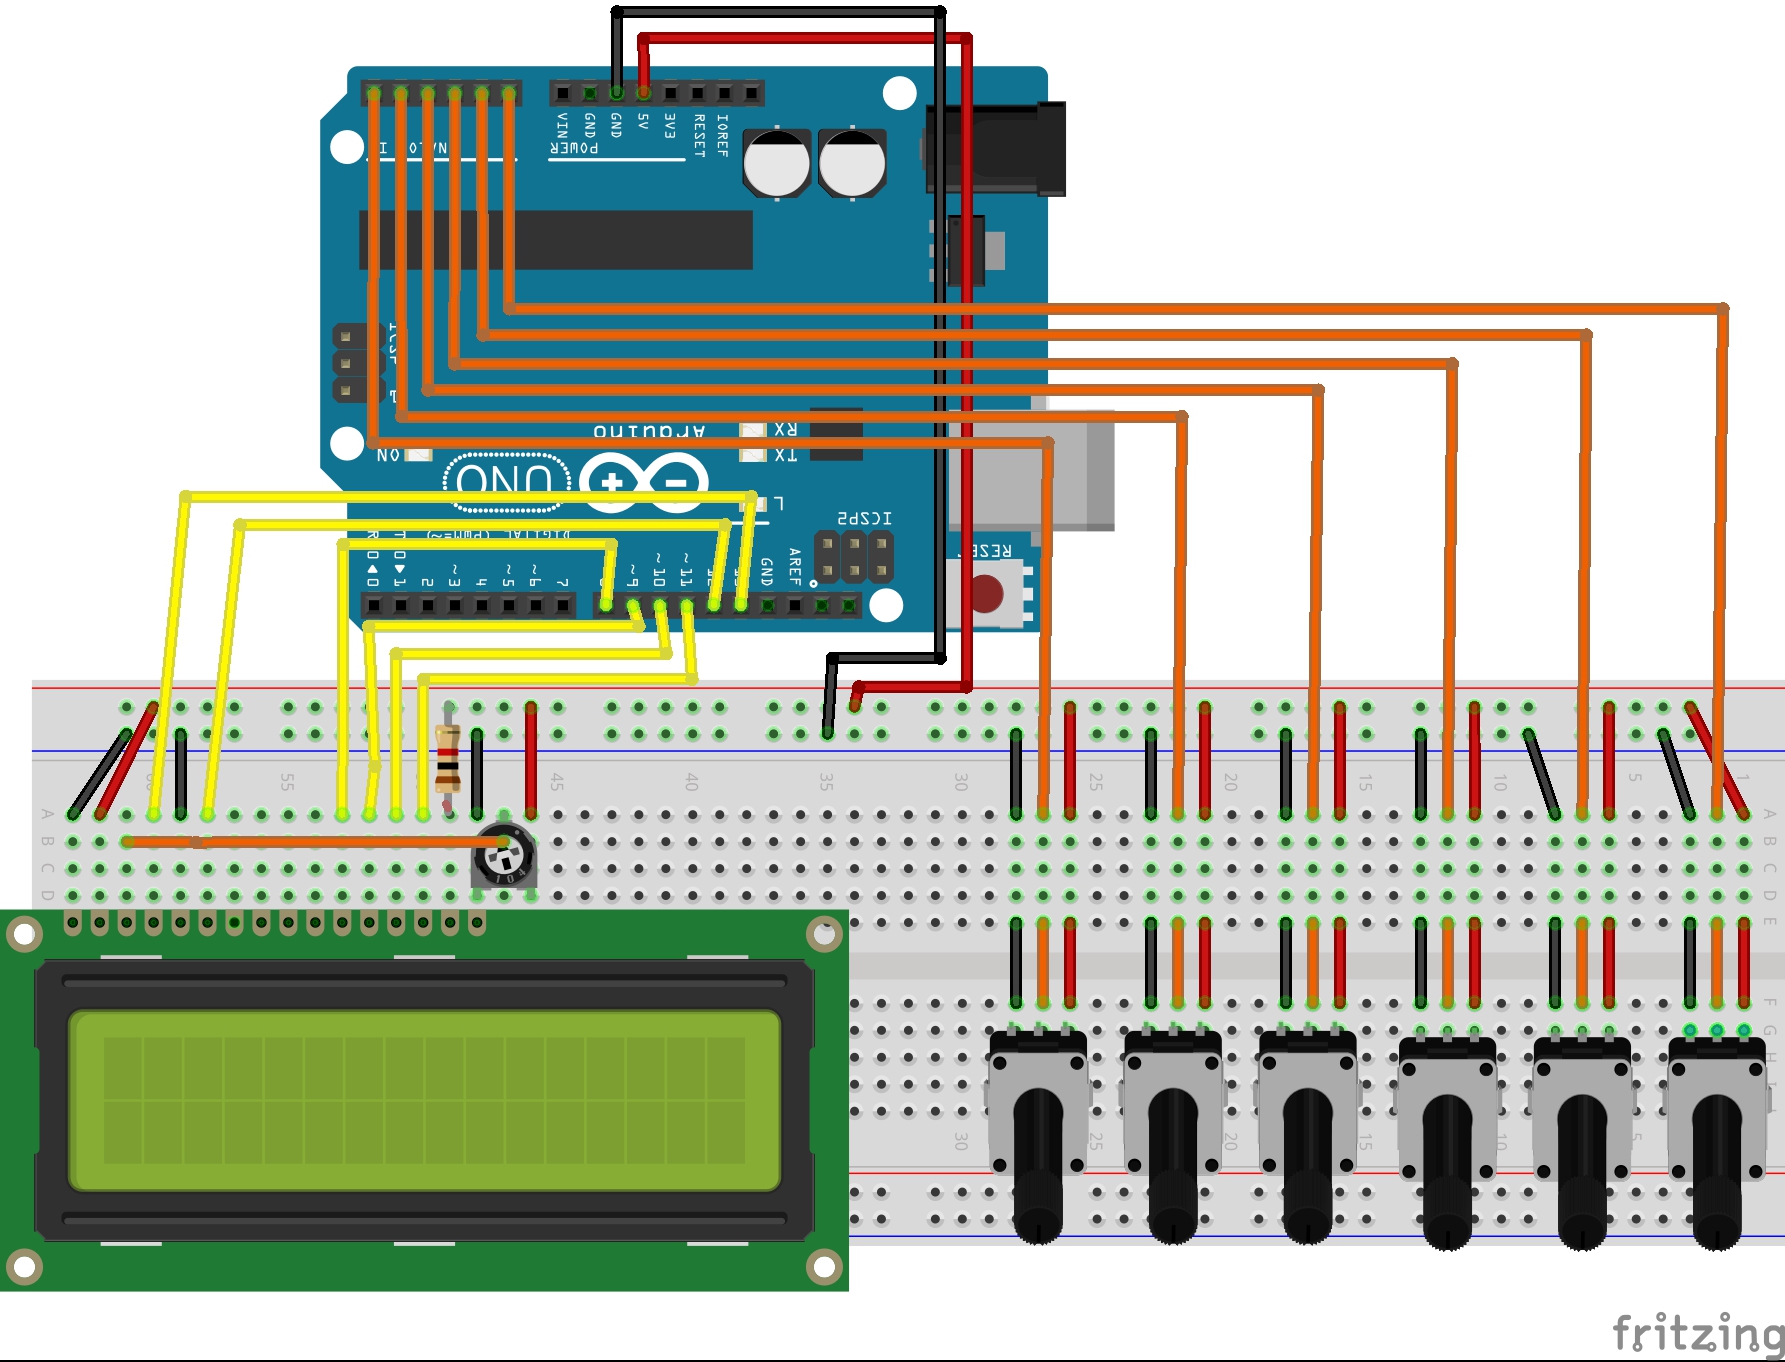
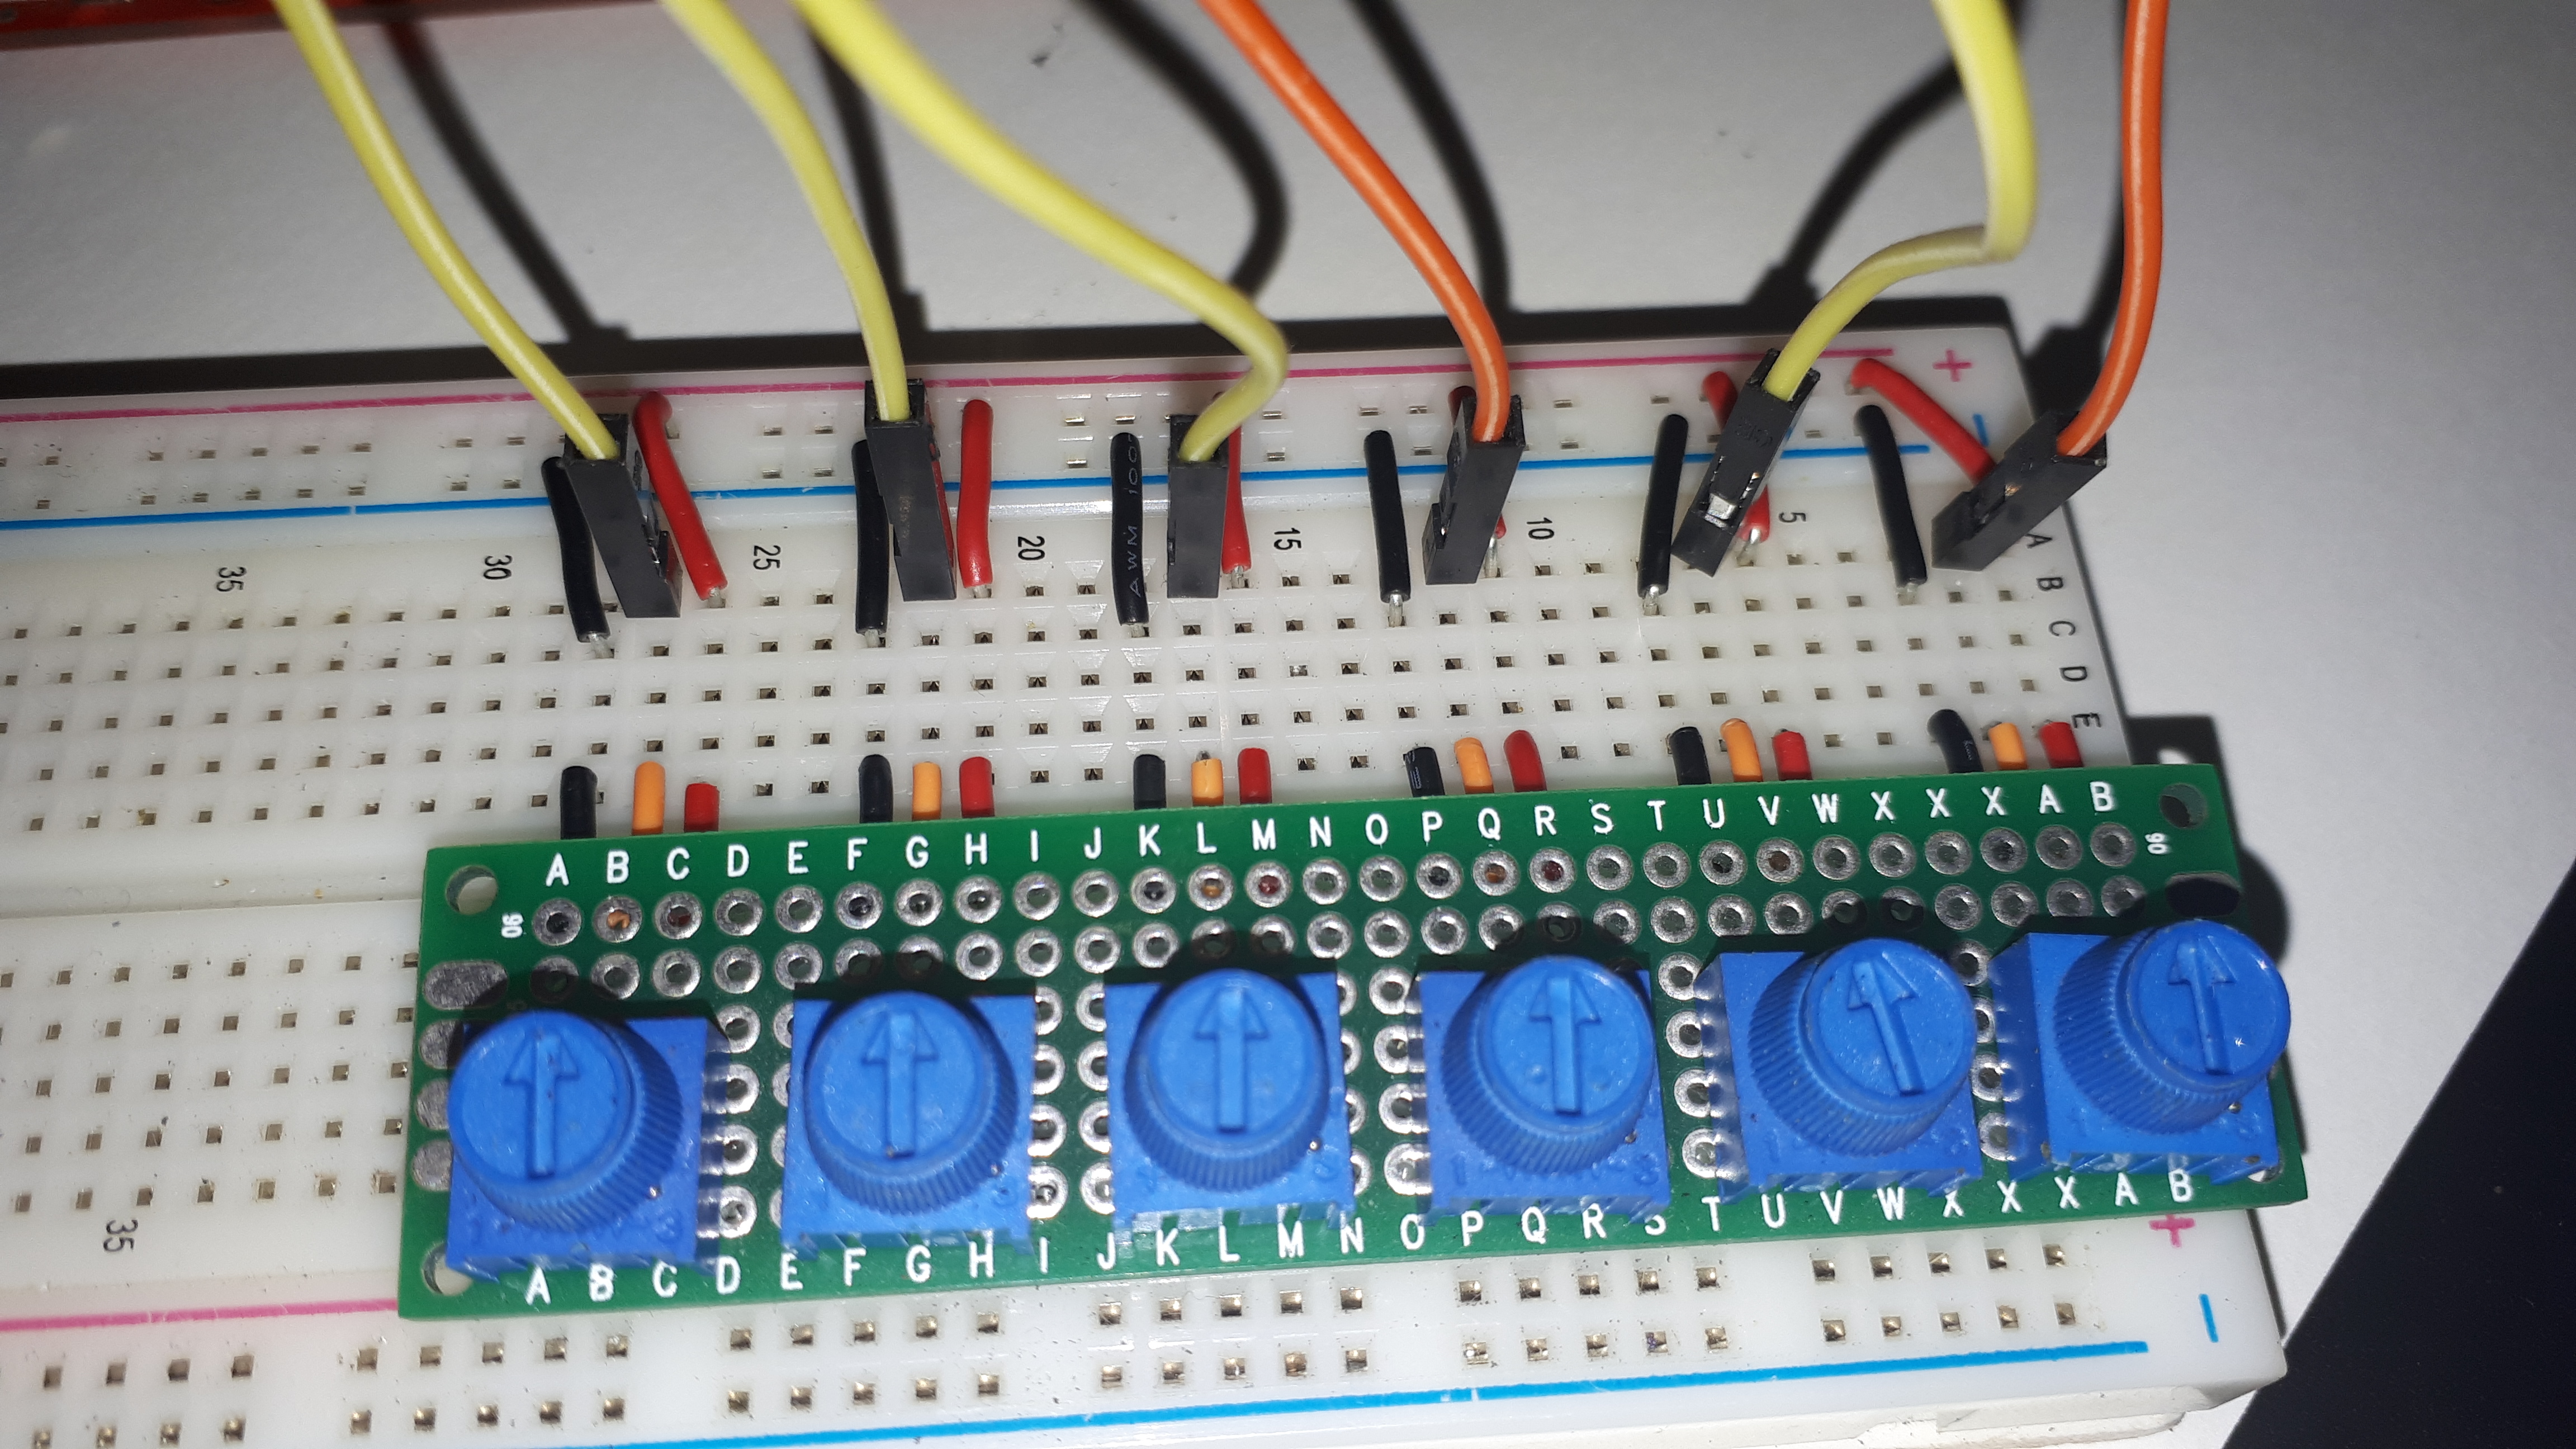
I made an array of potentiometers on a proto board, what is nice is that each legs of the potentiometers goes through the proto board and in the breadboard below, making it very handy when prototyping a project that needs a few pots !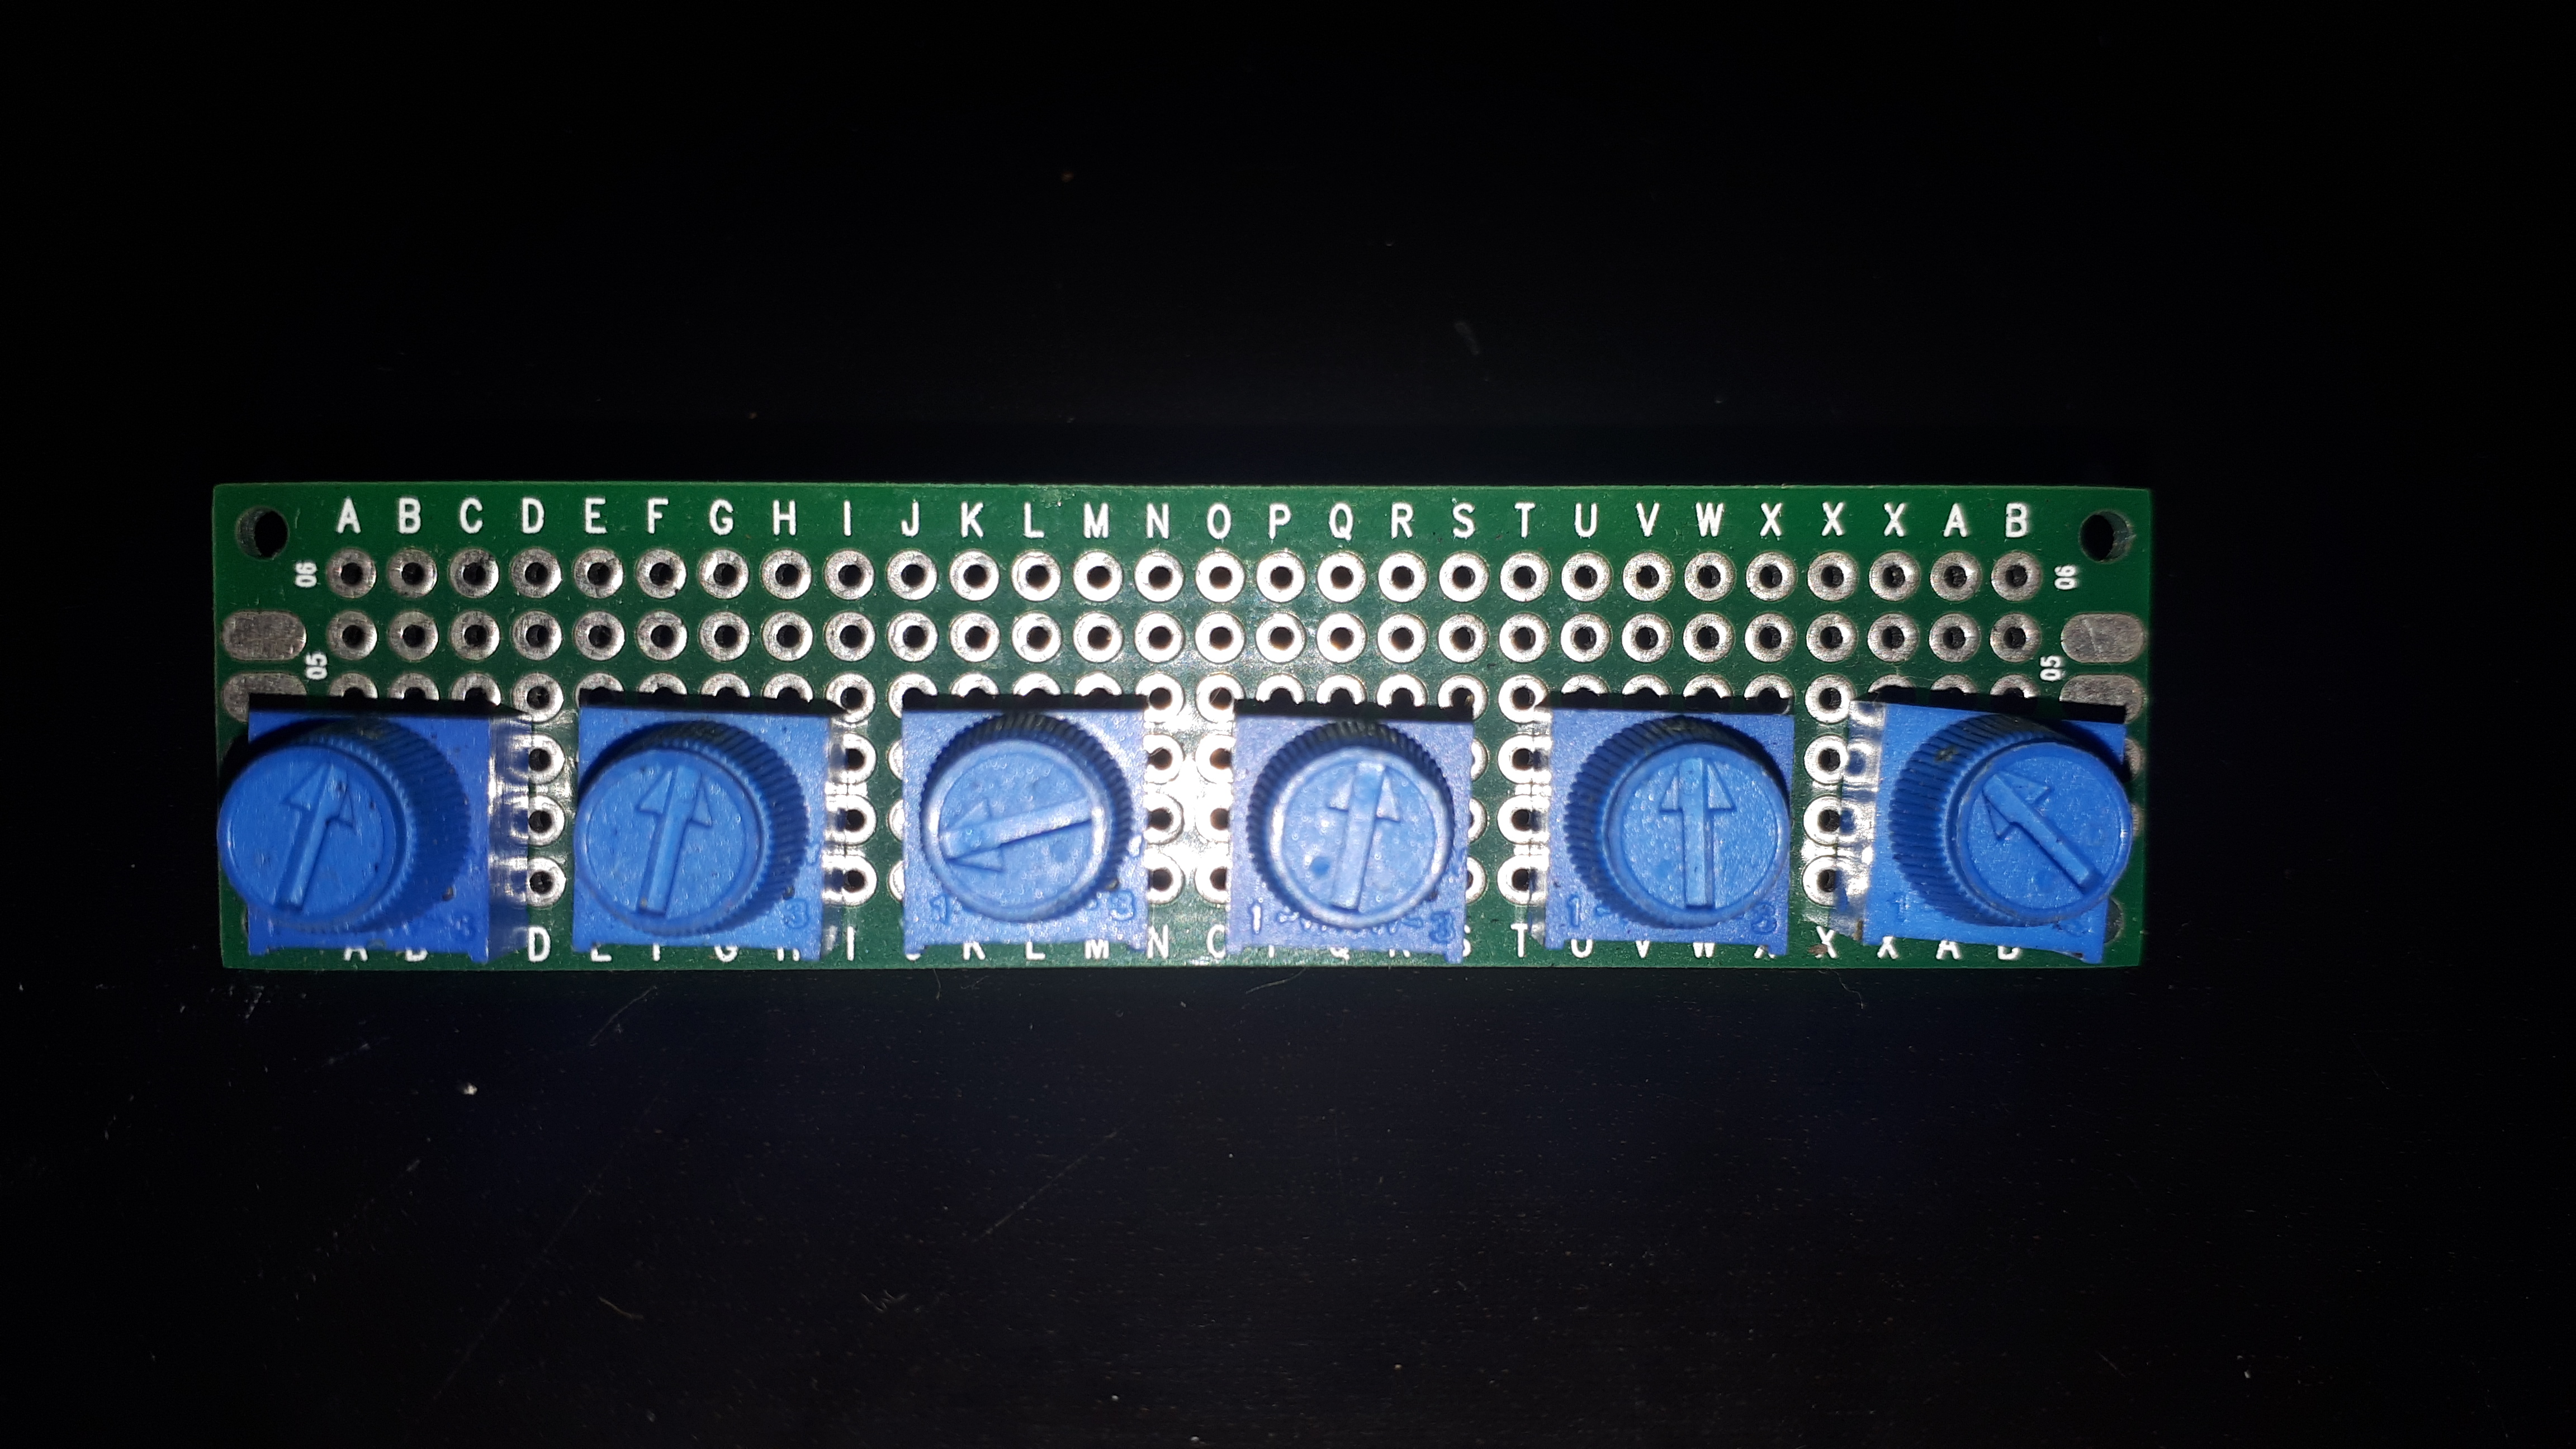
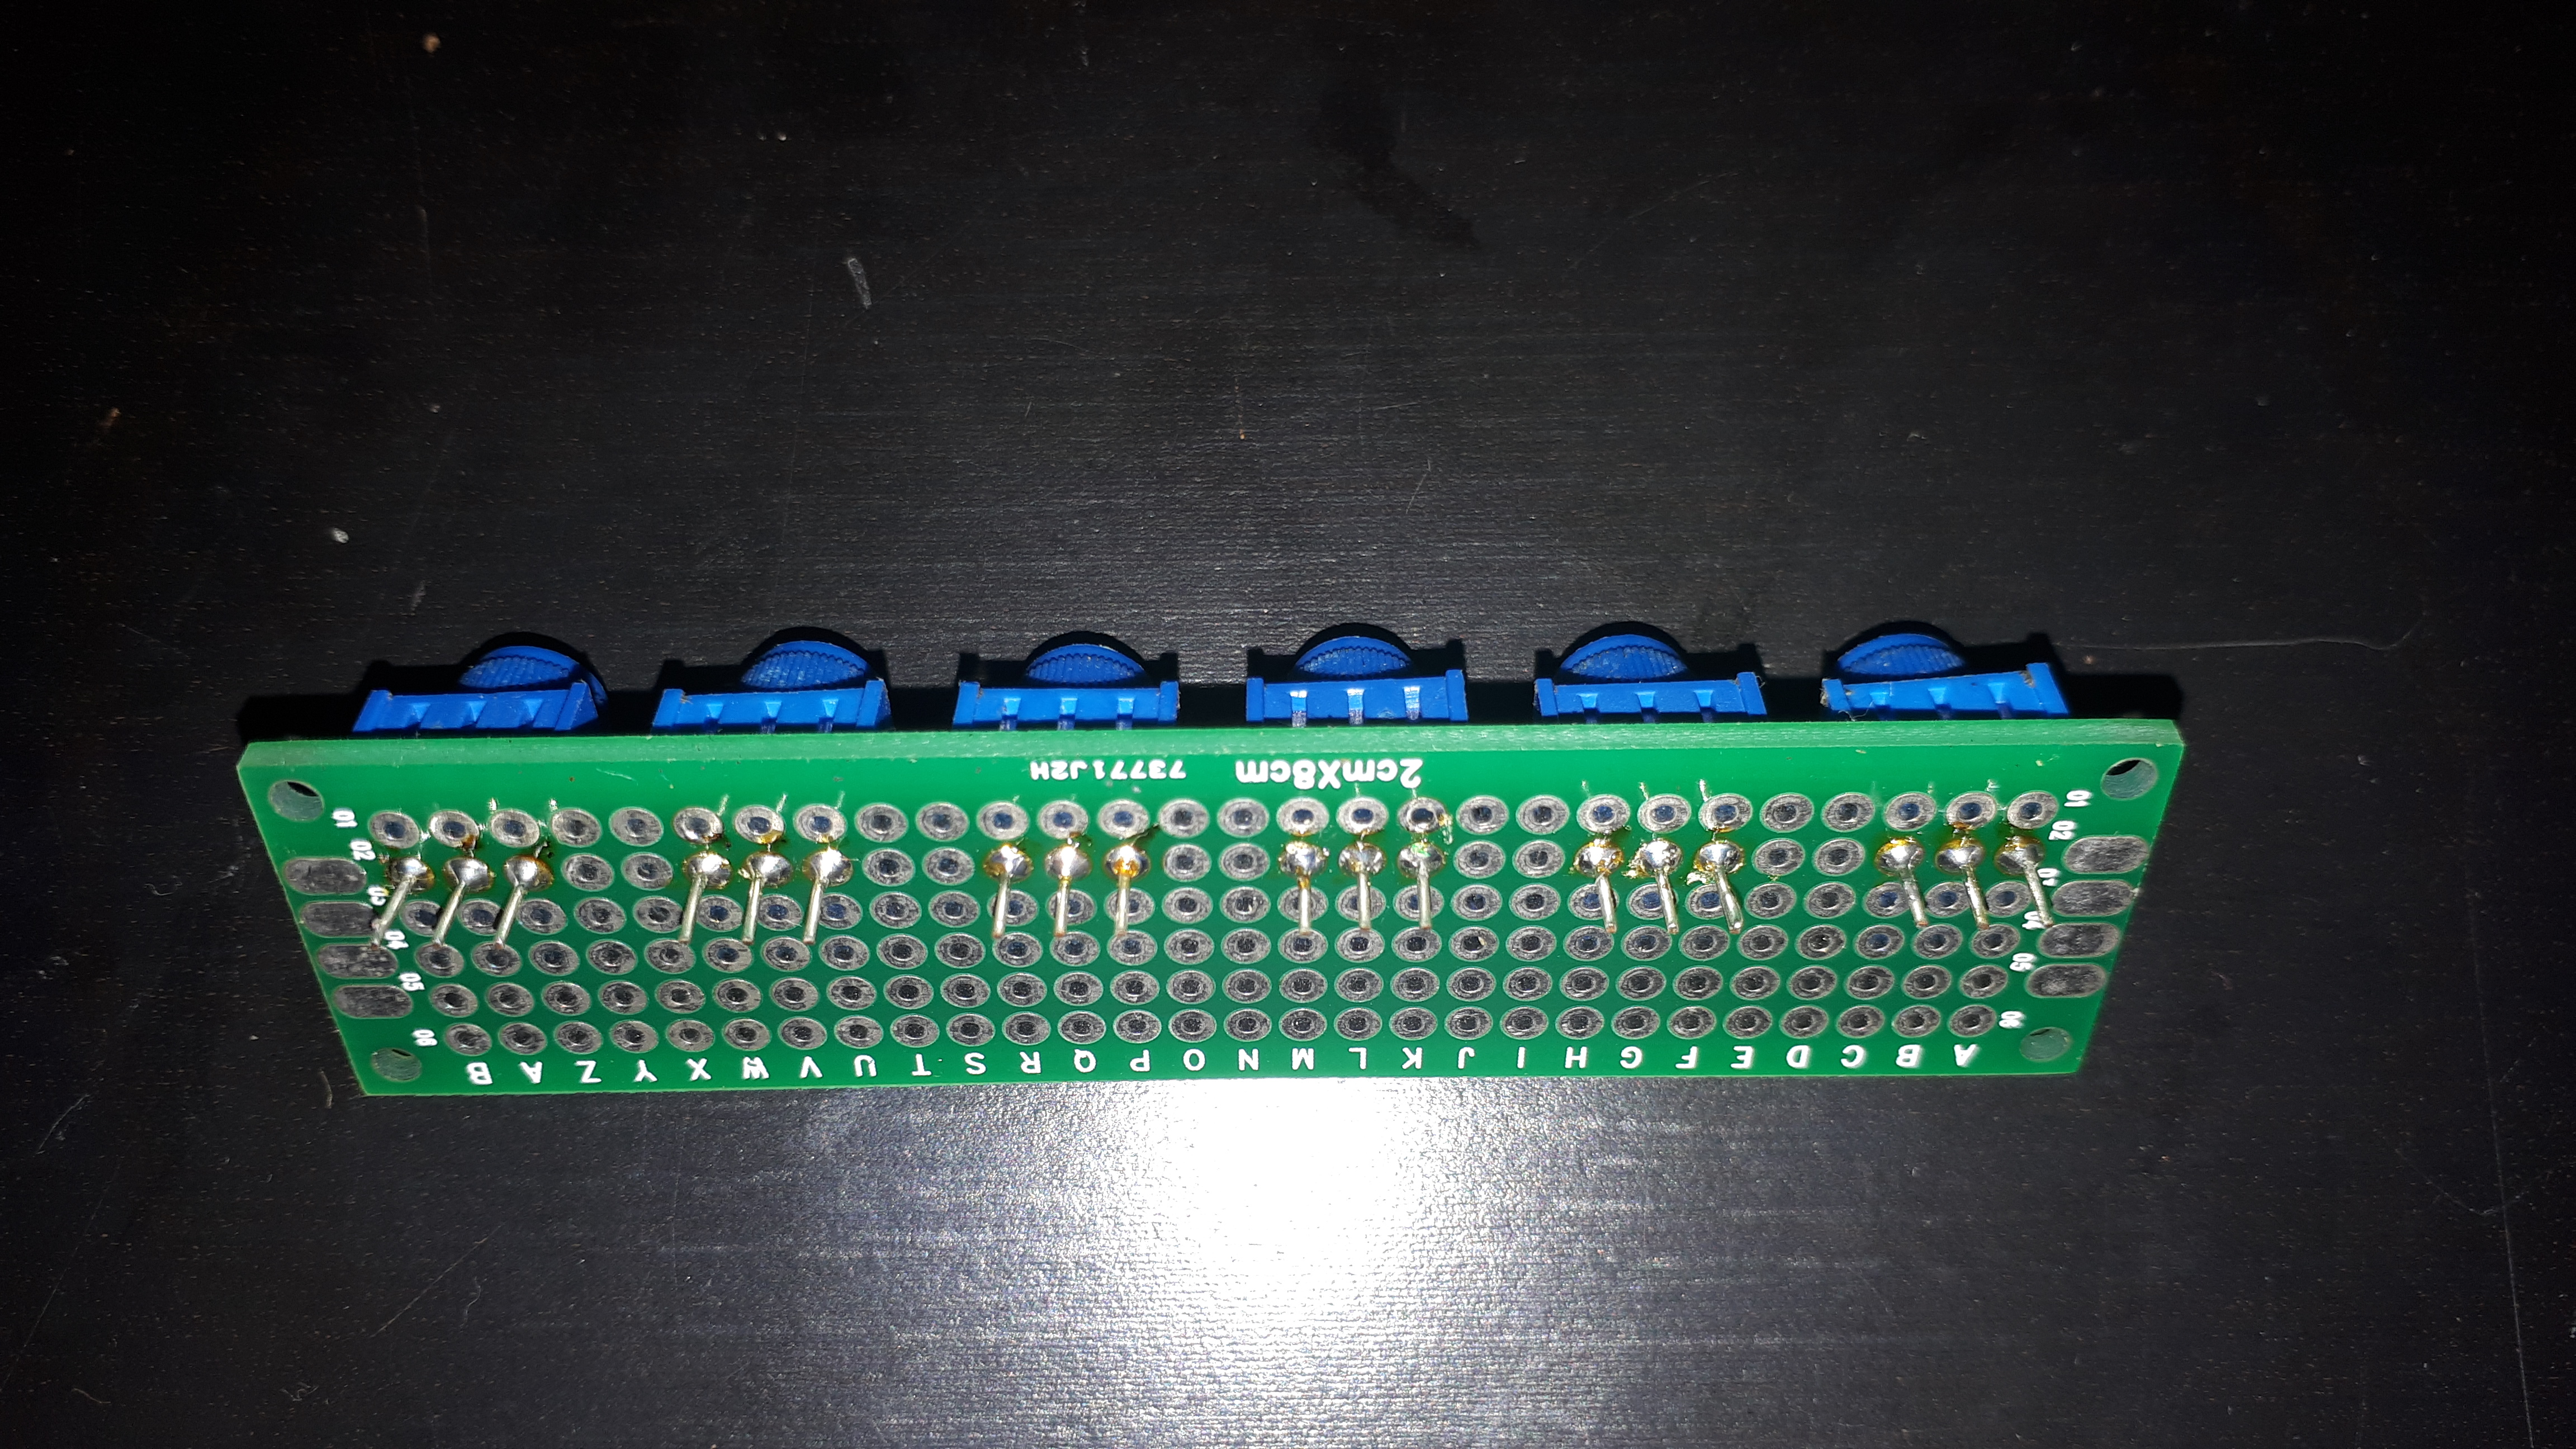
Wiring the potentiometer array:

From left to right, the connection to the Arduino are: A0, A1, A2, A3, A4, A5
We now place the wires for the LCD:
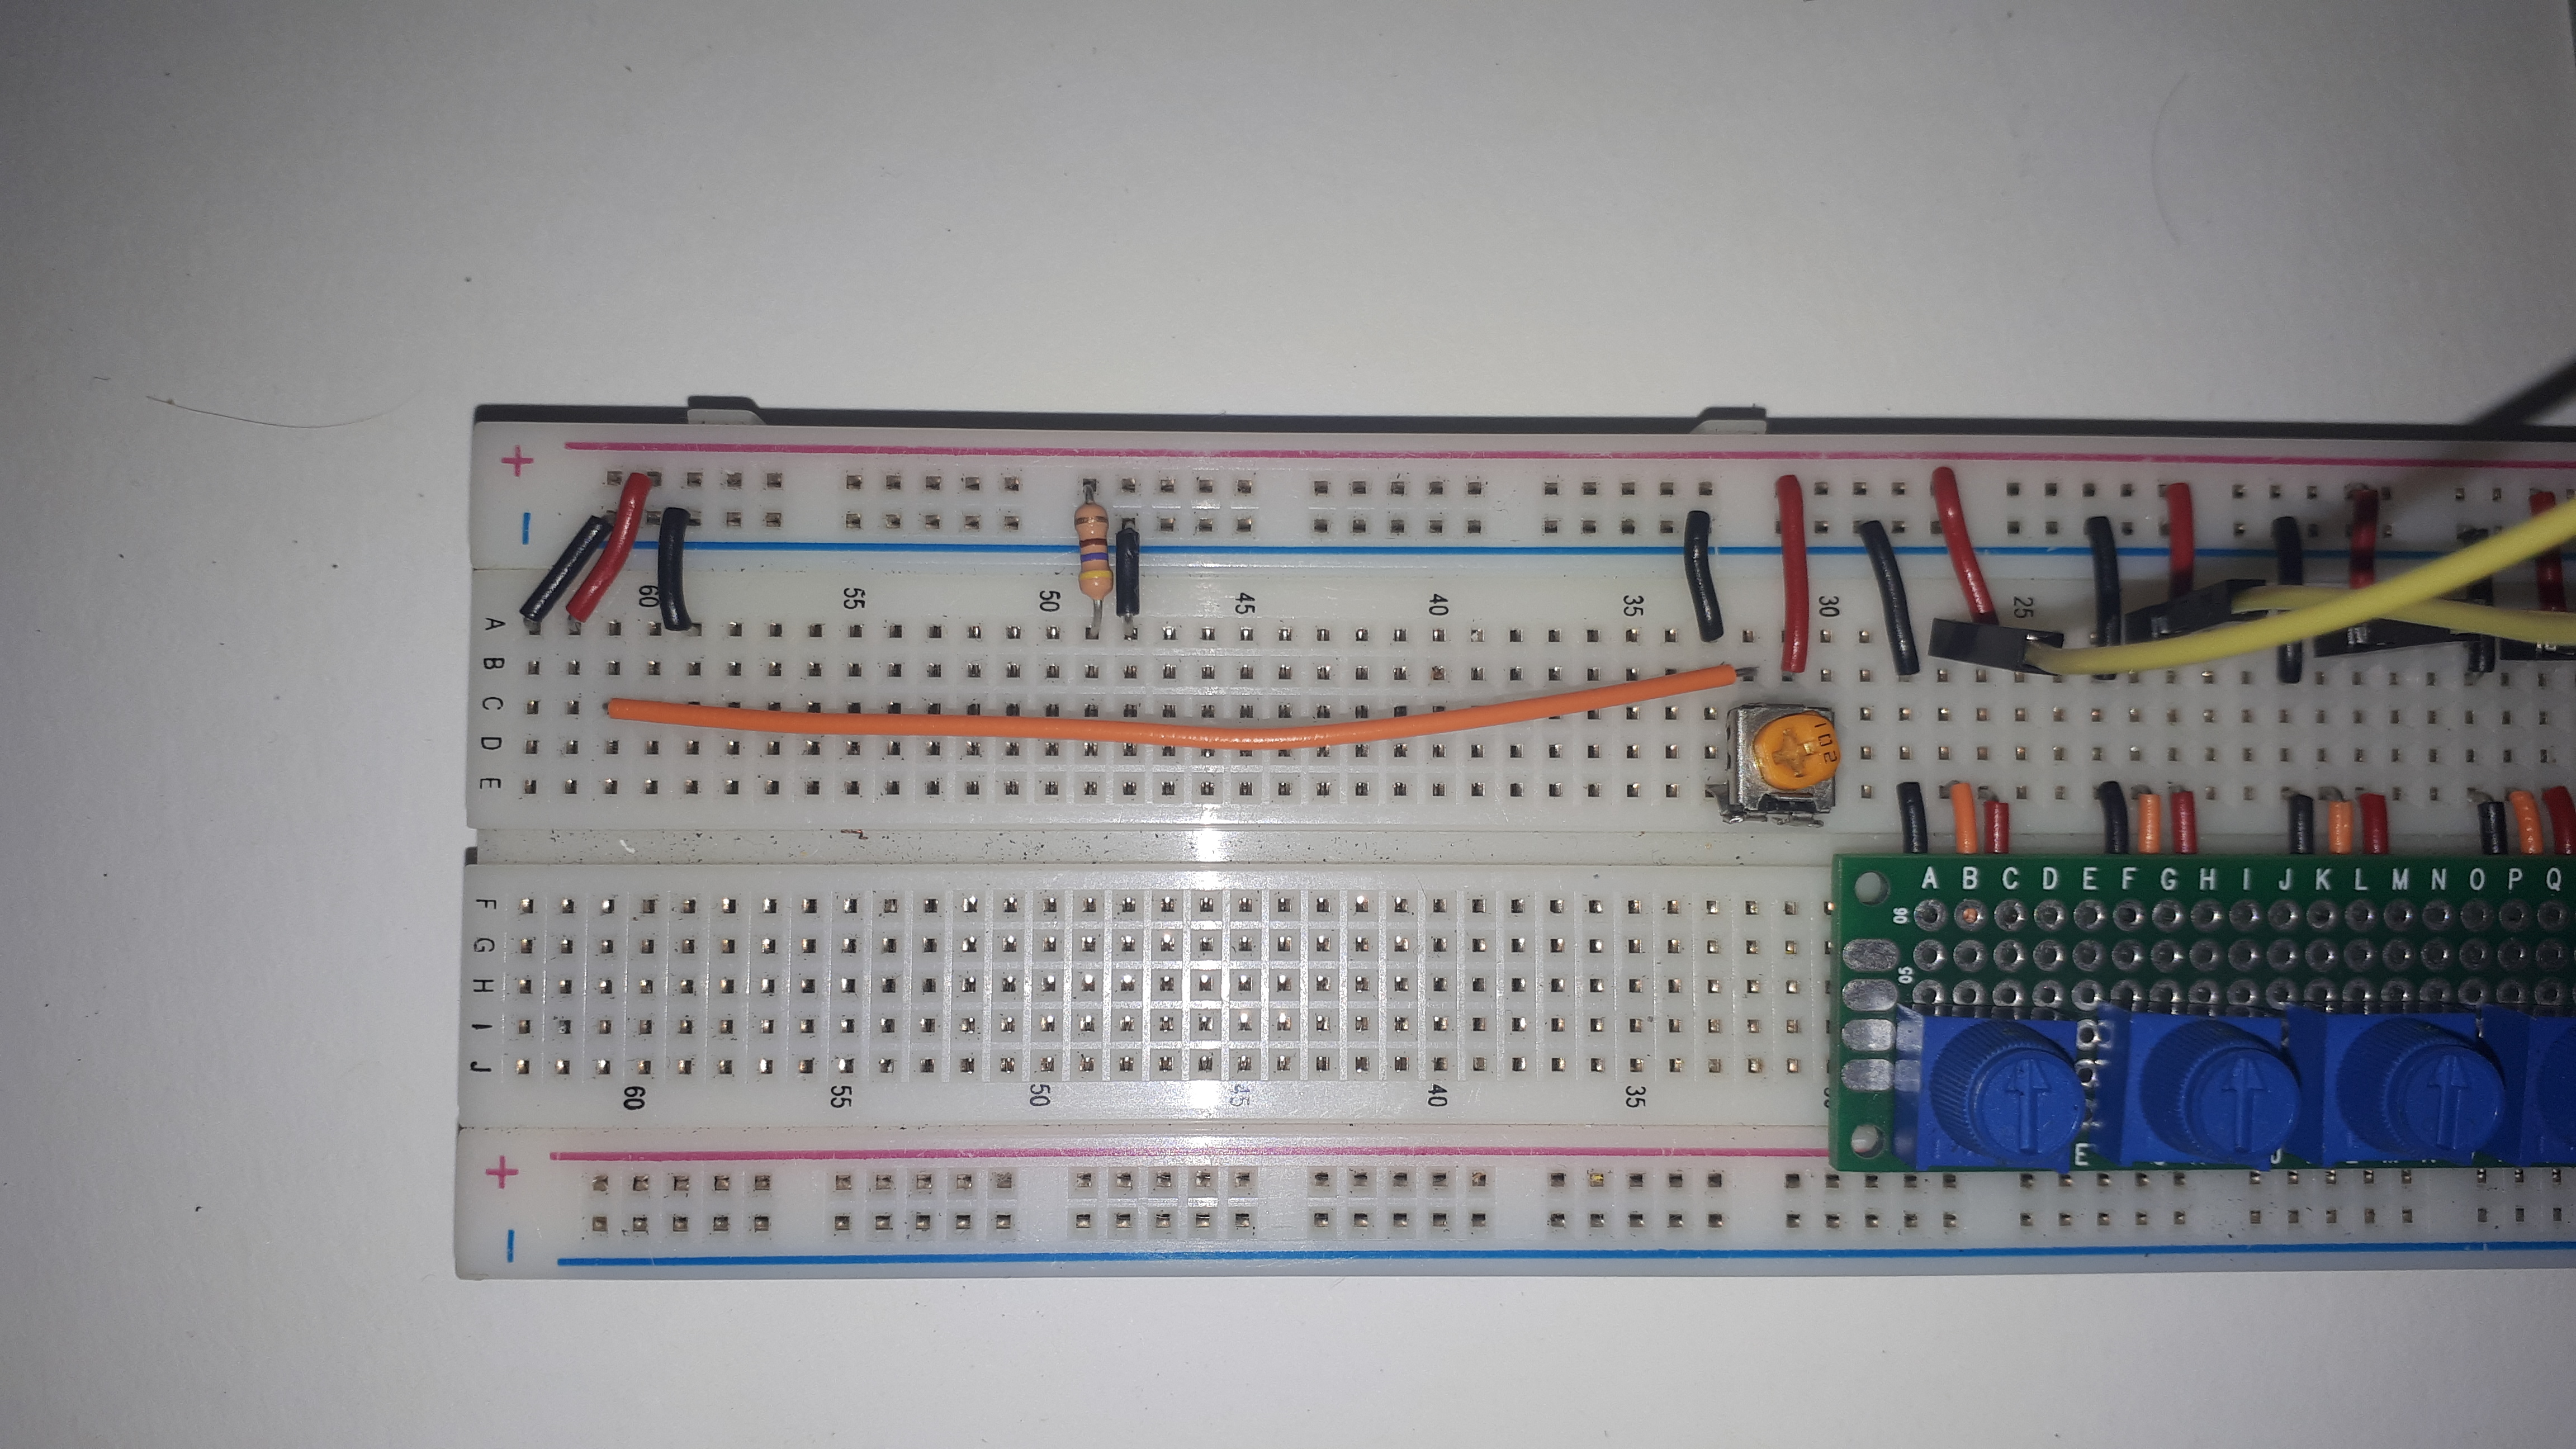
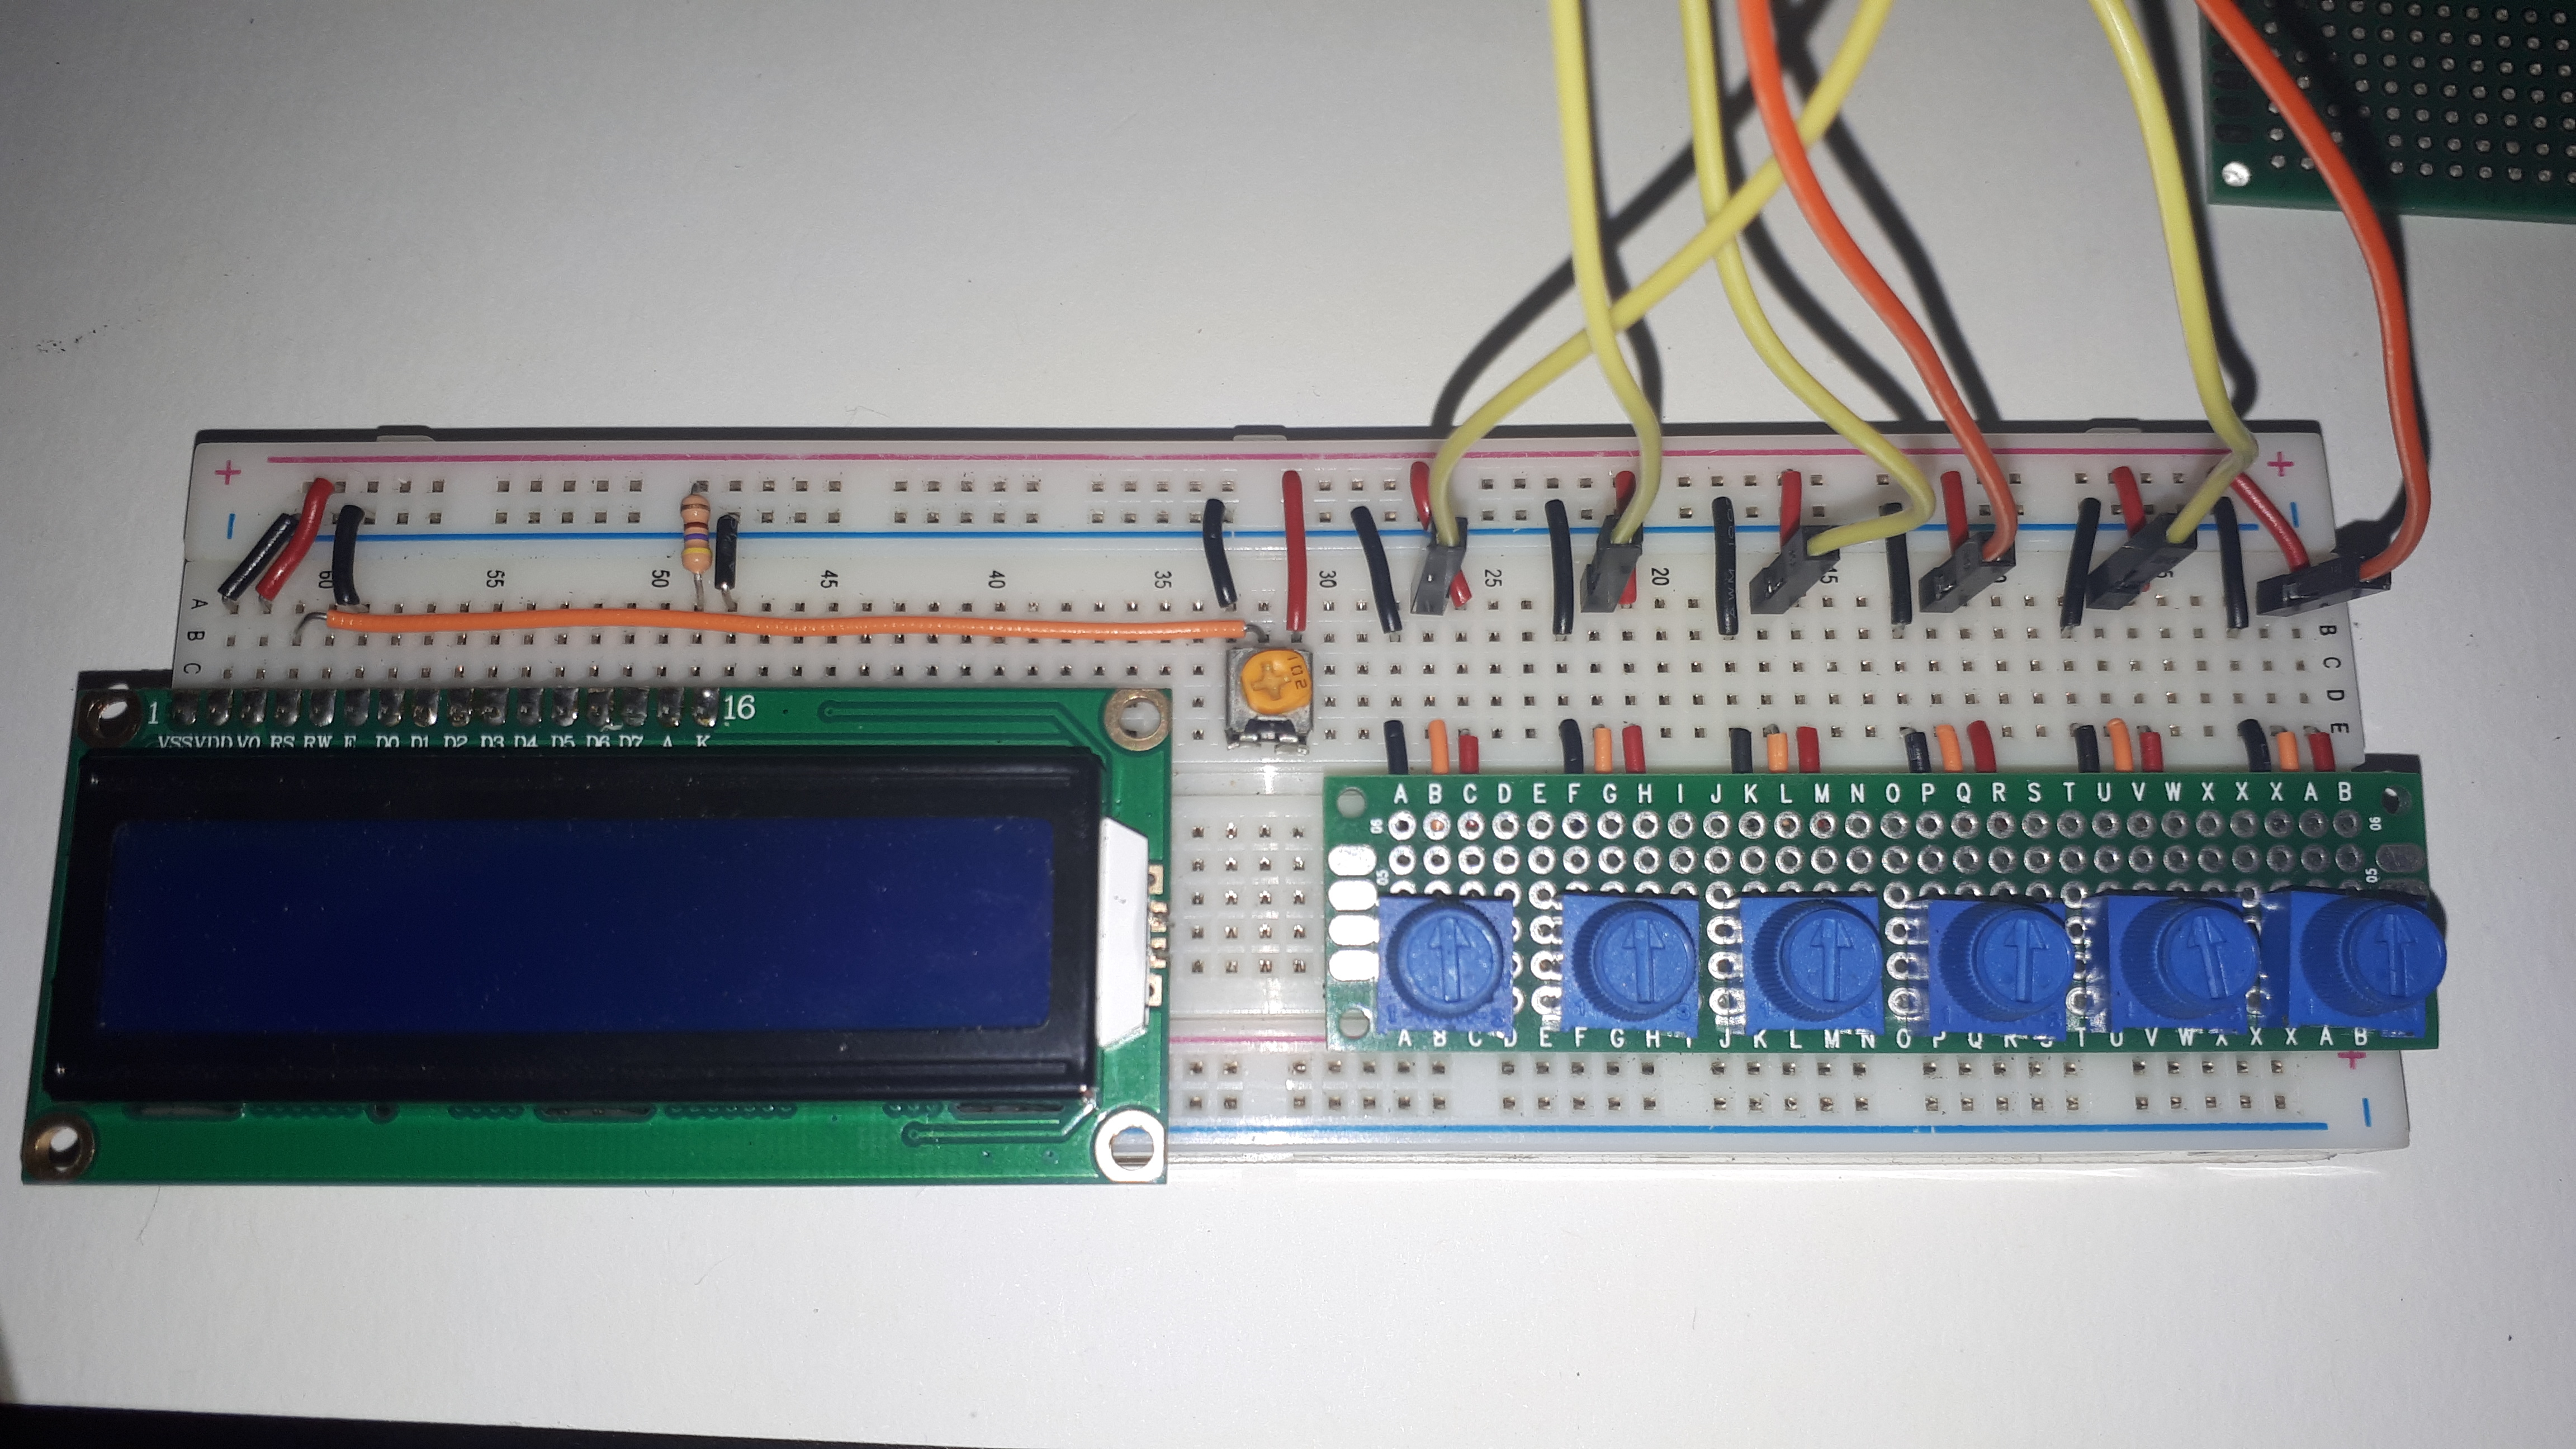
Connect the RS, E, D4, D5, D6, D7 to the D13, D12, D11, D10, D9, D8 of the Arduino and the 5V / GND from the Arduino to the breadboard power rails:

You will find in the attachments (on the left menu) a file named "LCD Test Arduino Code", upload it to your Arduino and adjust the trimpot until you can see what is written on the LCD.
When booting up, the screen should write "Hello World" then it will show 6 letters followed by a value between 0 and 180:
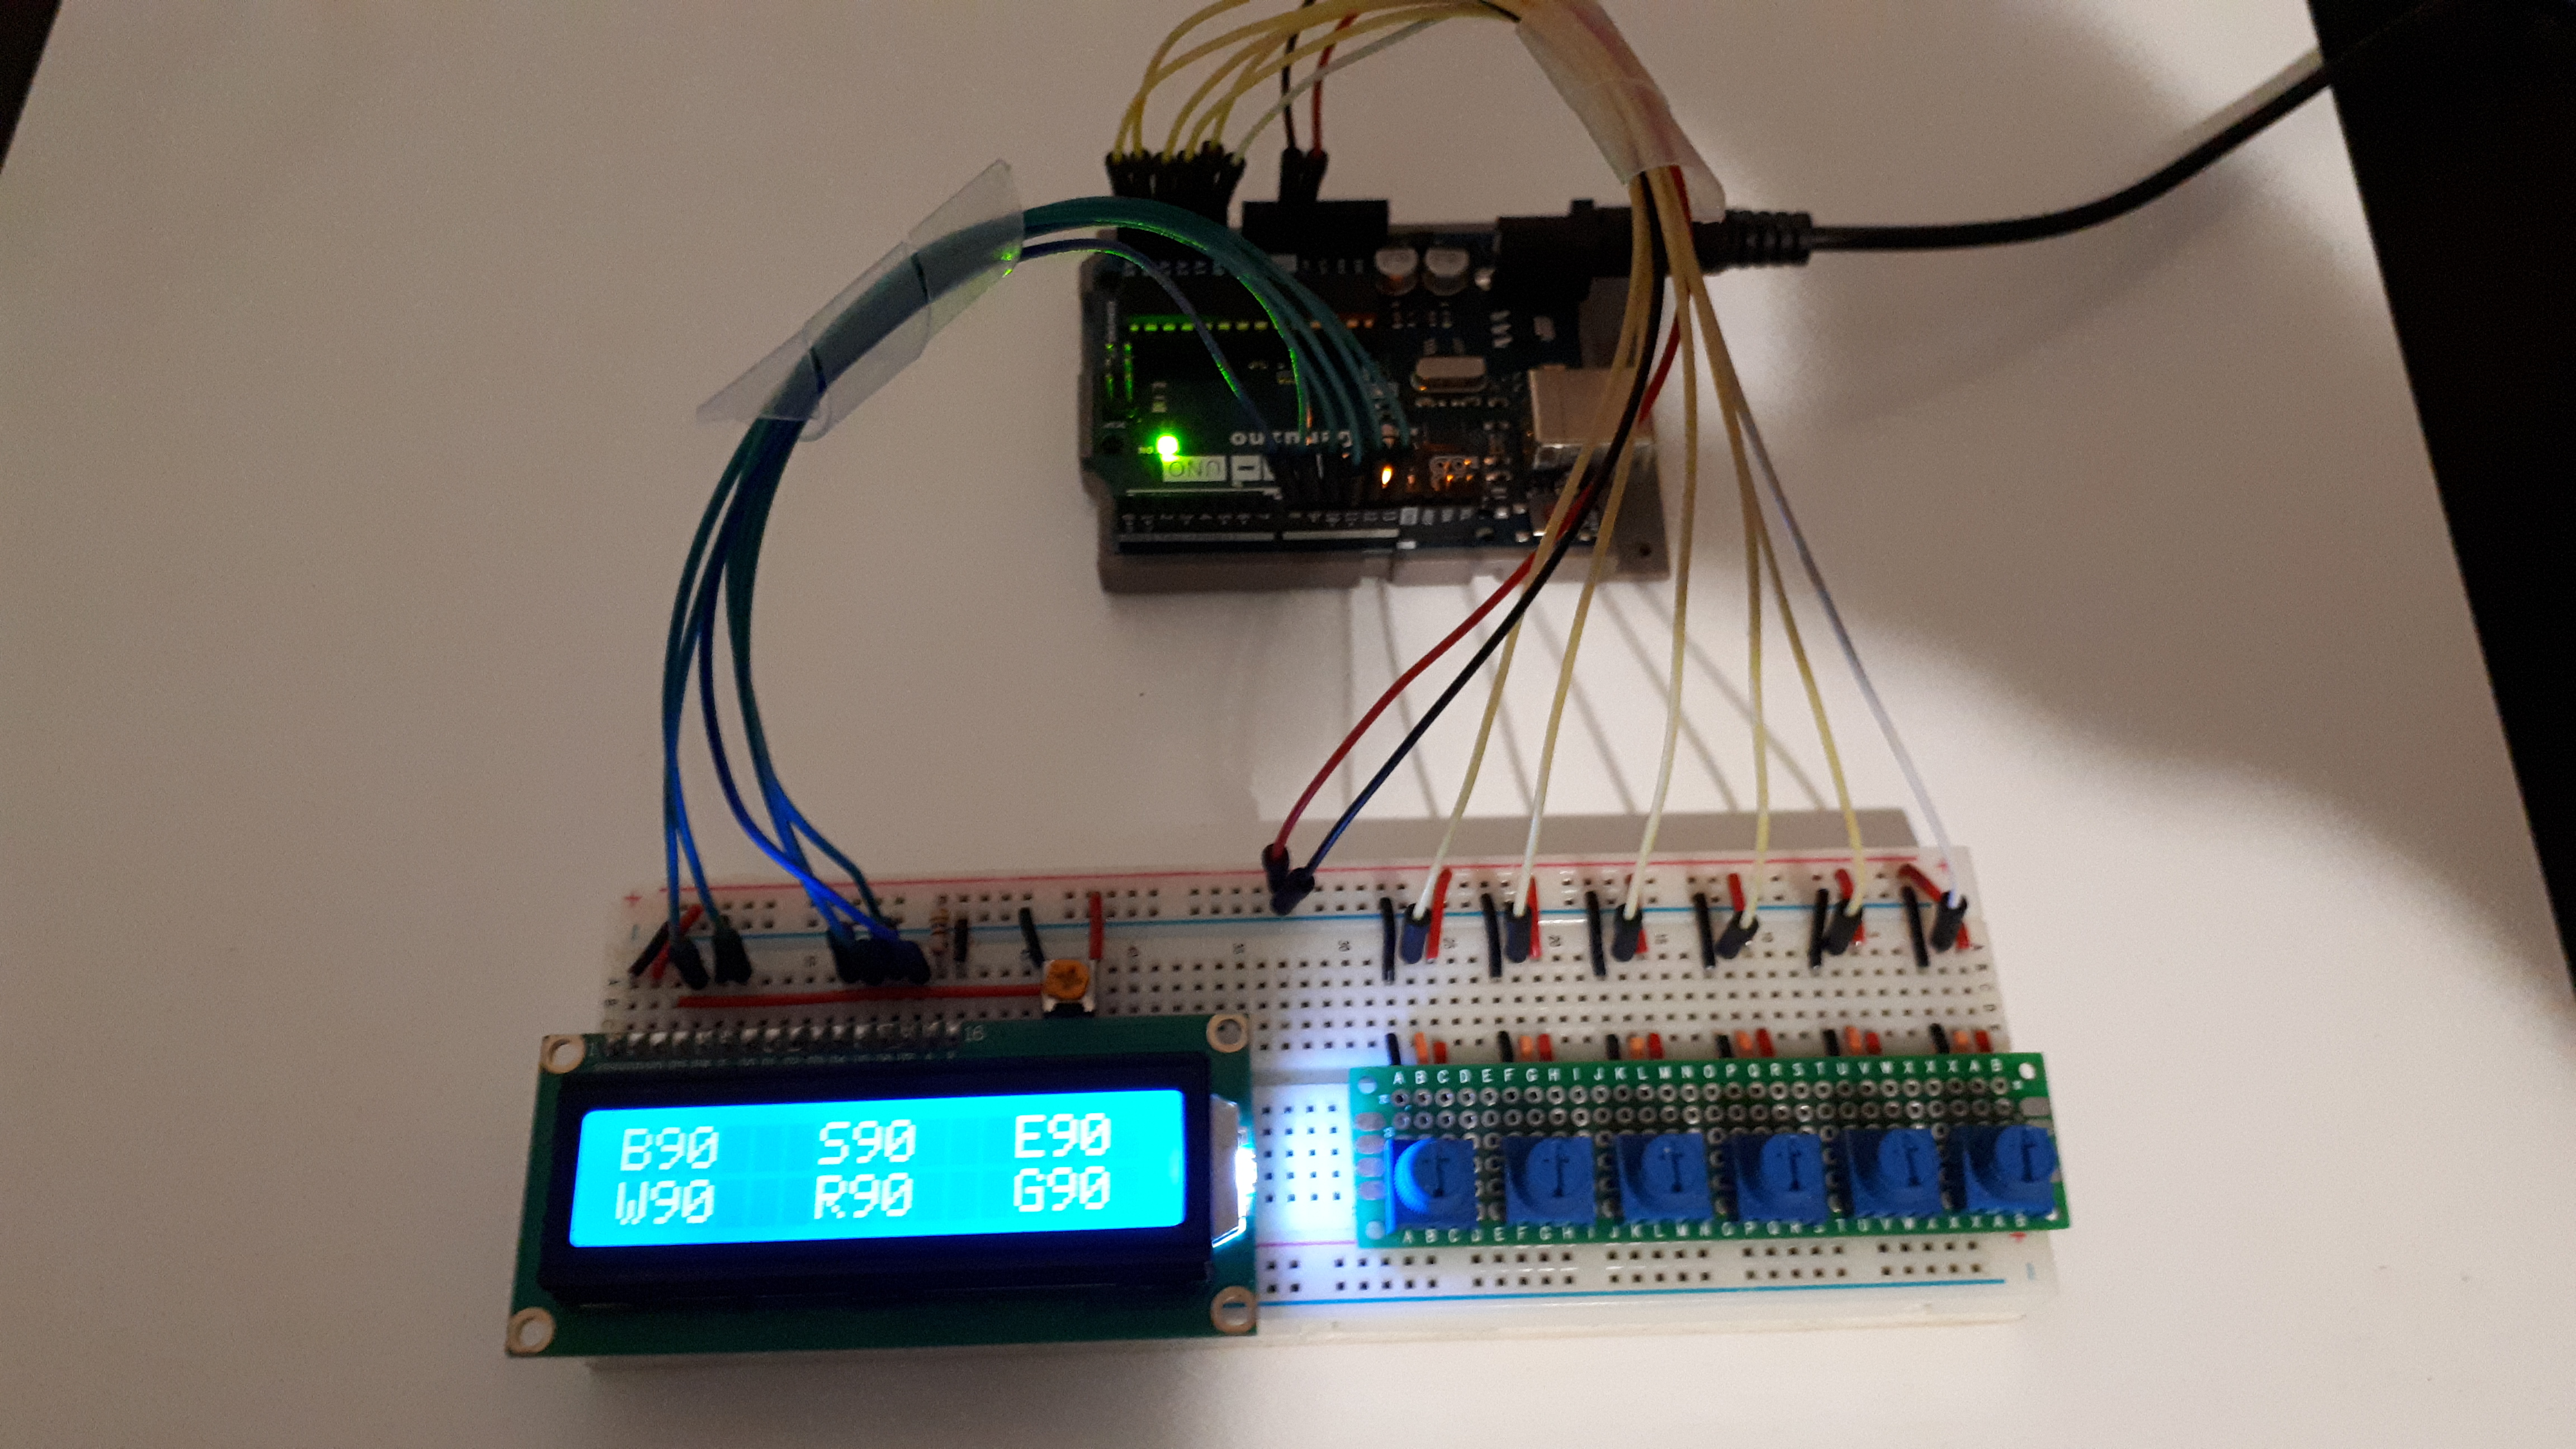
The letters can be changed but since I want to control a 6dof robotic arm they mean: Base, Shoulder, Elbow, Wrist, Rotate and Gripper. You can rename them in the code as you please.
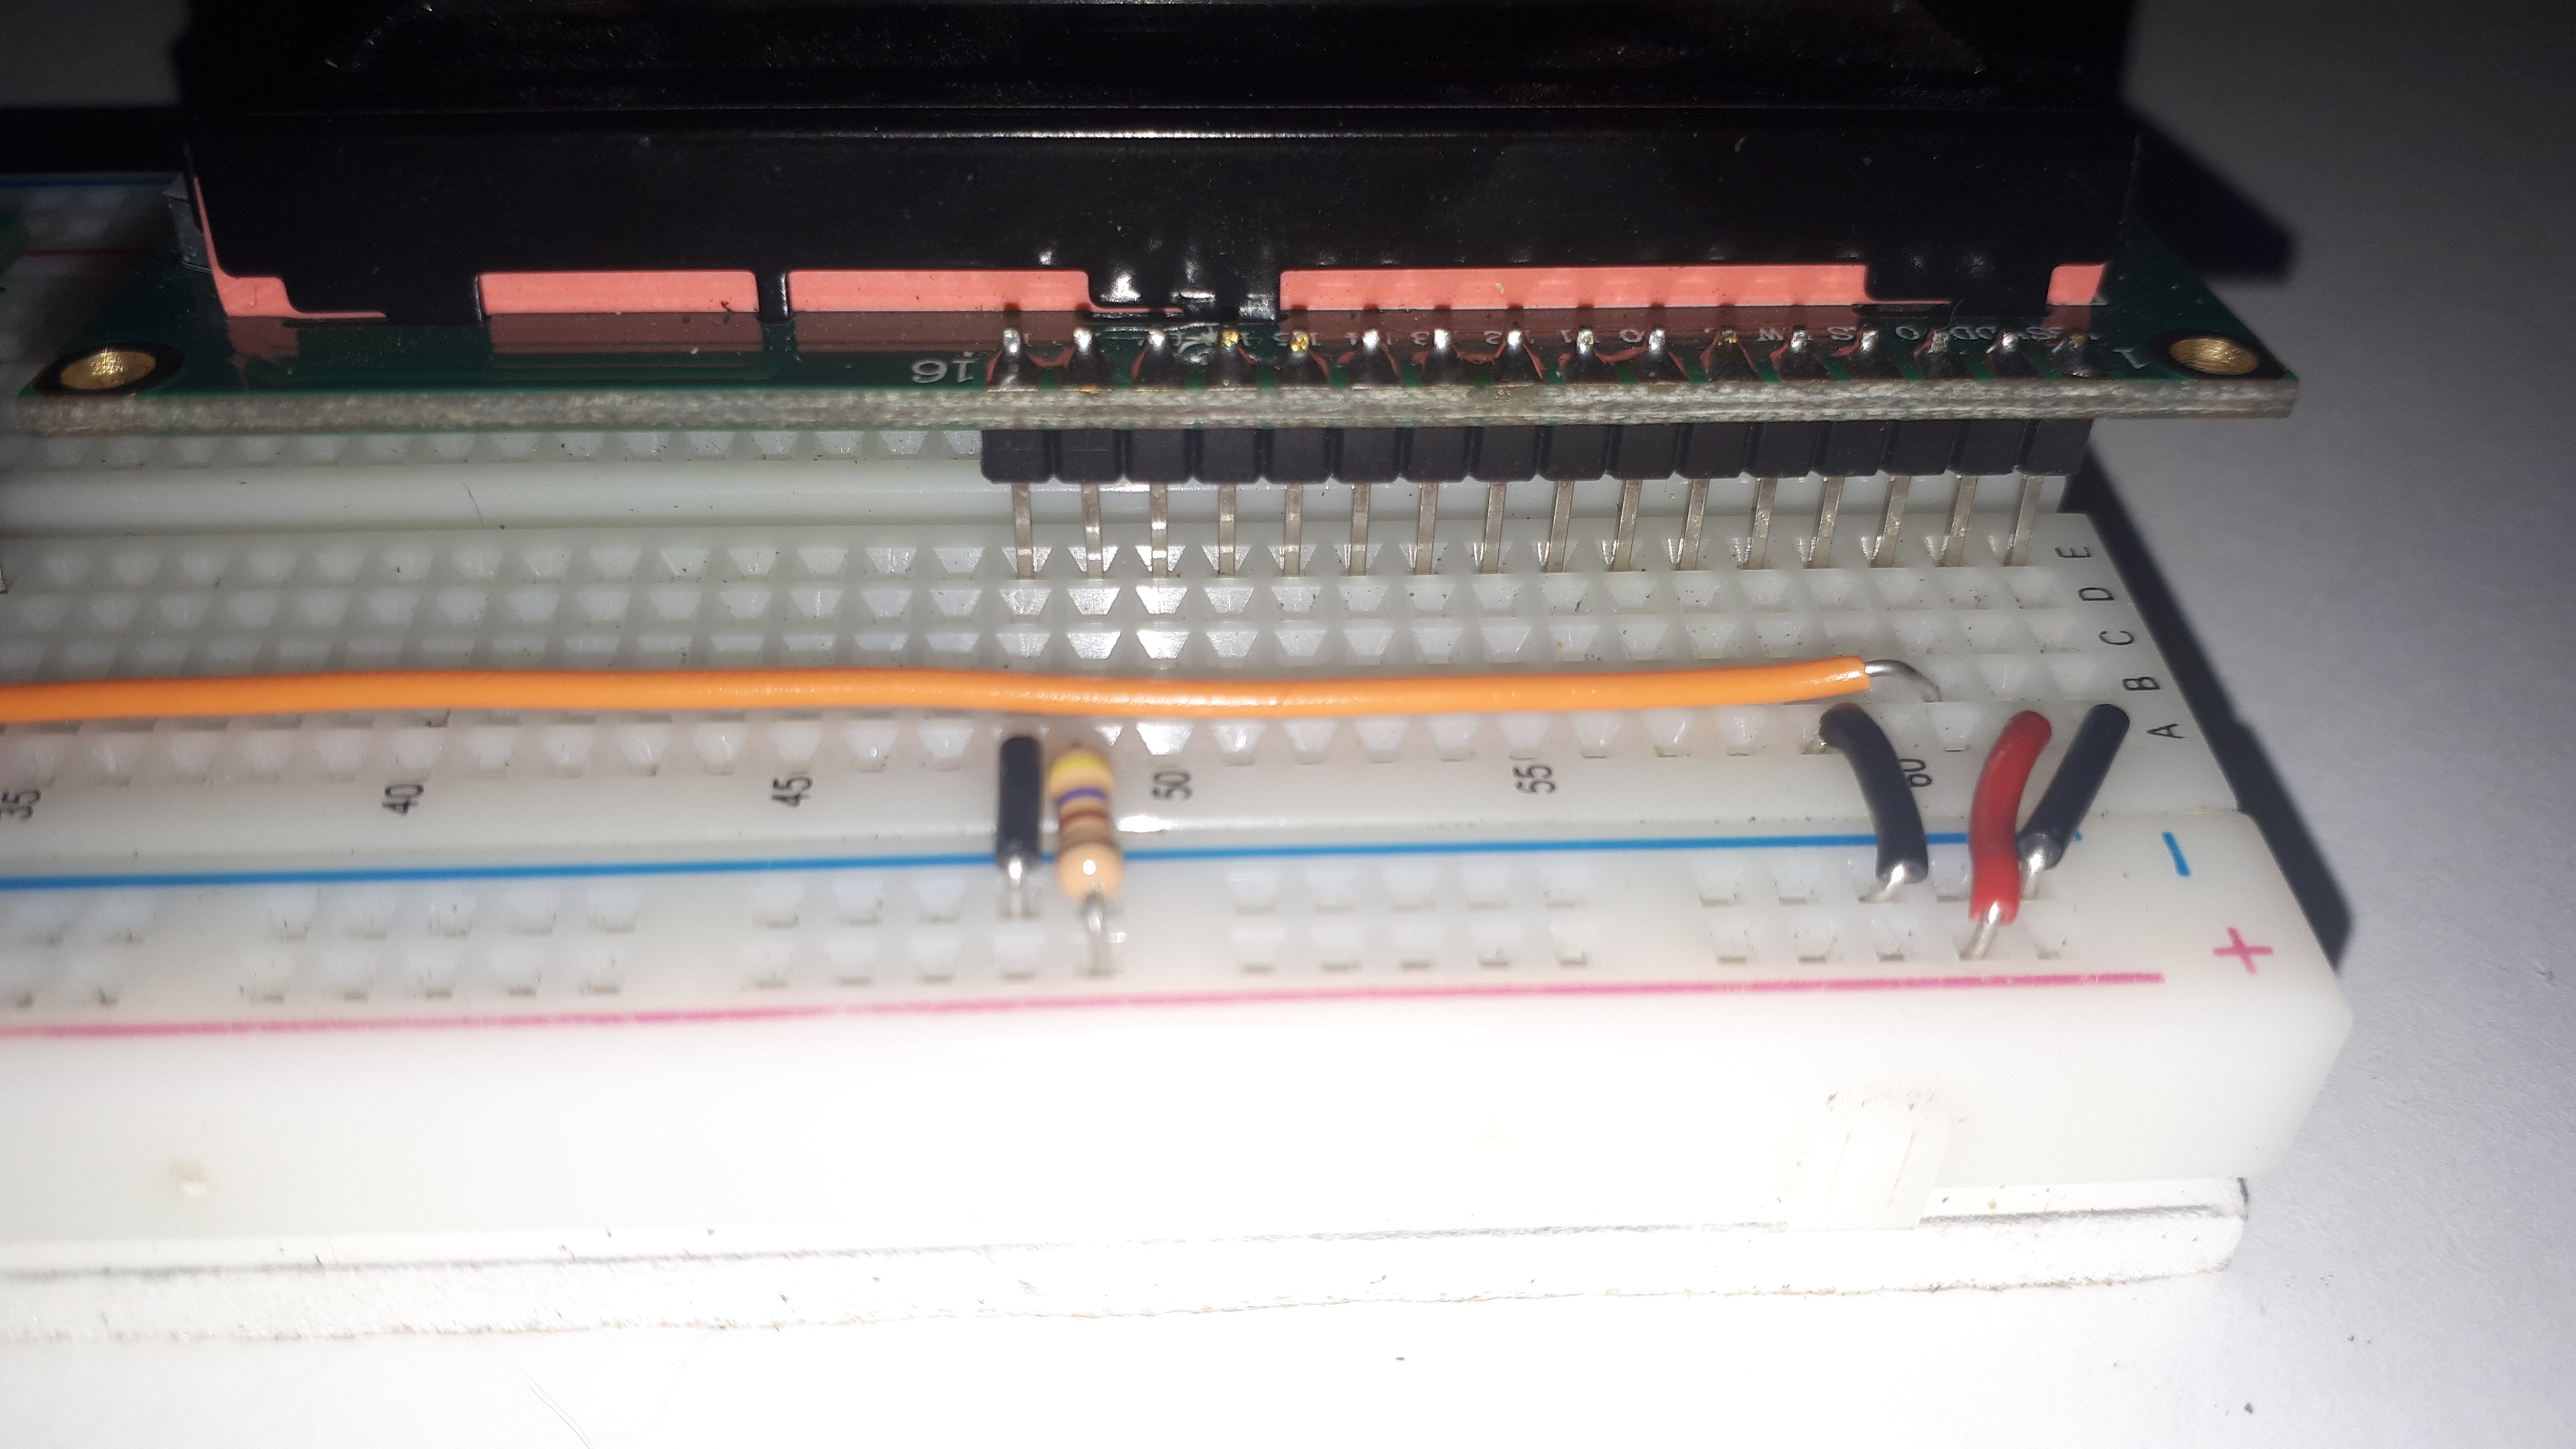
I'm using a sensor shield that can be found for a few bucks easily on ebay or banggood:
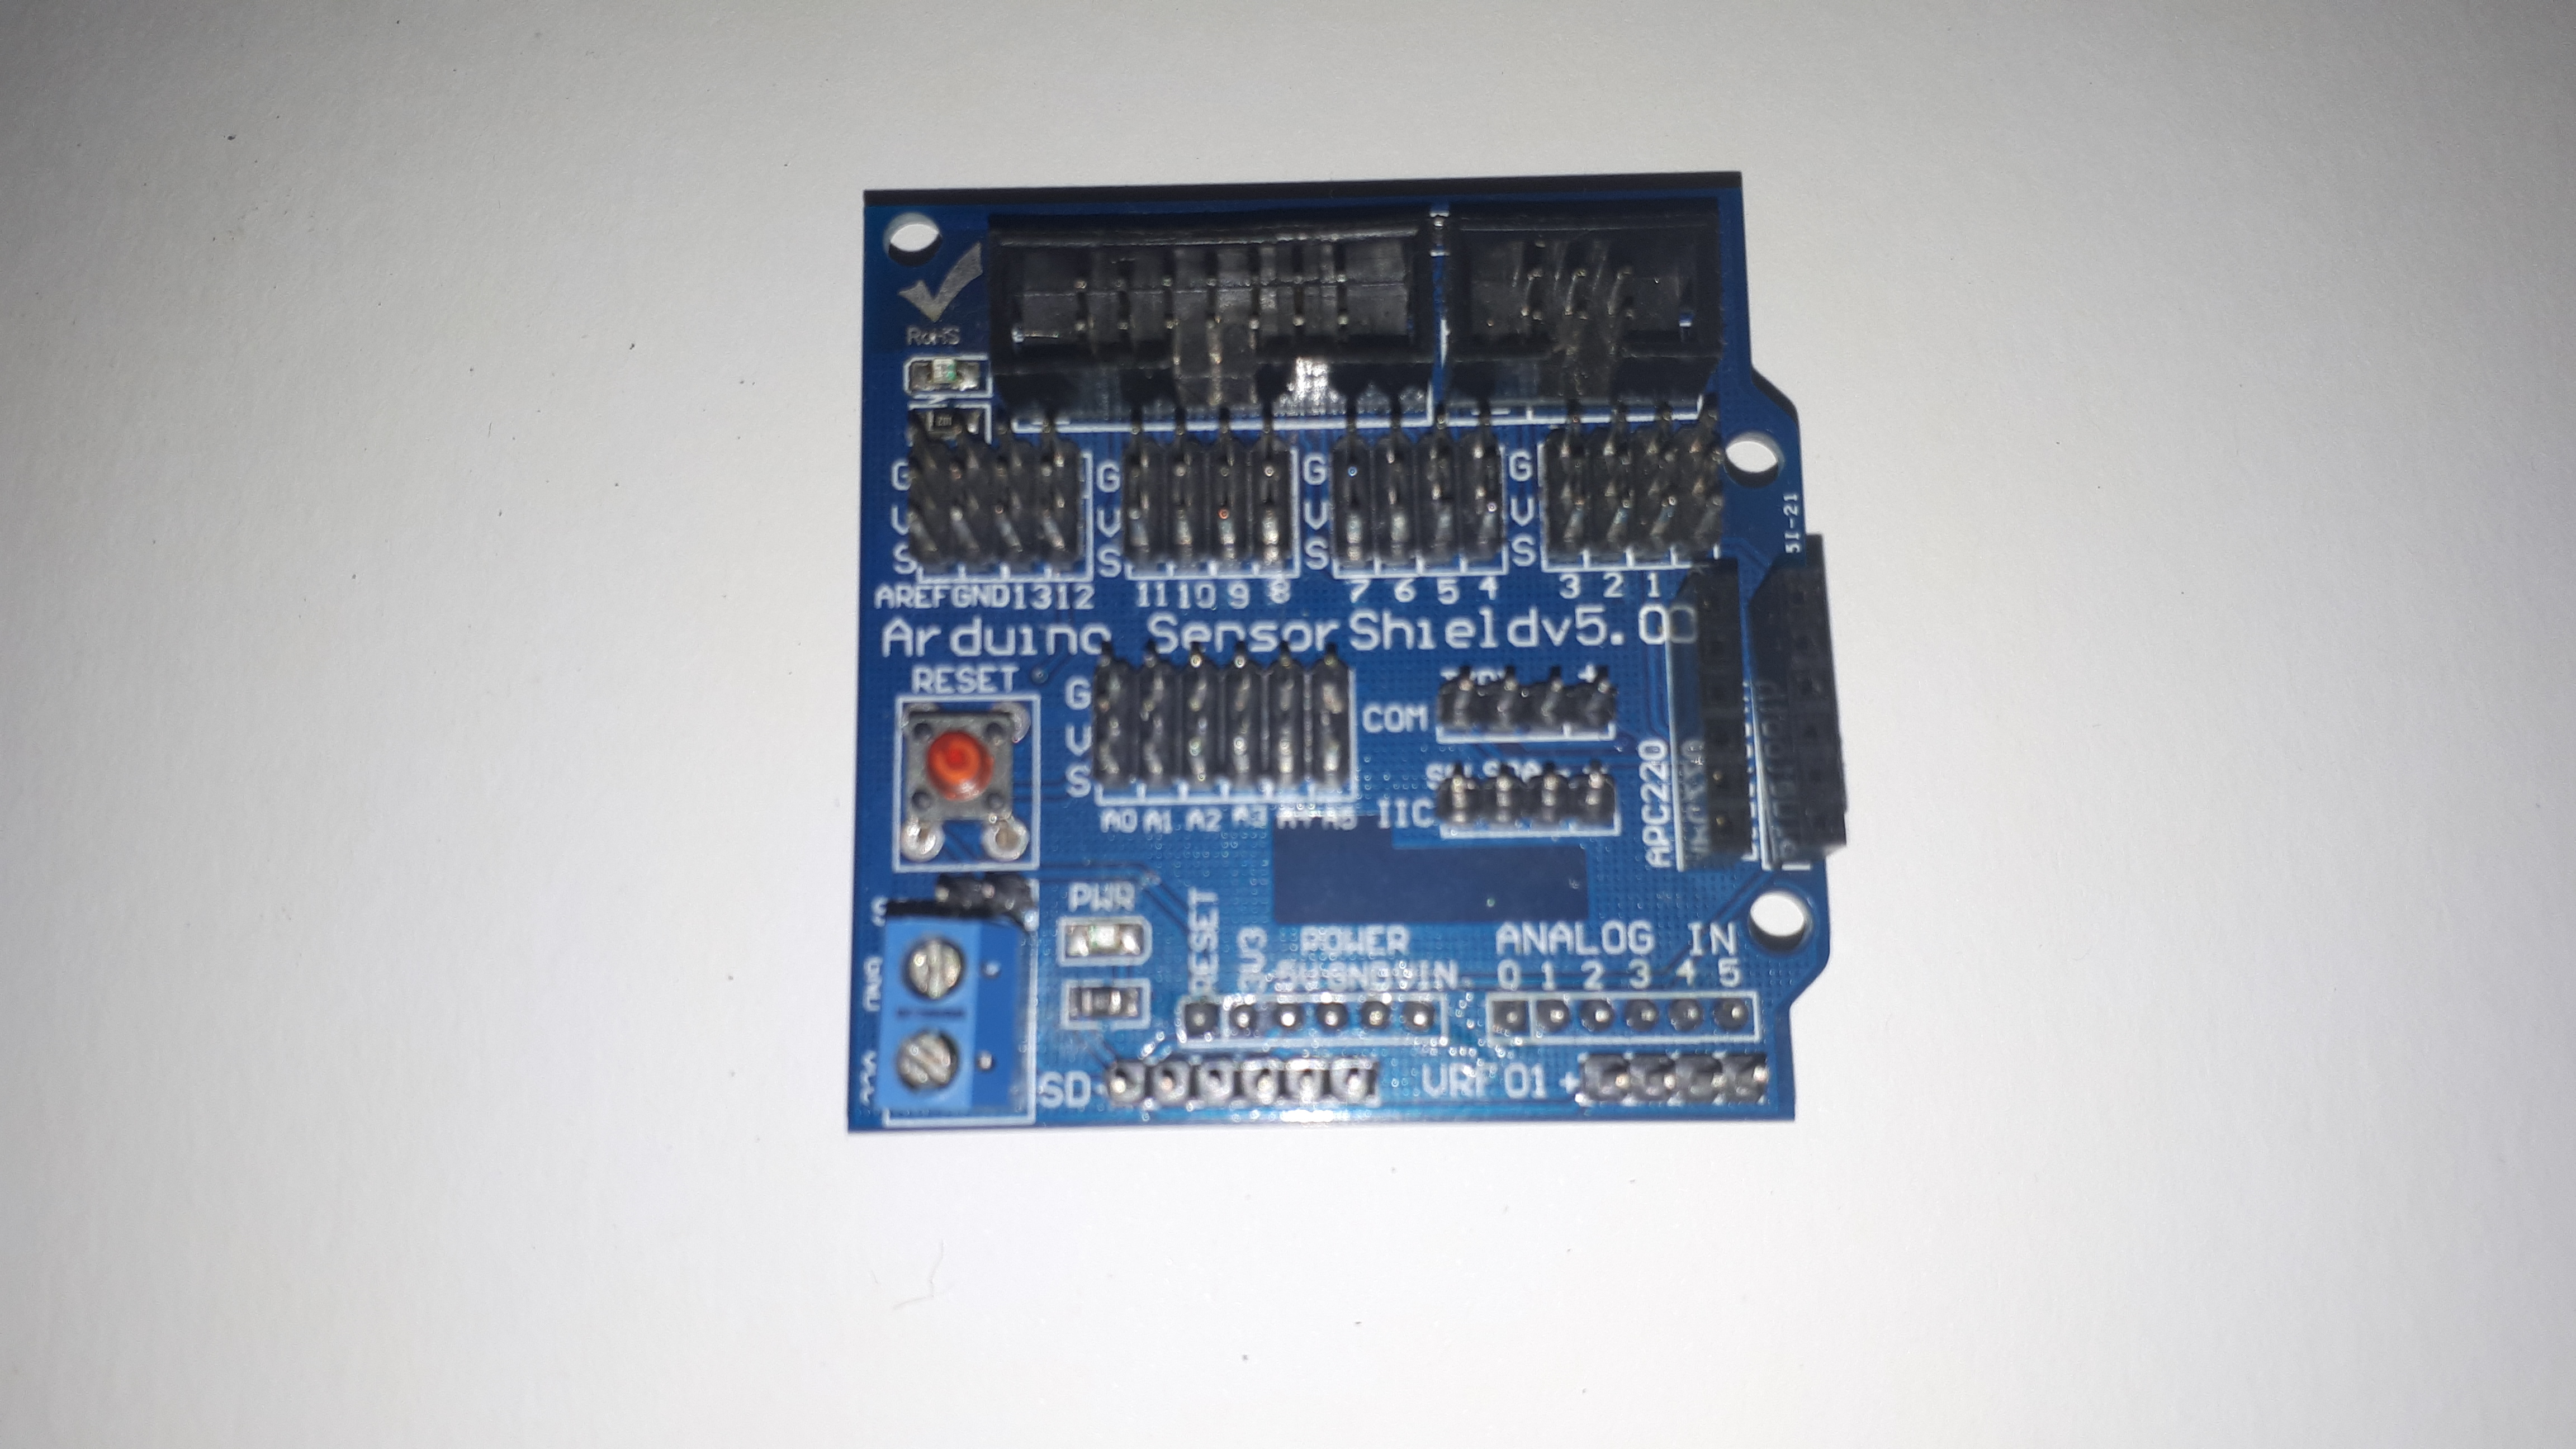
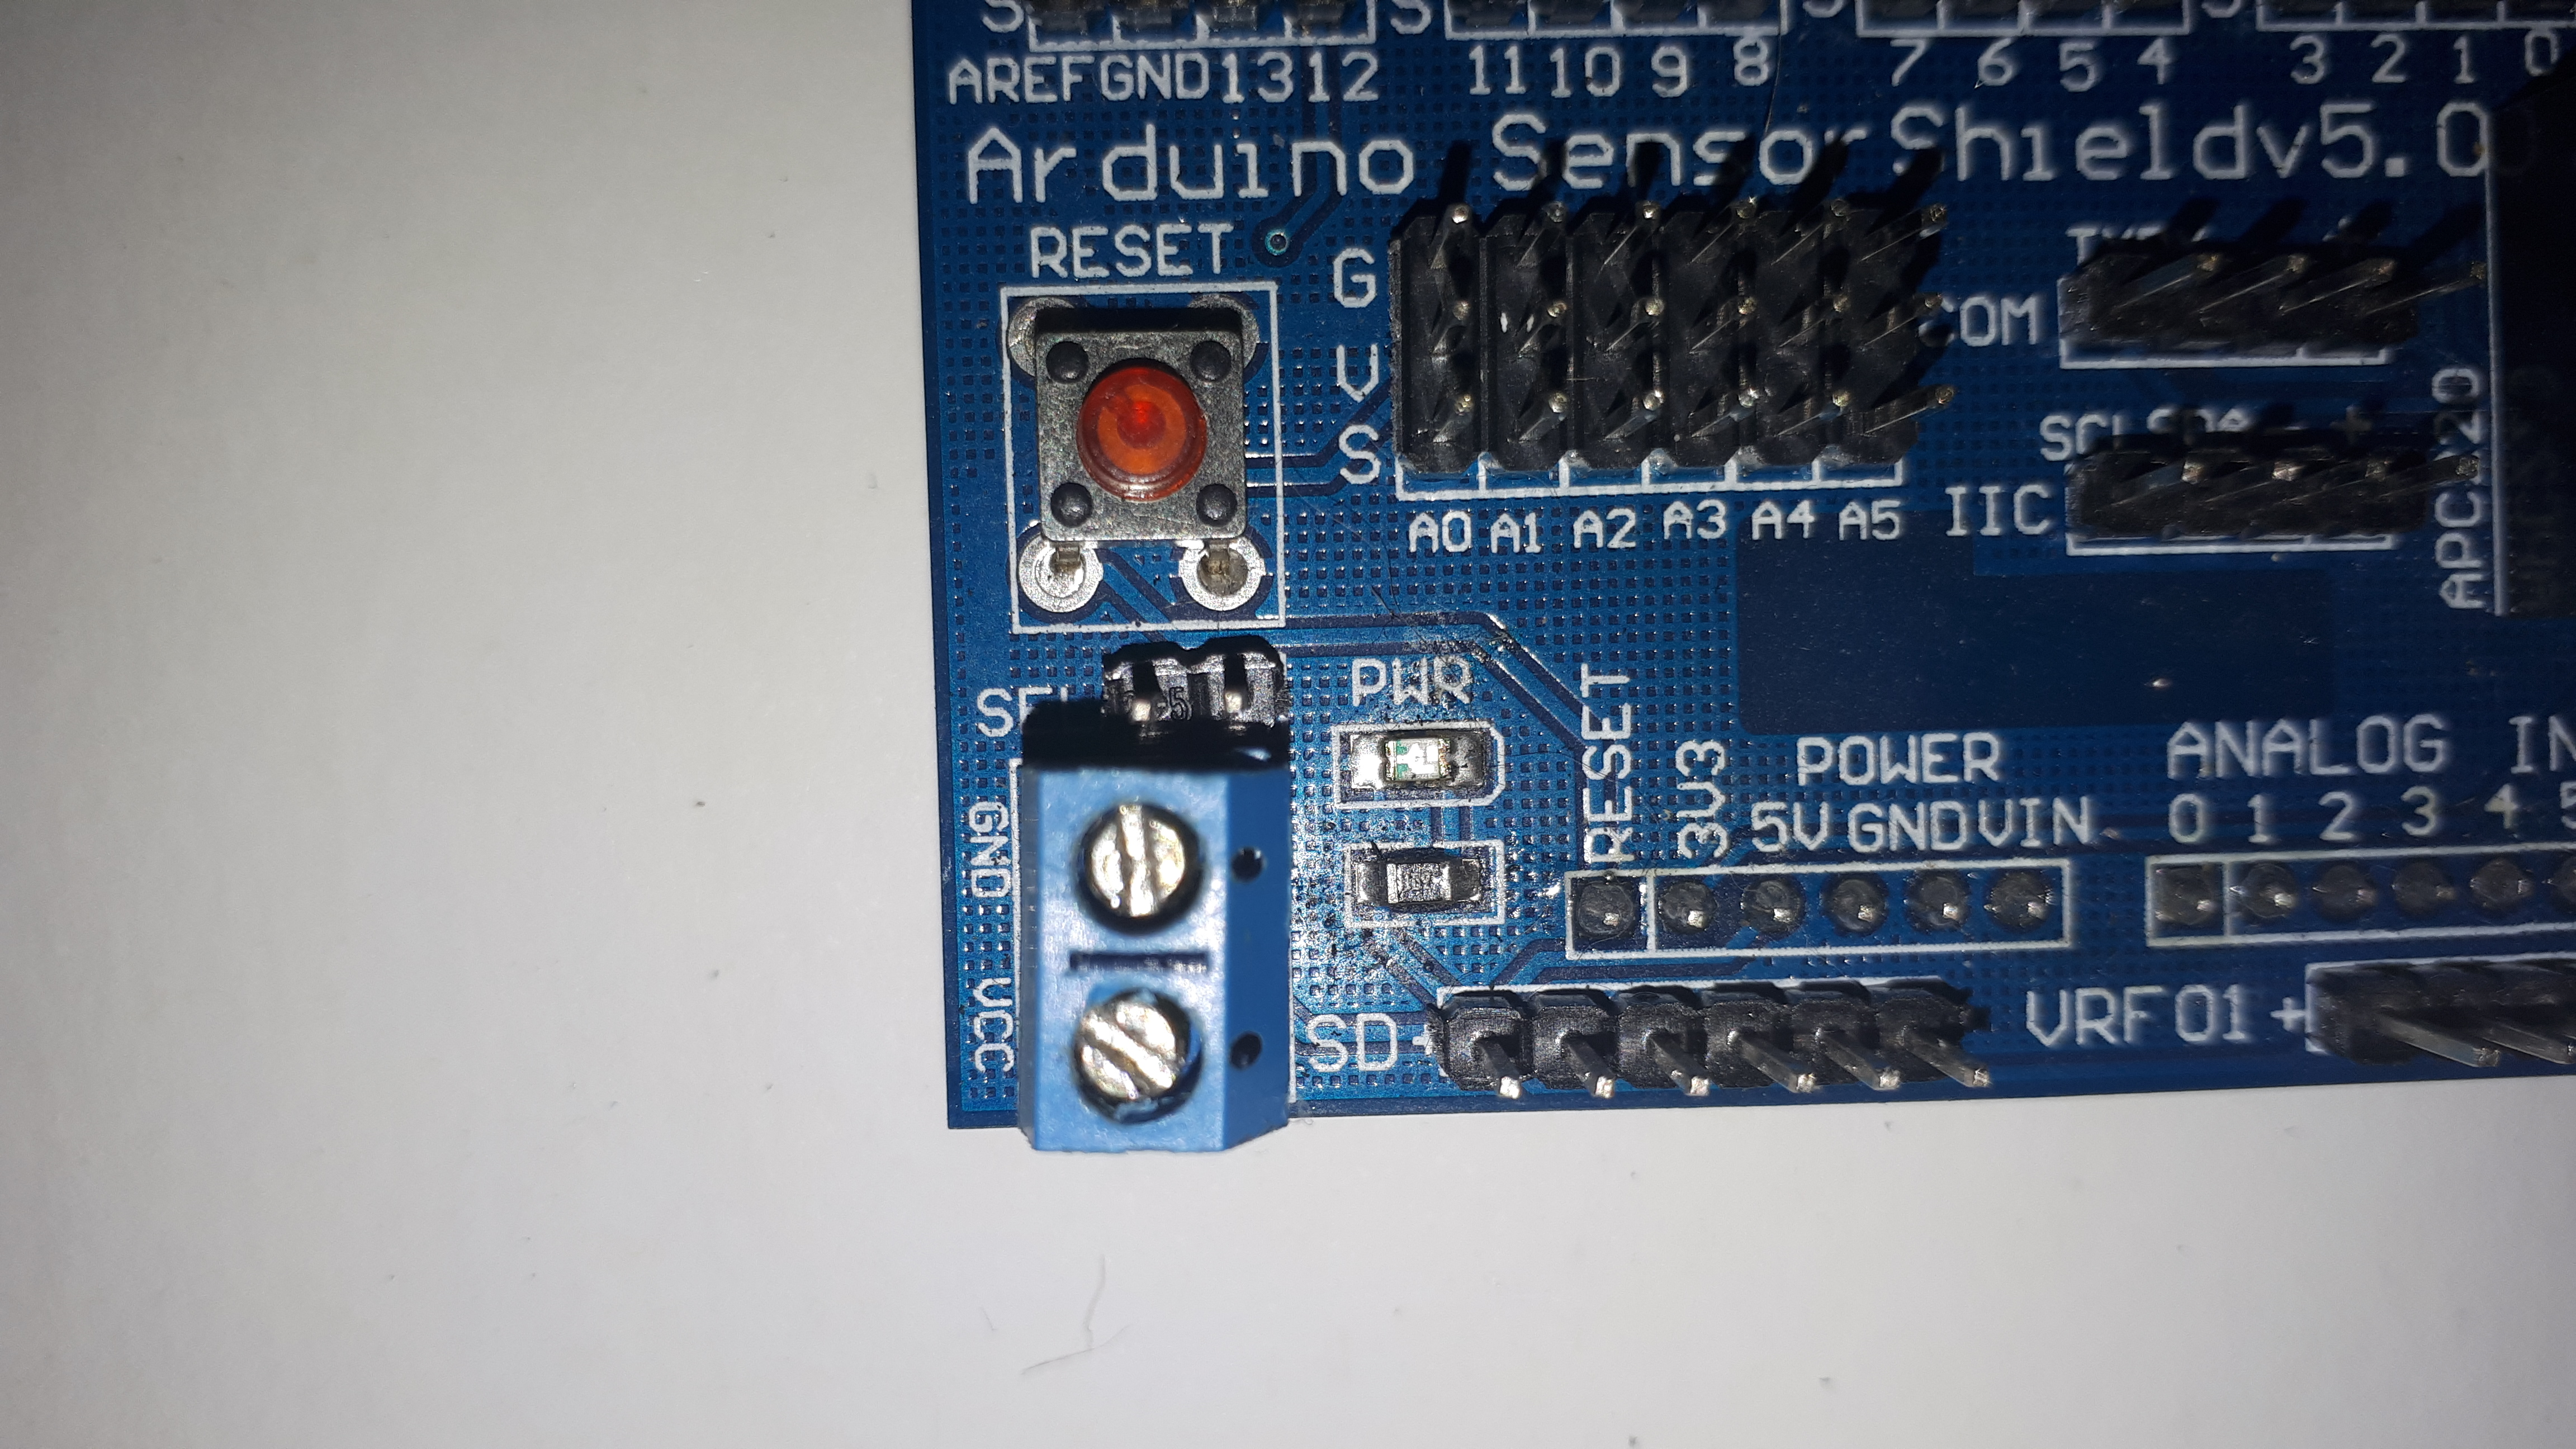
Make sure you remove the jumper near the power supply terminals(SEL - PWR), this will allow using an external power supply for the servos. When removed, the external power supply will provide voltage to all the digital pins V and G (top row) but the analog pins will still be receiving the 5V regulated voltage from the Arduino.
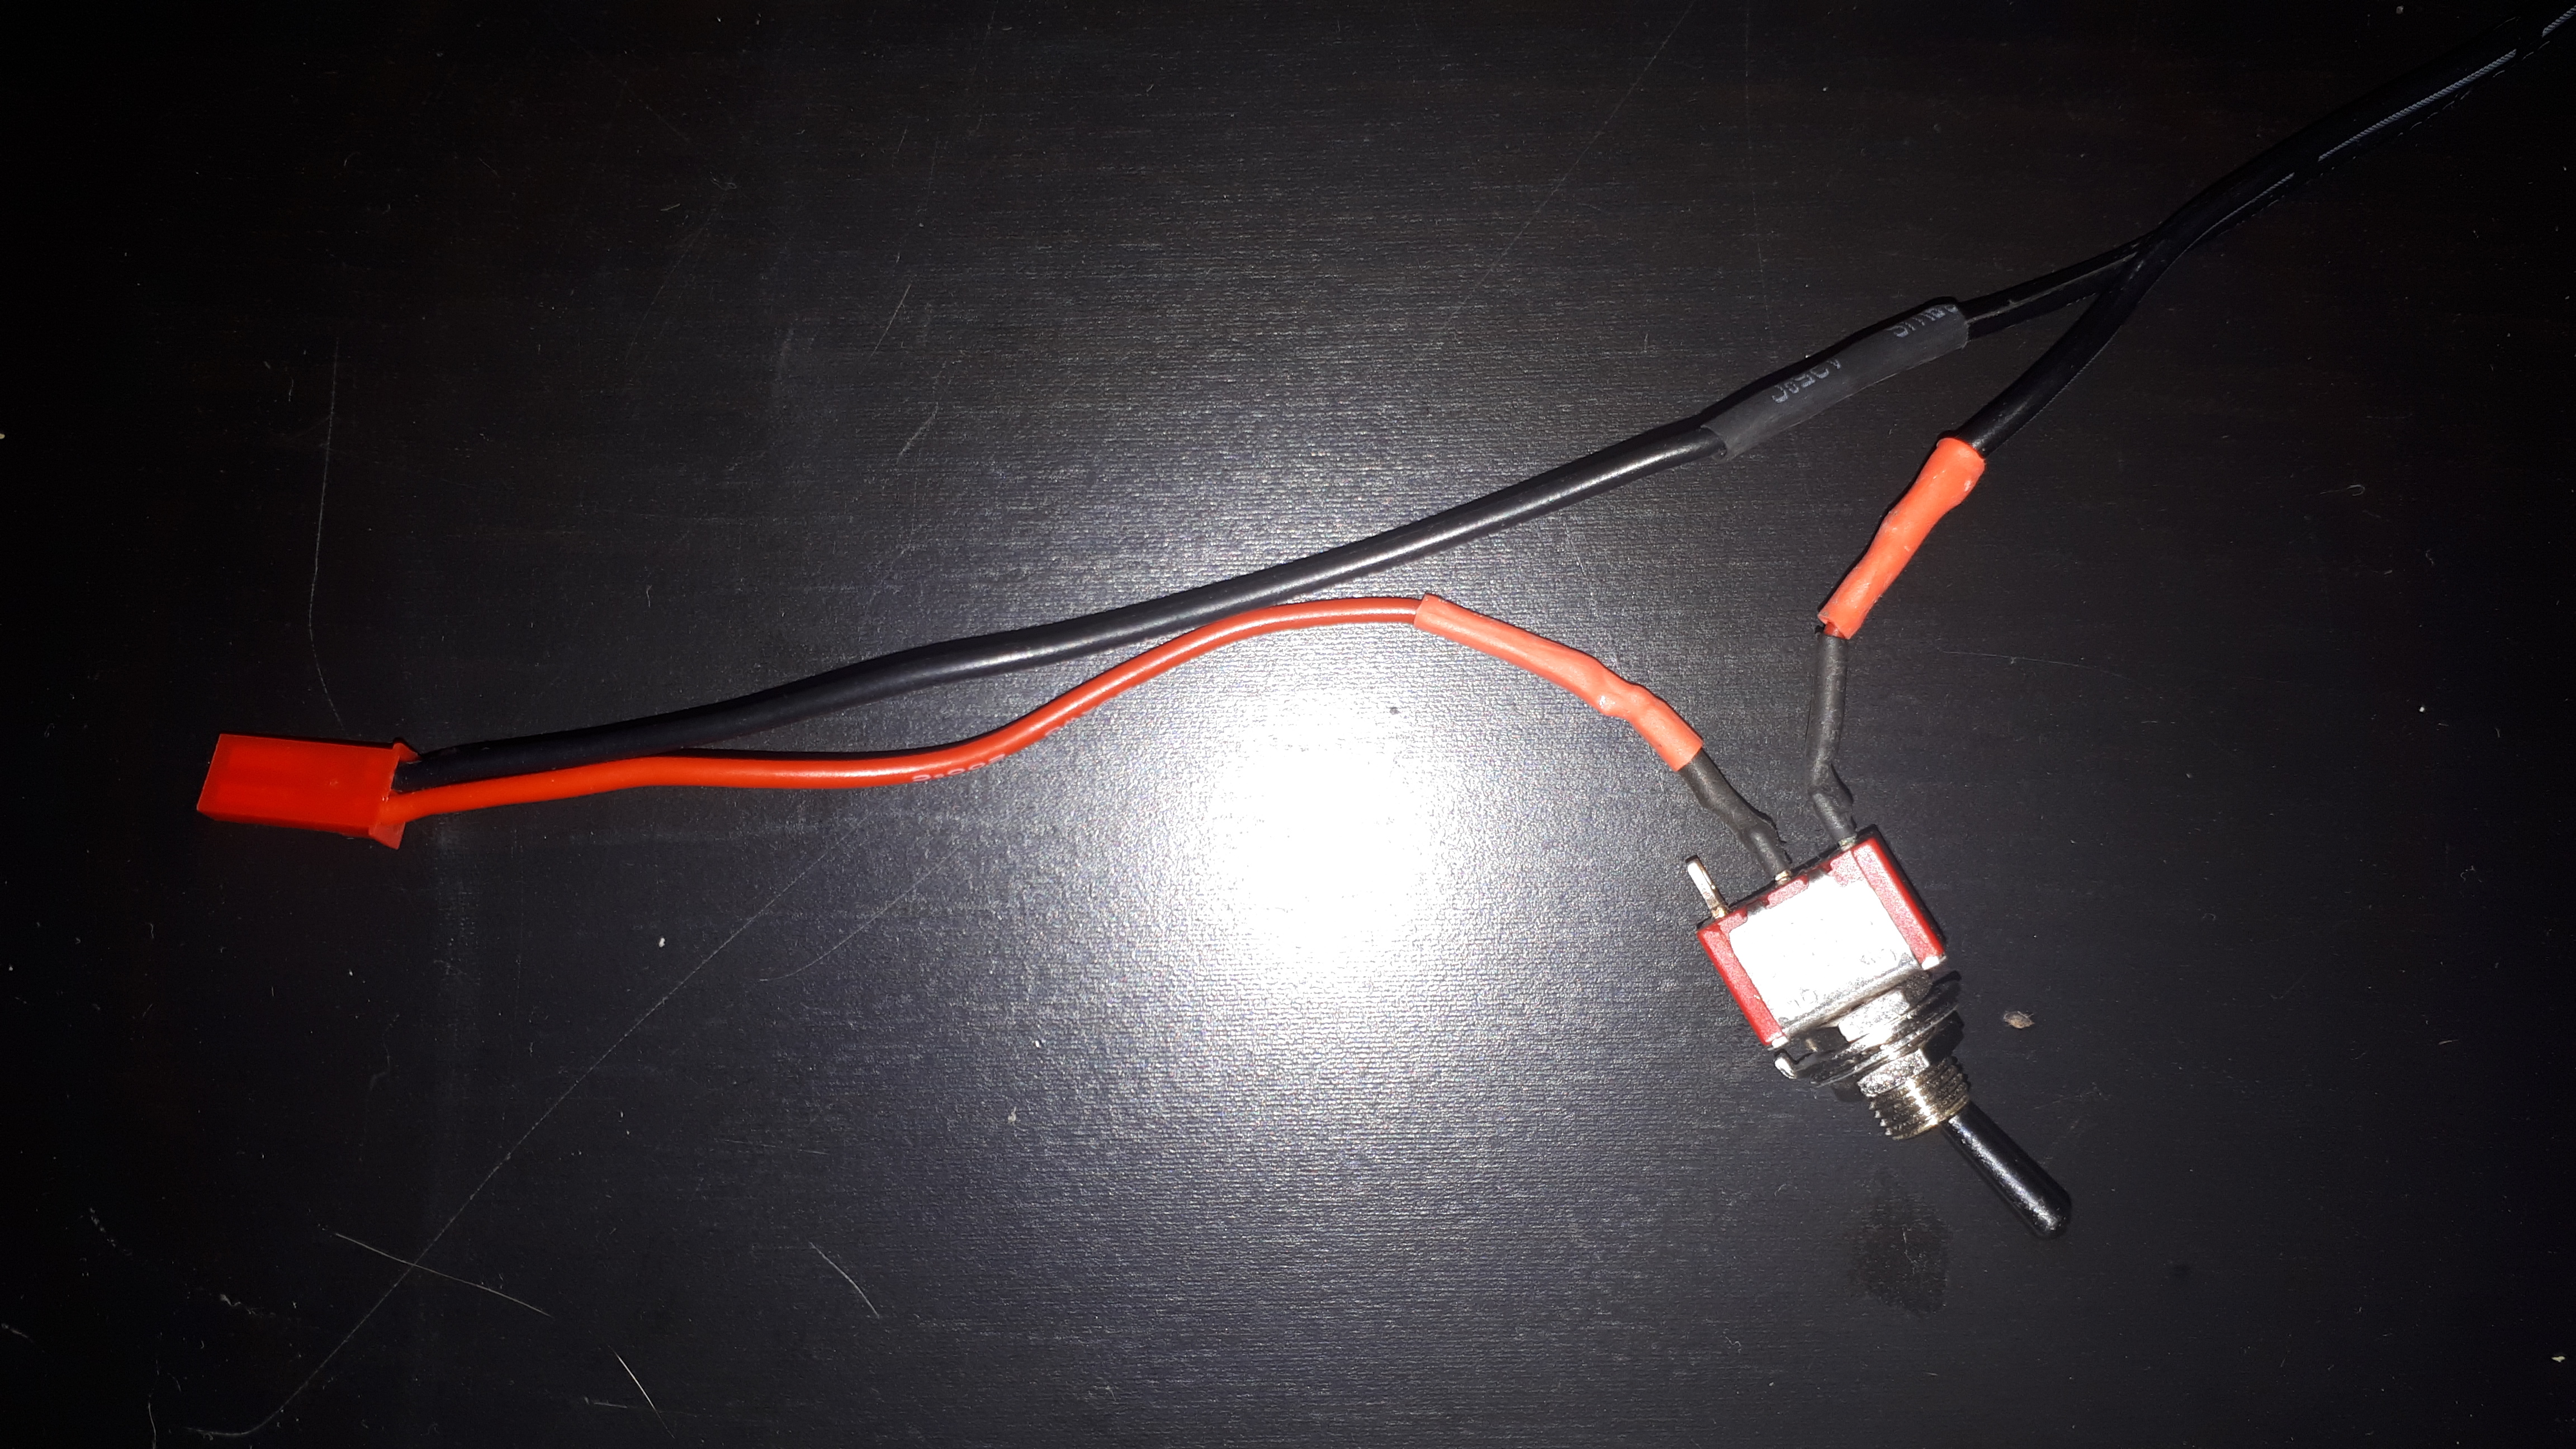
The power supply I use to power my servo is 5V 3A, you may need a different power supply depending on your project:
I stripped the connector and wired a switch in series with the positive end, then I soldered a connector to it.
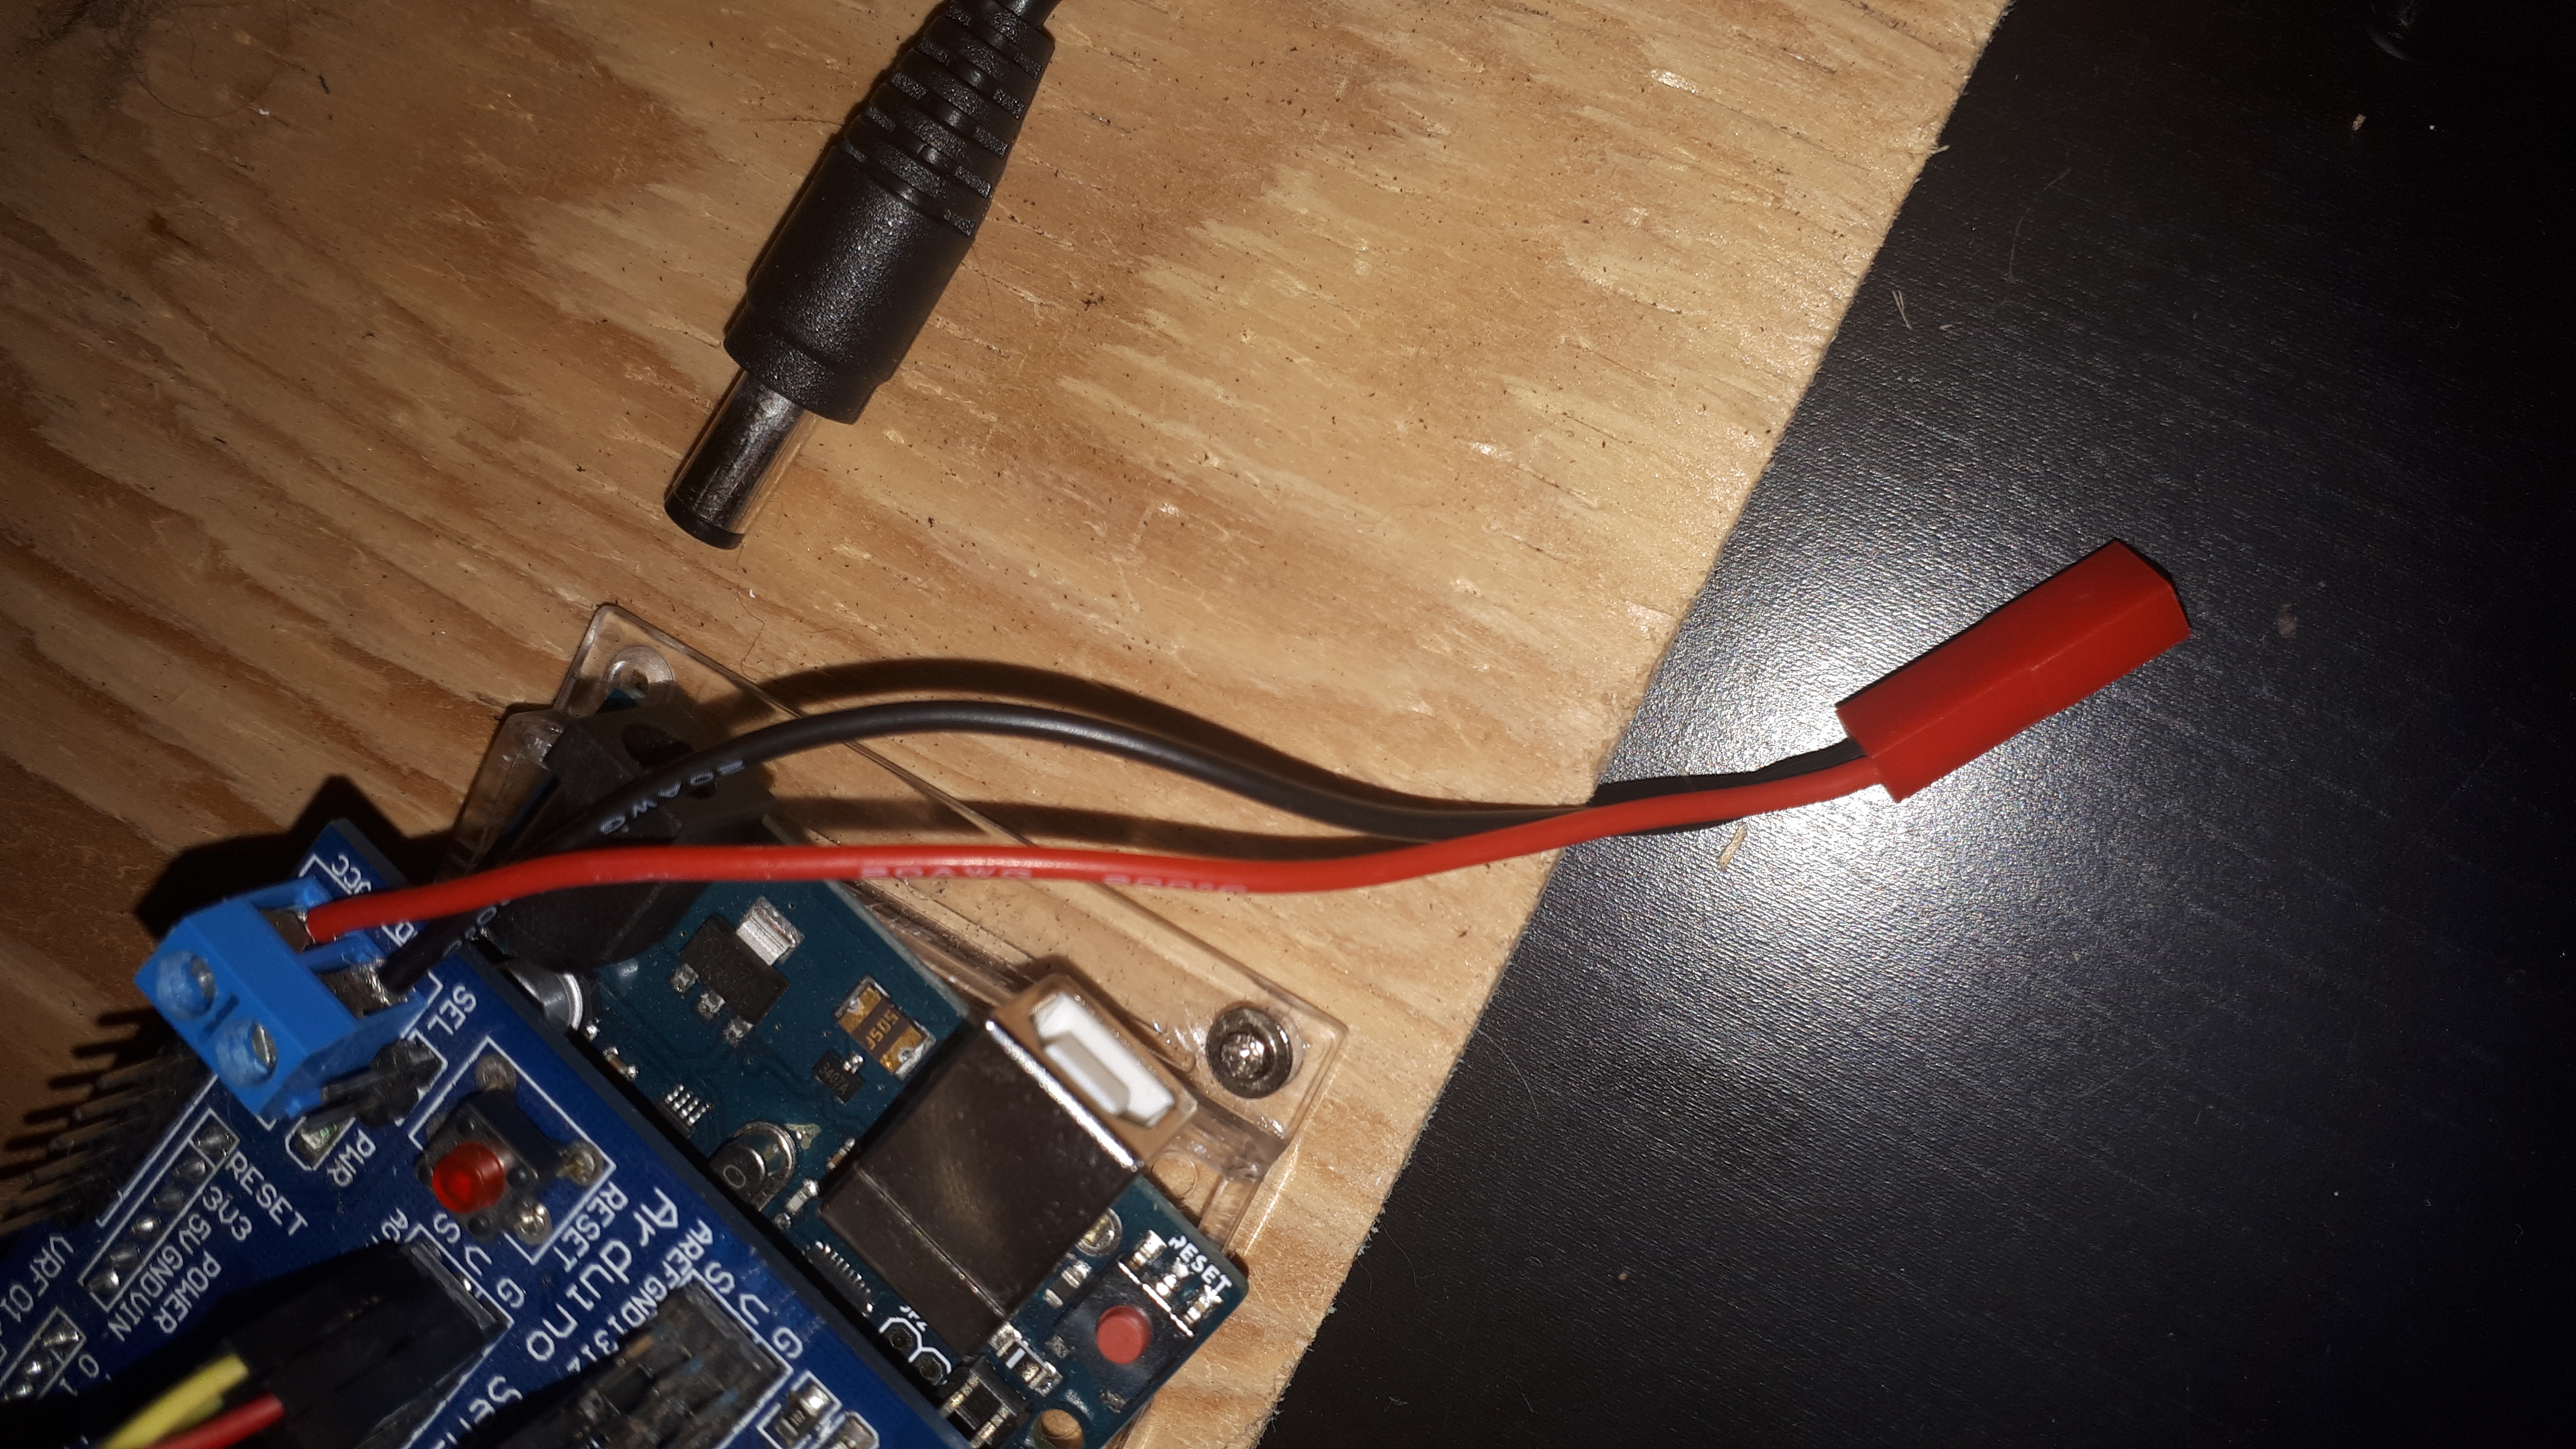
Then I attached a female connector to the terminals of the Sensor Shield to connect the power supply to:
Here's another Fritzing drawing that I made (note that the servo motors will be attached from pin D2 to D7, it is not shown in the drawing because they were way too many wires and it was hard to follow). I do not suggest using pin D0 and D1 unless you really know what you are doing:

You can now upload the final code (see attachments) to your arduino, connect a 7-12V power supply to the Arduino and switch the servo power supply on, you should now be able to control the position of each servos with the potentiometer while seeing the exact position (in degree) of your servos.
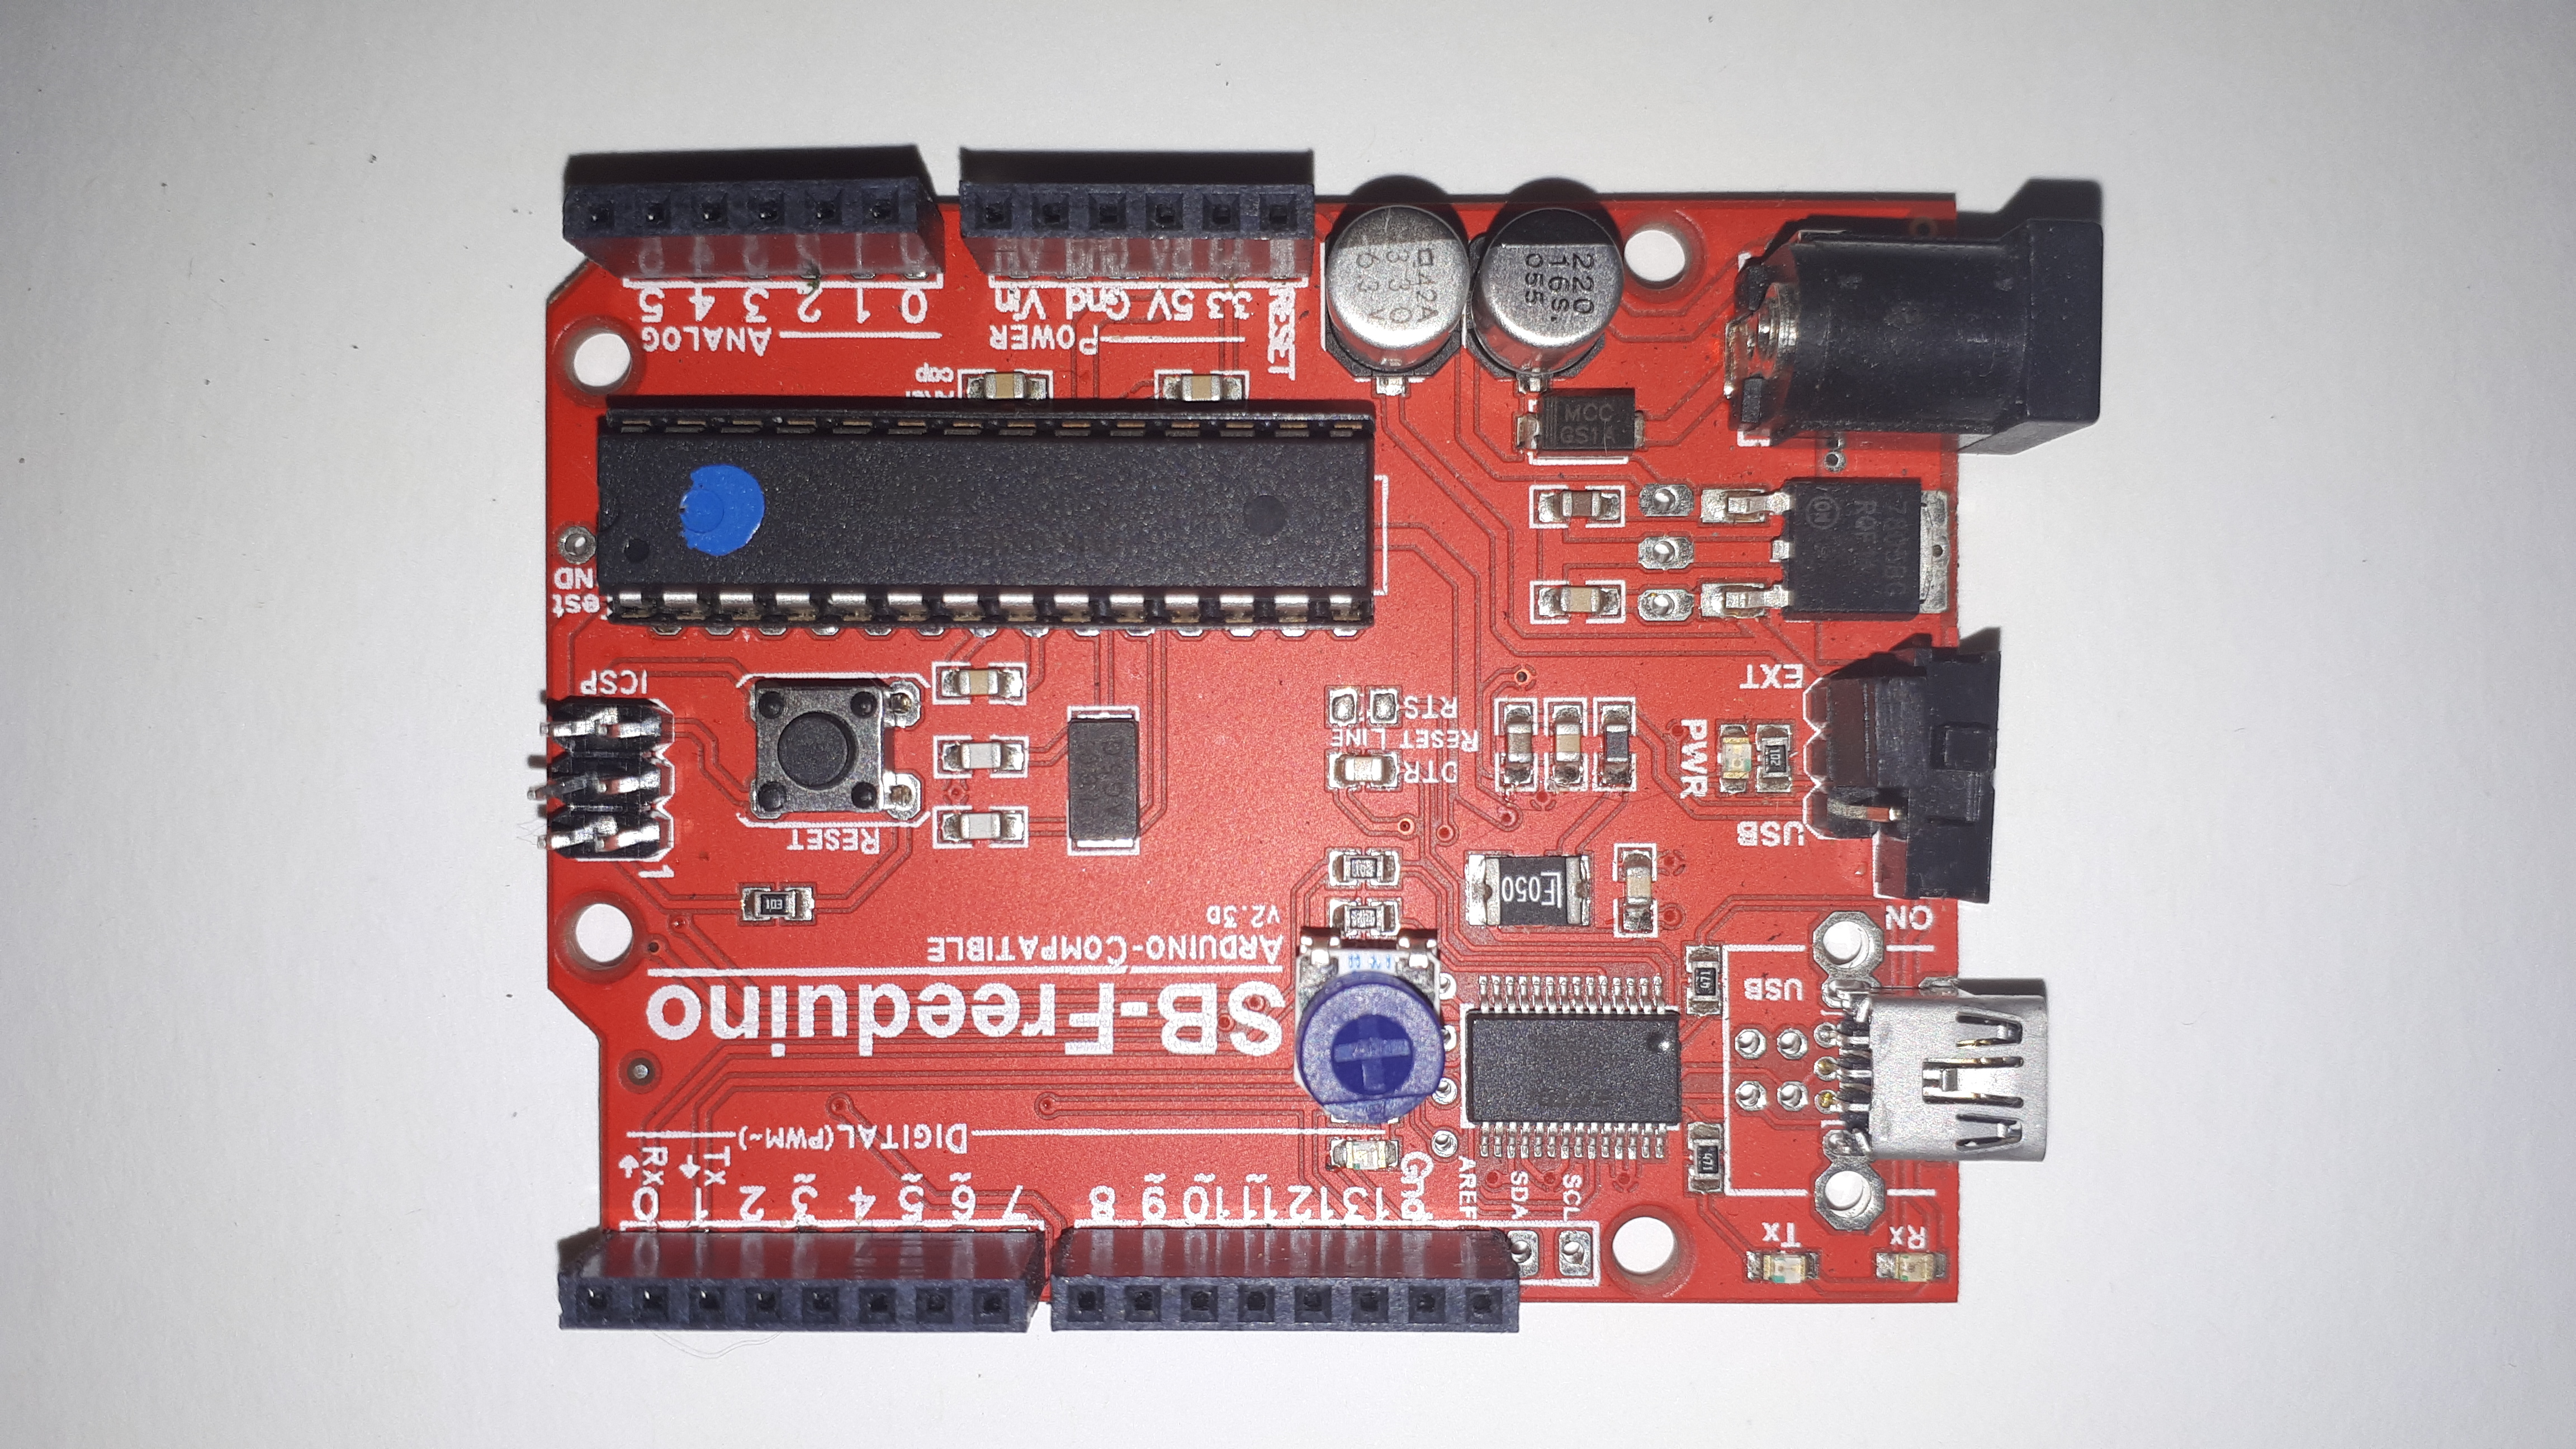
In the video I use a SolarBotics Freeduino, it is a bit outdated but there is an onboard ON-OFF switch that I find practical:
With an original Arduino Uno, simply add a switch between the power supply and the Arduino. You can buy one from RobotShop (see components list for links).
I will be taking this project much further, I have a few ideas like building a Bluetooth remote control and receiver to control the robotic arm wirelessly or building a fully enclosed battery power 6 servo tester.
Adding a few buttons and a menu to be able to record and play complete sequence is also something I'll be looking for.
Ideas are welcome !!!