


Arduino Android
The other day I was staring at my trash bin and there's an idea comes up in my mind. Since my wife is not home for while I think I should be able to do something about it. So, here you go. The progress of how AA was born.
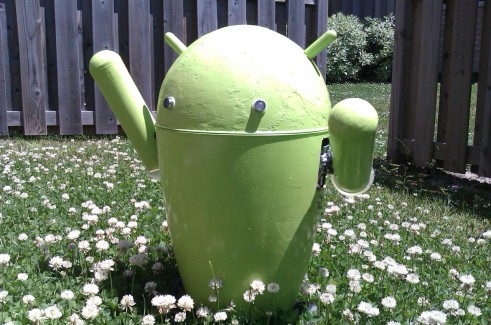
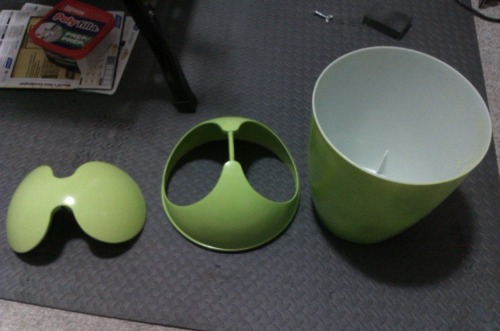
Once upon a time, he was a trash bin:
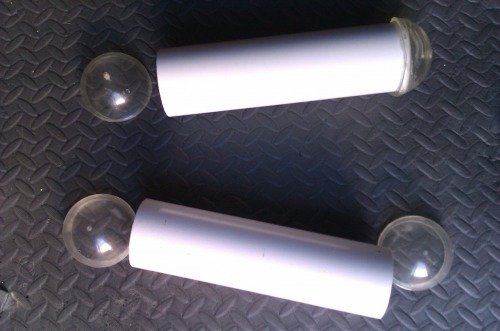
Cut some spare pipe and cut 2 balls into half:(did I say 2 balls?)
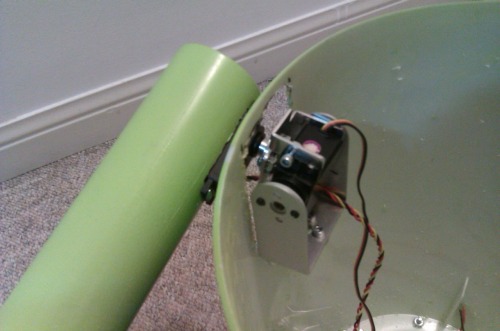
Put wheels at bottom and he get new feet:

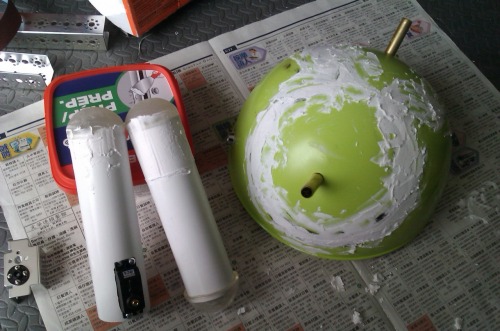
Seal the head and hand, also put servos into arms as joint:
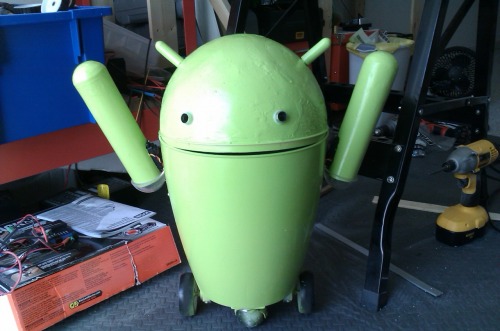
Give it some color and cut a square on body to fit the brackets:
OK, we almost got the shell done.
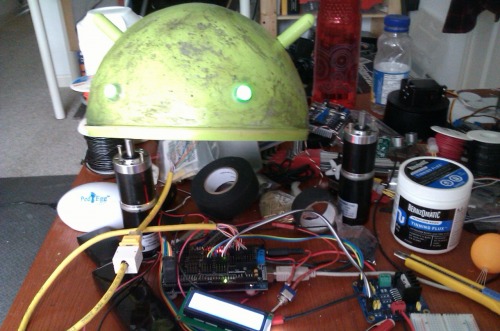
Now step into electronic parts, (upside down the body, does this looks familier to you?) I use Arduino Mega and 2A H bridge.
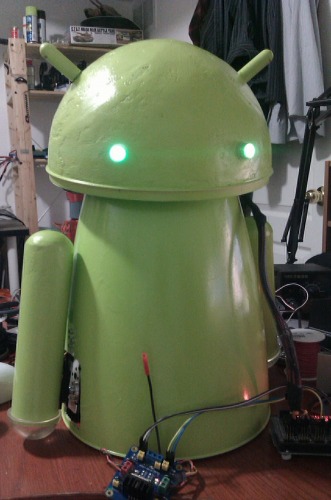
I modified the head to make it looks more rusty and old style. Using RJ45 to connect 2 RGB LEDs as eyes.
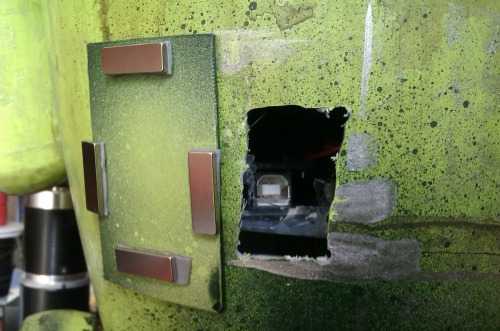
Since the head modified, I should make the body old and rusty too. I drill a hole so I don't have to take out the Arduino out everytime I update the program. The door was using magnets(4 inside and 4 on door.) because I am lazy to do anymore screw works.
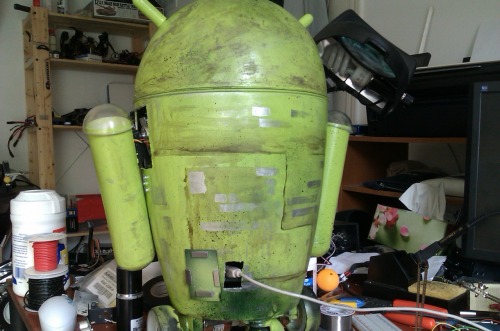
This is how he looks from back (R2D2 mutant now?):
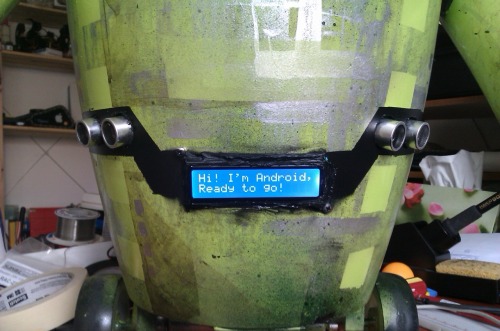
In the front, I cut more holes for LCD and 2 range sensors and paint it in black so it looks like a belt and give it a bit stylish.
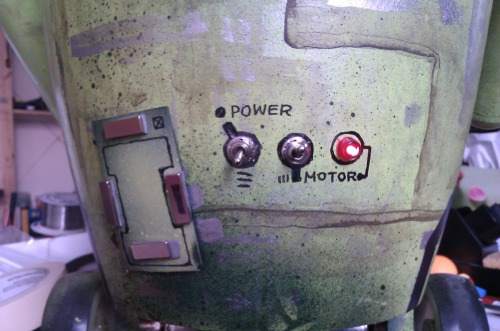
2 switch for main power and motor battey at back.
A shoot inside AA:
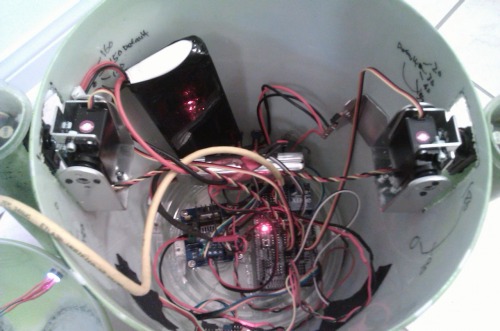
Ahrrr...................
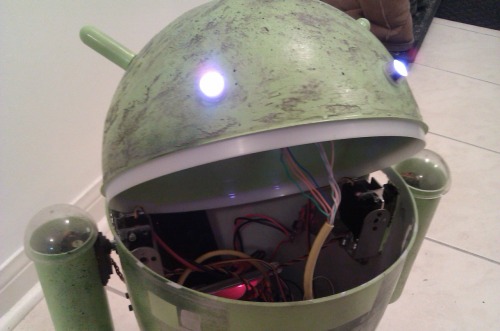
Here we go, AA is alive.
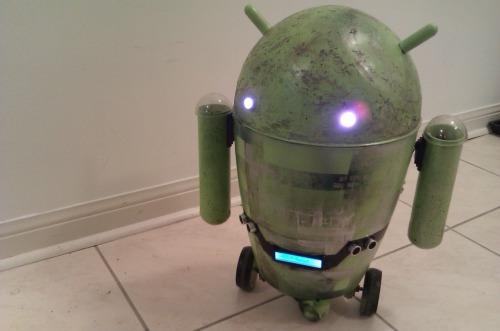
AA will have 2 modes to switch in between AUTO/MANUAL control.
I know it's probablly too much photo here but I want to give you more info and instead of my terrible English I am afraid won't be detail enough for some of you so I rather use photos to show you how it been made. Hope you enjoy it. :)
Before my wife come back from Taiwan with my new born son, I only got limit time to enjoy this robot making time. I don't know if I can make other furniture into toys.
Remote control or obstacle avoidance
- Actuators / output devices: 2 motors, 4 servos
- Control method: autonomous or remote
- CPU: Arduino Mega
- Power source: 2 3s lipo battery
- Sensors / input devices: Ultrasonic sensors, xbee
- Target environment: flat ground