


6DOF robot arm controlled by speech recognition or EMG
Construction of the arm
The arm is made from 2mm ABS sheet. This material is very easy to cut with a carpet knife, can be very well glued with superglue and be easily bent by warming it up with a hot air gun, so you can make your own brackets, etc.
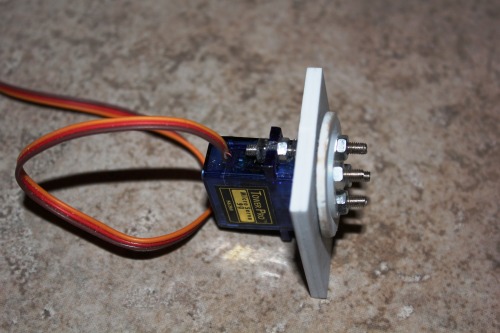
As the Tower Pro SG90 is a little bit weak to act as a joint to the gripper I increased the locating surface to stabilize the servo horn:
Gripper design:


Forearm:
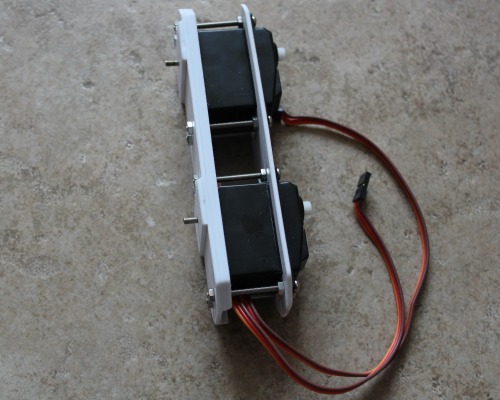
Parts assembled:

Complete upper part assambled:

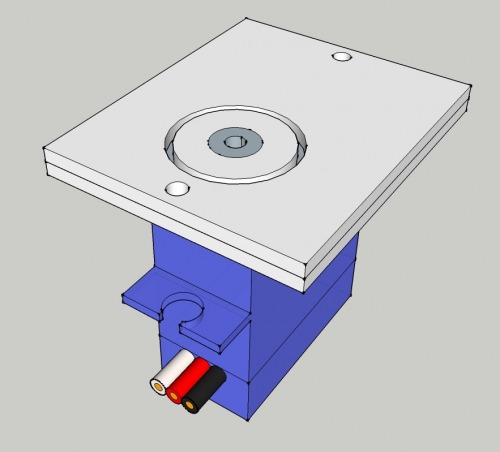
Turn table using casters for furniture as support :

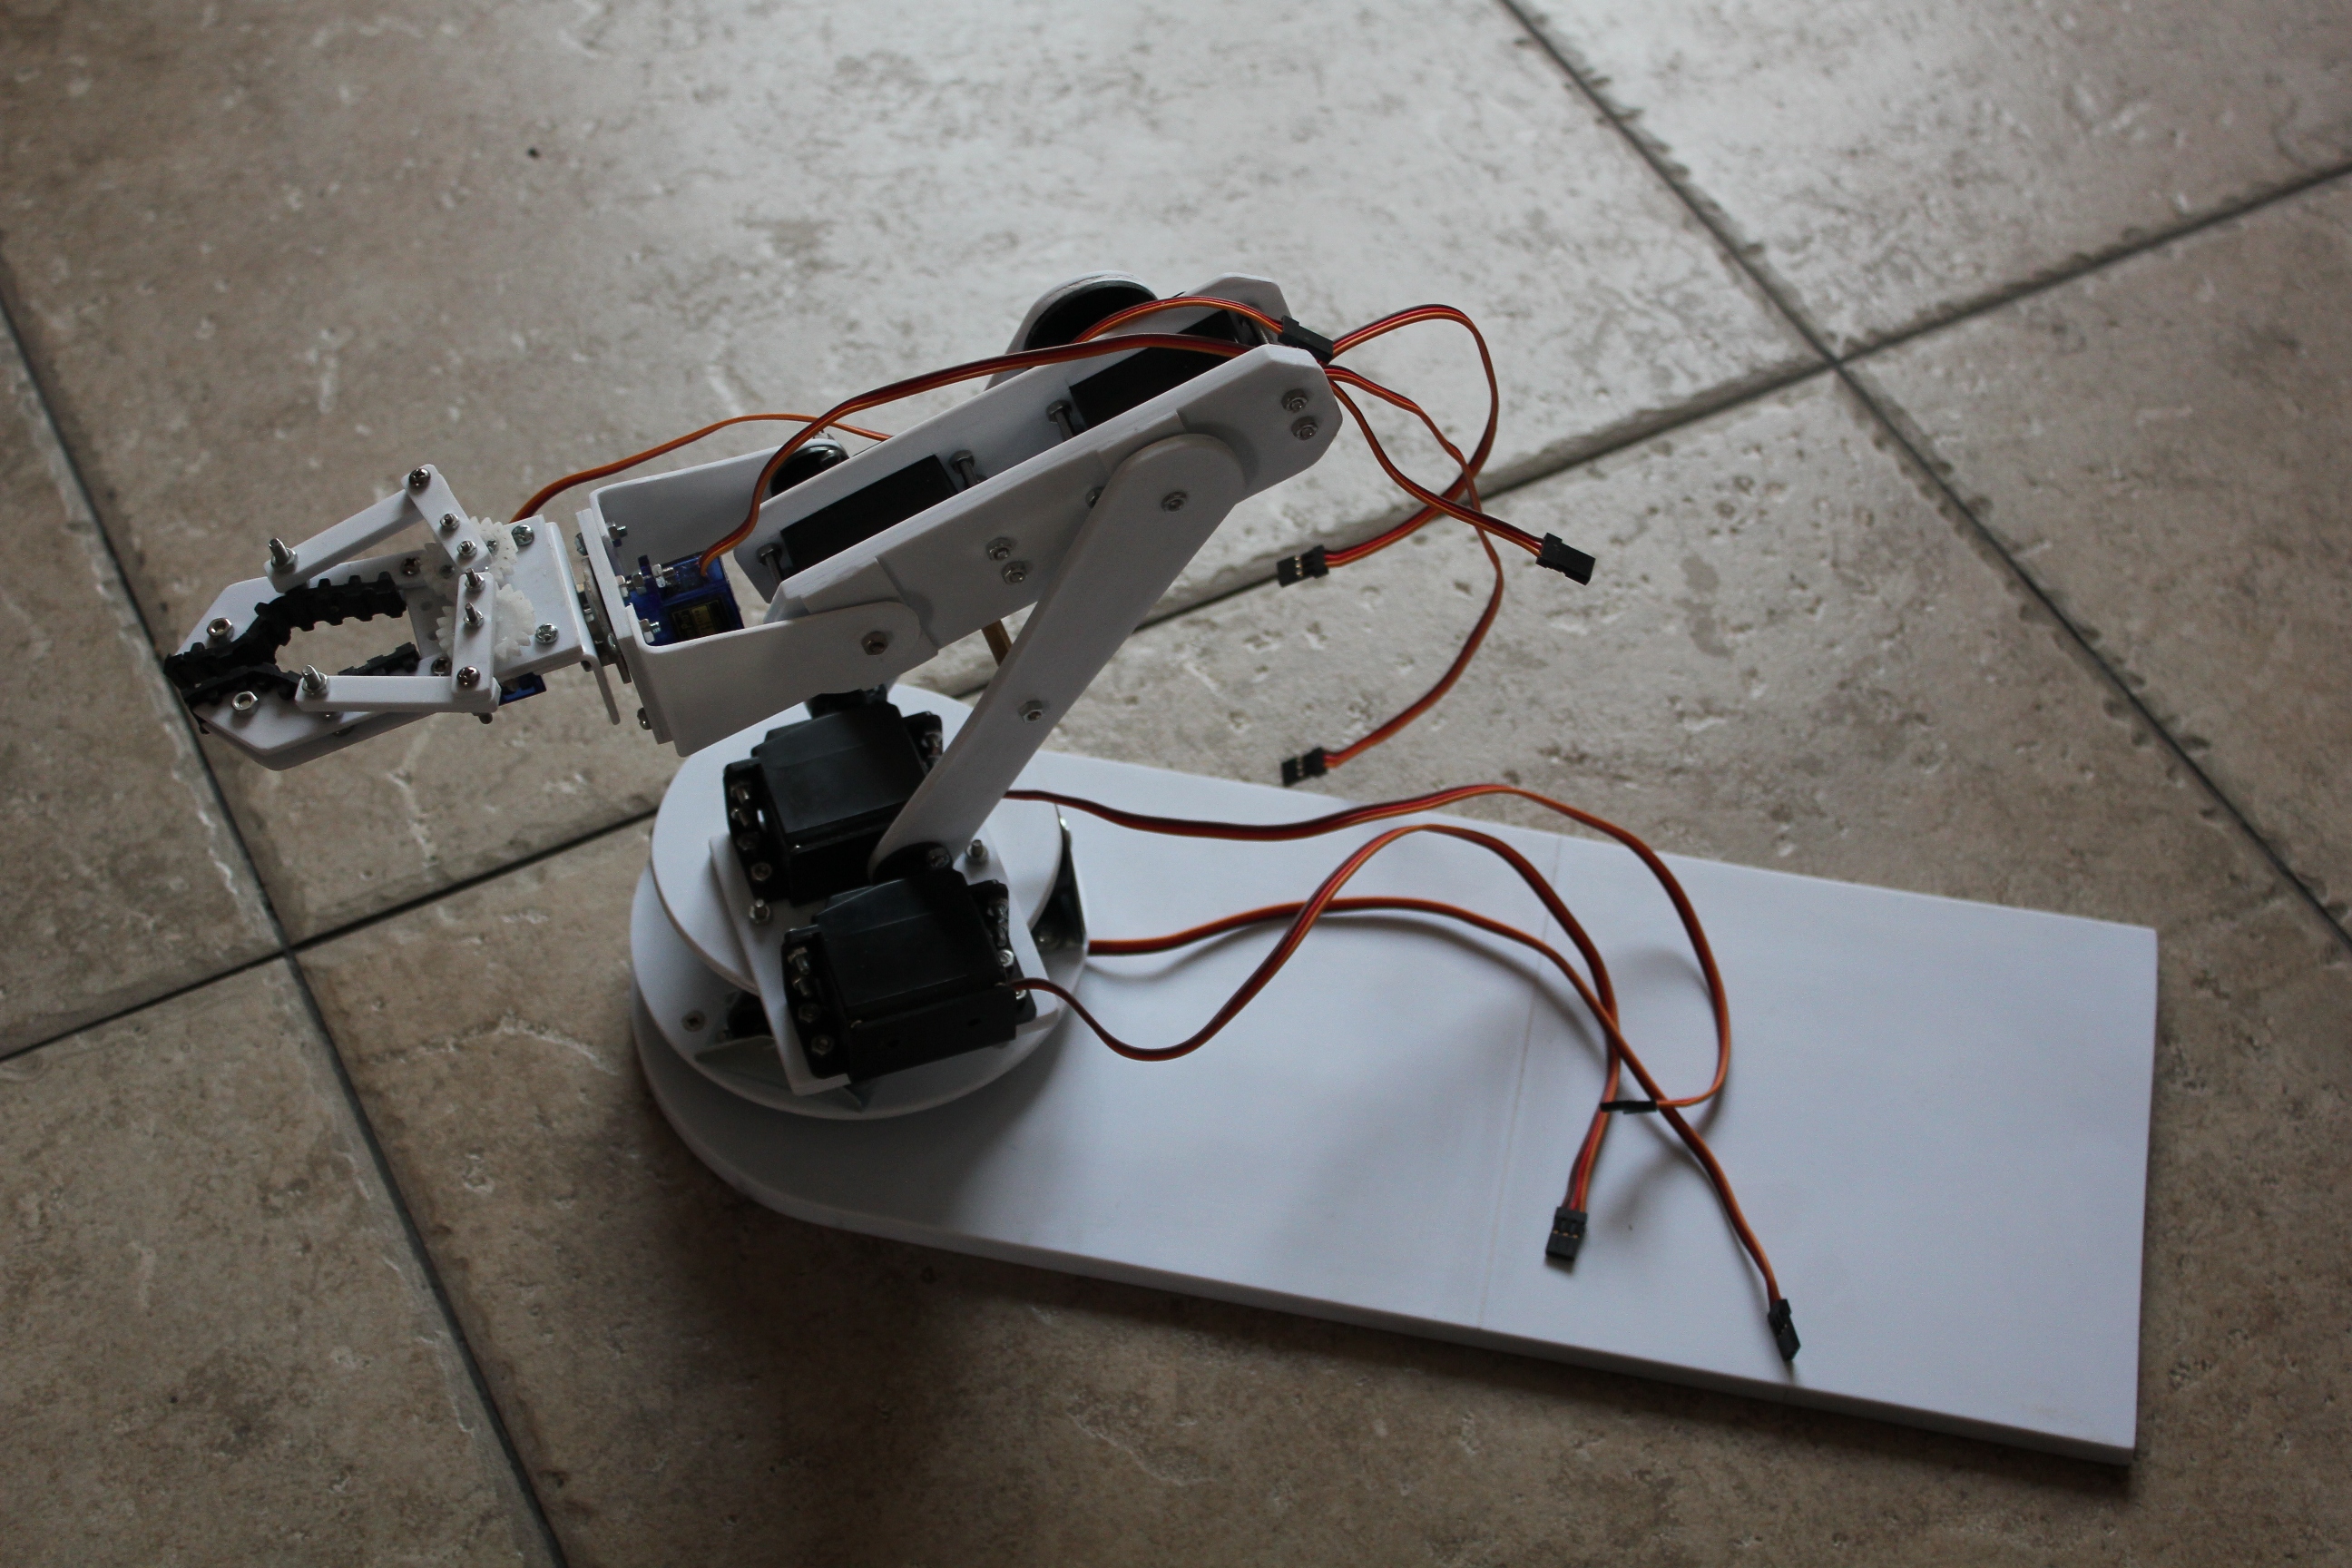
Robot arm mounted on the base. The base is made from a piece of floor panel and then "coated" with 1mm ABS sheet. Floor panels are heavy, easy to cut and do not deform:
Power supply
Power supply design for the arm. The LM138 will need a heatsink. It is important to use 6V for the servos to squeeze out the biggest torque. At some movements the current consumption can easily exceed 3A, so it is not recommanded to use batteries.

Power supply, built on a perfboard:

Servo movements
Servos moving pretty fast (too fast) for a robot arm, which leads to big forces on some joints and parts, especially if the arm is fully extended. It seems to be a good approach to slow down the servo movements. Here is a simple code example how to do that:
servo 1,150
let w1=150
servopos 1,150
pause 100
main:
for b0=1 to 50
let w1=w1+1
servopos 1,w1
pause 10
next b0
for b0=1 to 100
let w1=w1-1
servopos 1,w1
pause 10
next b0
for b0=1 to 50
let w1=w1+1
servopos 1,w1
pause 10
next b0
goto main
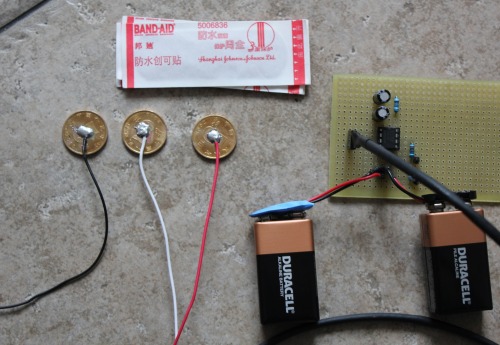
Electromyography
For first electromyography experiments I will use this circuit:

The schematic diagram of the electromyographic (EMG) amplifier is borrowed from this site.
The electrodes are made from 0.5 RMB coins, using common sticking plaster to attach them on my biceps and elbow:
Joystick control
Two joysticks from an old, damaged RC RX added to control the robot arm manually (see first video). I am planning to store different trained movements in an eeprom.


Listen to spoken commands or EMG and move accordingly
- Actuators / output devices: 2 x Tower Pro SG90, 5 x Tower Pro SG5010
- Control method: By spoken commands
- CPU: Picaxe 28x1
- Power source: 5V
- Programming language: Basic
- Sensors / input devices: Speech Recognition Kit SR-06
- Target environment: indoor on smooth surfaces