


3D printing out a hexapod
After a year I finally got my 3D printer to really print out something that I can use. It's not perfect yet but at least usable :P
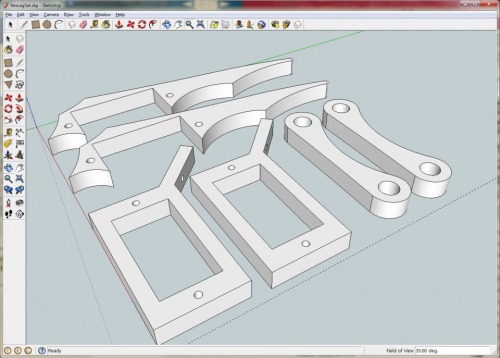
The good thing is; SketchUp is so easy to get your hands on and you can build things in miuntes. Their tutorial is pretty good, too. I only spend a day or 2 to start build my sketchs.
I break her legs.
===================>>>>>>>>>>>>>
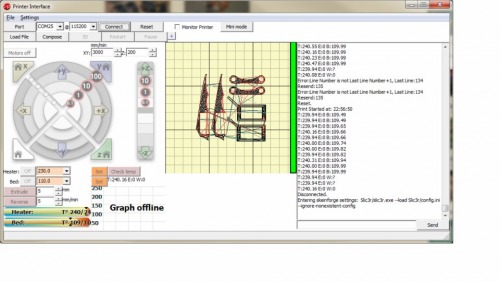
I use Pronterface and printrbot for 3D printing:
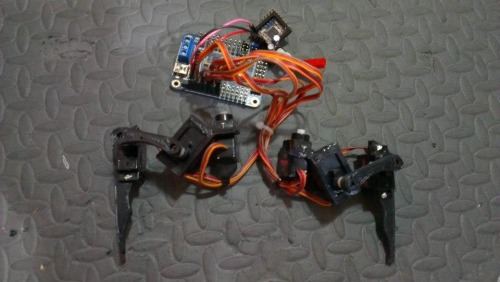
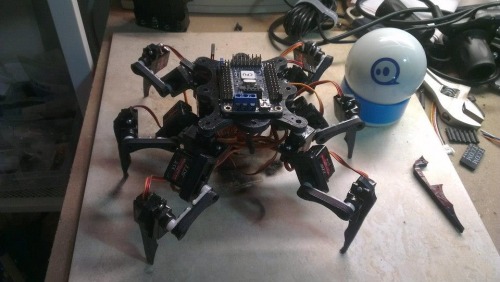
Here are first few leg parts I print out and I use 9G micro servos.
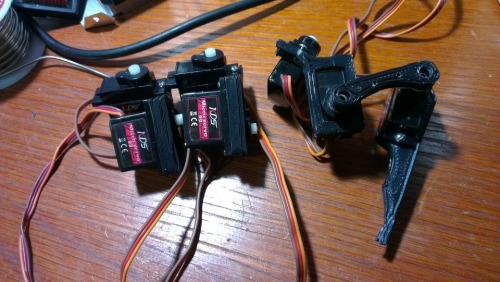
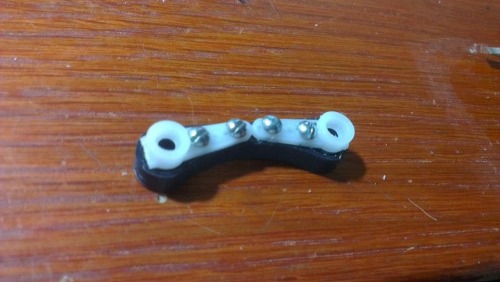
Legs are connected by 2 servo horns:
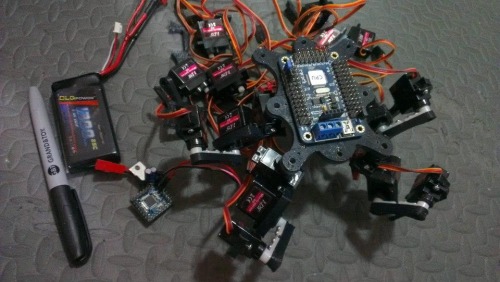
I use Arduino ExtraCore which is Arduino based microchip board. Because this board is very small and light that perfectly suitable for these small machine that required light material and compact space.
The 32 Channel servo controller can be found on eBay.
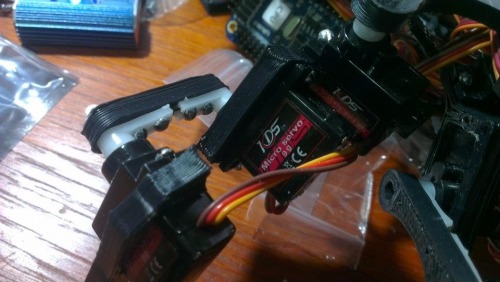
This is the closer look in legs:
Since there are too many and too long wires coming out from servos and the body space is limited. I decide to trim down those wires, so I cut all wires from servo and bundle 3 servos wire as a set for each leg. only 5 wires comes out from a leg and length has shorten. Therefore I can hide them all in body.
I haven't finish it yet by the date I post this. Programming had been always most tricky part for me.
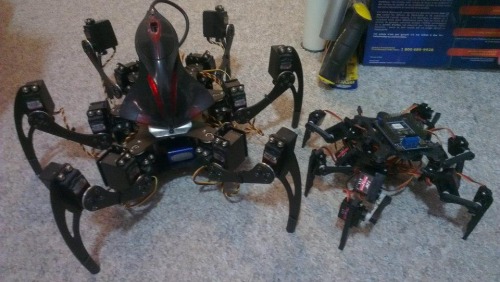
last photo with Phoenix to compare:
Oct,1,2012
Like I mentioned above. 18 Servo wires really took too much room for this small build, Each servo has 3 wires and 18 of them = 54 wires! They also too long. So, I have to trim them down to 5 wires per leg and shorten the length to save more room. Following photo shows left side without trim and right side of legs has been trimmed.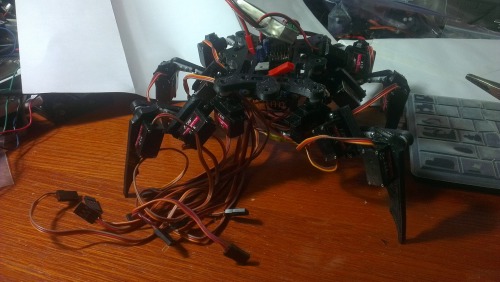
I attached the UBEC under the tail and switch above it.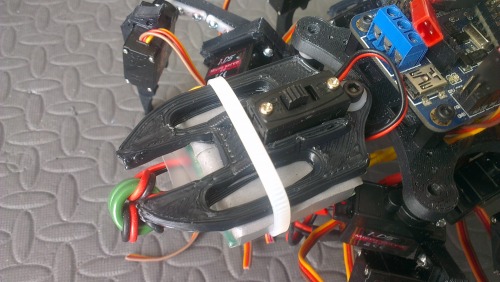
XBEE place on top of the head plate.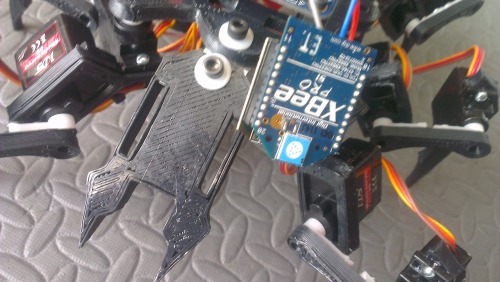
This is how it looks in general.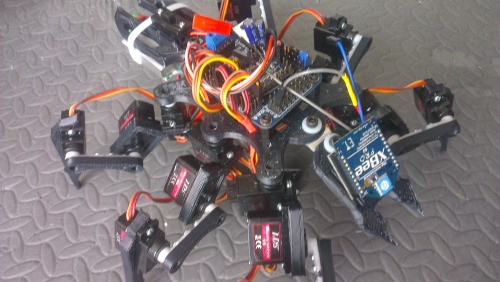
OCT,1/2012
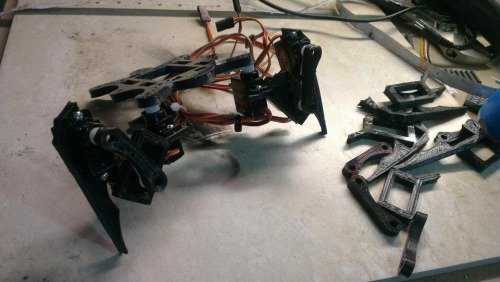
I accidently break some legs when I filming the servo adjusting(Check the video above). So I redesigned and minor changed some weak joints.
7.2V LIPO inside the body: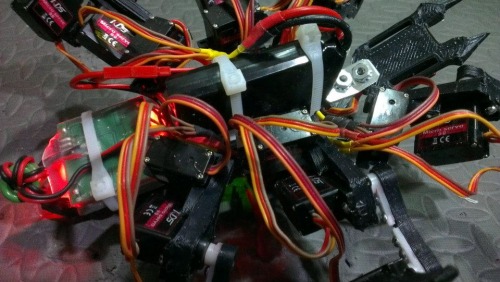
Legs after modified: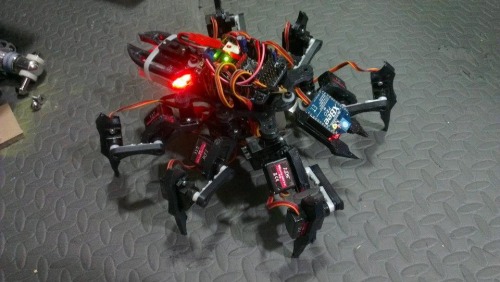
Navigate around via ultrasound and other sensor or controlled by remote
- Actuators / output devices: 9g servos
- Control method: semi-controlled via XBee
- CPU: Arduino based Extracore
- Power source: Lipo 7.2V
- Sensors / input devices: ultrasound, xbee
- Target environment: indoor