


3D Printed Robot : autonomous or driven by Bluetooth device (Windows Phone here)
Hi,
After a while, I am glad to share a new robot with LMR community. This little one offers 2 modes :
- Autonomous : it moves around the place, avoid obstacles, detects light intensity to turns on lights
- Controlled by a Bluetooth remote
I was used to work with Picaxe, this robot was a try to discover Arduino. I was nicely suprised to see the transition was very easy.
This robot is also the first made with my homemade 3D Printed (Mendel90 Sturdy). Printing robots parts was the reason I built this printer and I have to say, it makes things much easier ! :)
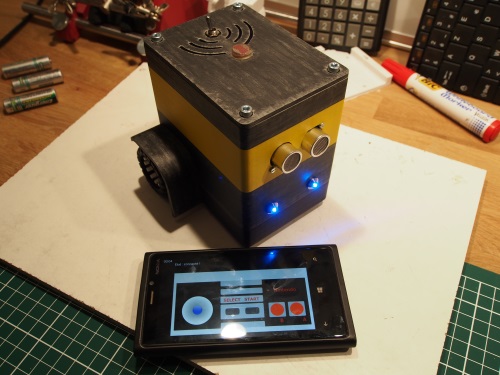
I had always wanted to control one of my robot with my phone. Since Microsoft provides developpers with a better access to Bluetooth with Windows Phone 8, it was the opportunity to give it a try ! I developped a simple app that is strongly inspired from the old NES pad, just for the fun. The directional pad is not from me (see here).
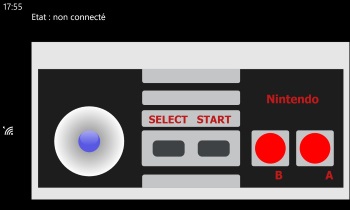
- Start : connects to the robot
- Select : switch between Autonomous and BT modes
- A : turns lights on and off
- B : makes noise
- Pad : moves
Now, lets get into the robot build...
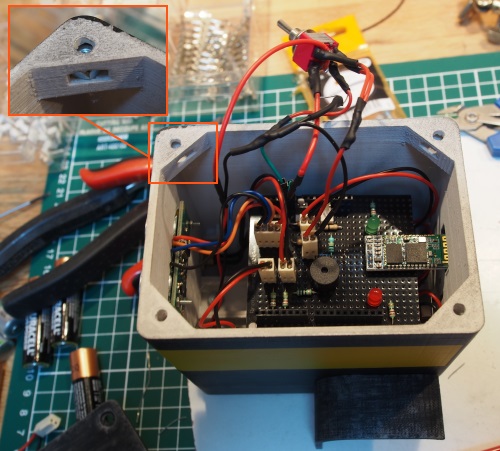
Electronics
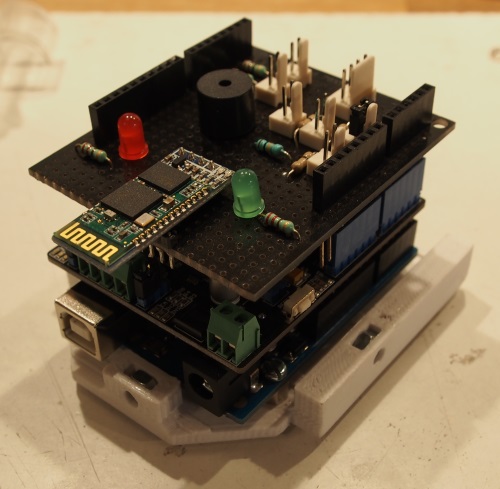
My first steps into Arduino's world went pretty well. I got a working prototype quickly :
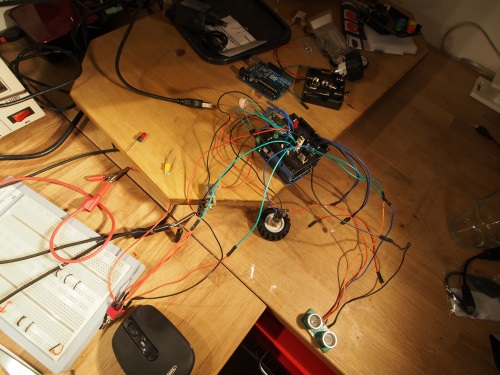
Layer one is the Arduino. On top of it, a shield to drive motors, and finally a custom shield, to connect sensors, batteries, Bluetooth module etc.
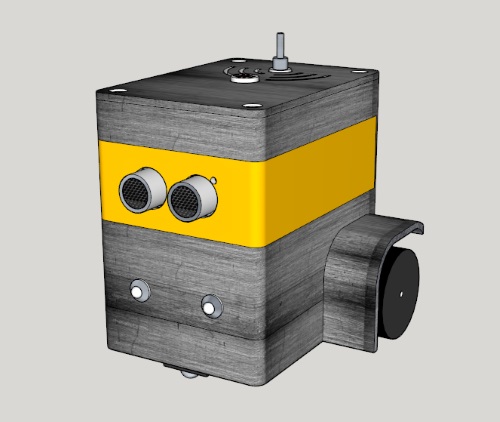
3D conception
I used Sketchup to modelize it. In the end, it should look like that :
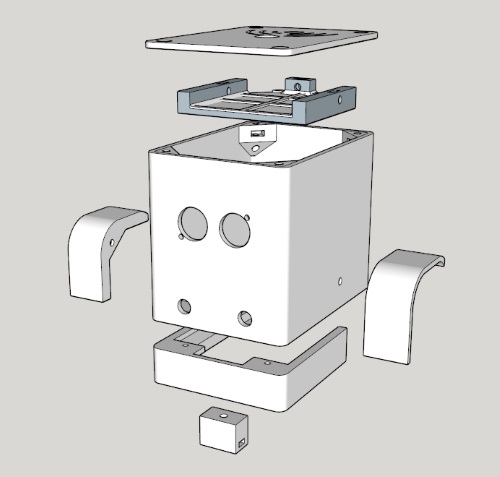
Here is an exploded view of all the parts involved :
Printing the parts
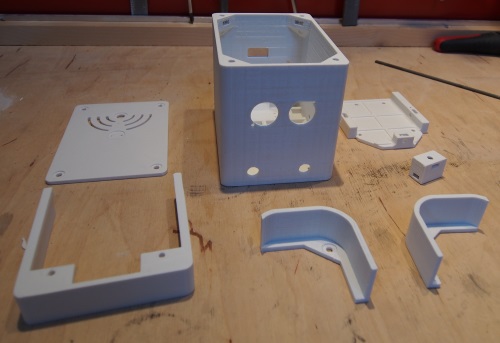
I made room for nuts. It makes the assembly a lot easier, stronger and reversible (not like glue ;)

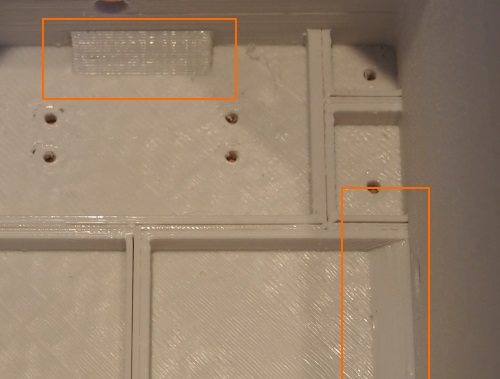
To get a stonger structure, I made "oblic joints" where plan surfaces cross. I have noticed that on printed parts, the weakness spots are where a thin wall is connecting the base (for exemple). This helps to get a better resistance to physical constraints.
Same principles applied to the bumper :

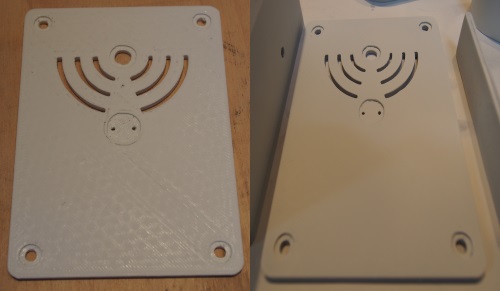
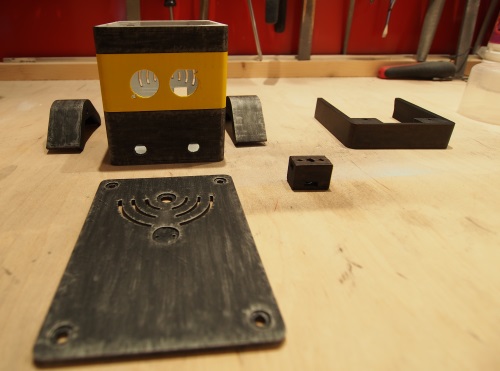
Then I worked on the parts to get a more perfect finished : leveling coat, sanding and painting.
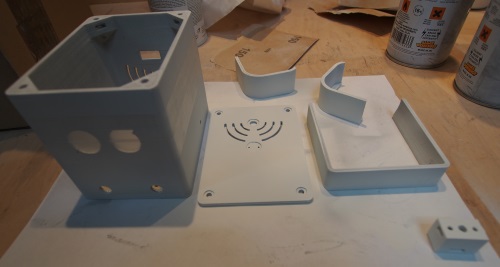
Before/After :
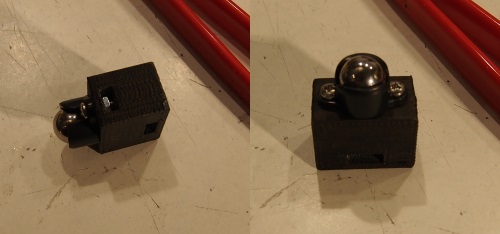
Third wheel holder :
Electronics holder :
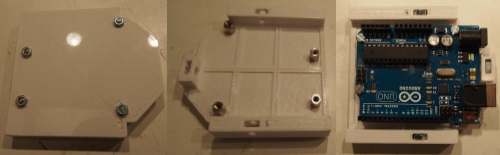
Everything is now ready for assembly !
Assembly
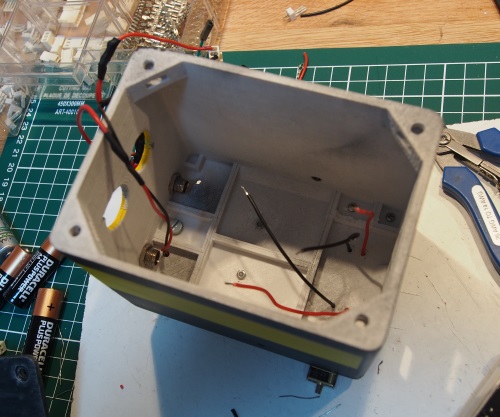
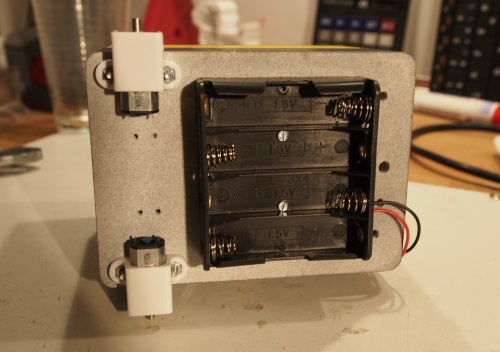
Motors and batteries holders :
Everything is now wired, robot's body ready to be closed :)
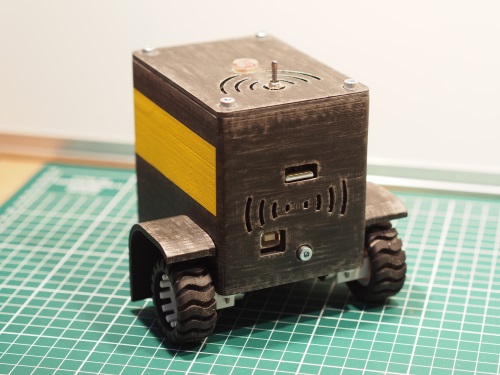
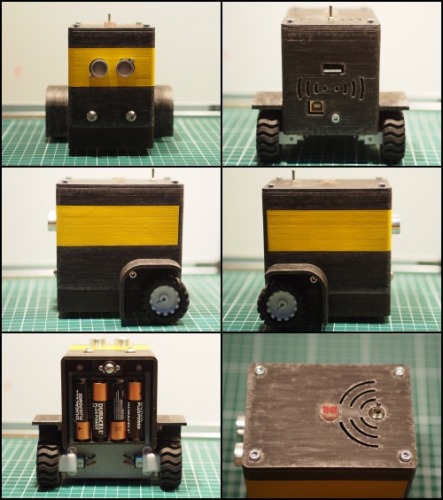
And here it is :

From behind, we can see there is room for USB port and Bluetooth module to avoid signal weakening. I also made a few openings to dissipate heat from motors controller (might not be really necessary but it looks nice ;) ).
From all angles ;)
And finally the bot and his remote :)
Thanks for reading ! :)
Navigates around, detects lights, Bluetooth control, Winddows Phone 8 App