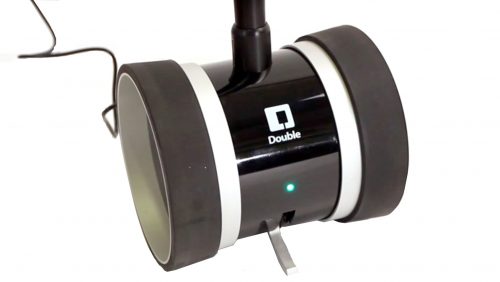
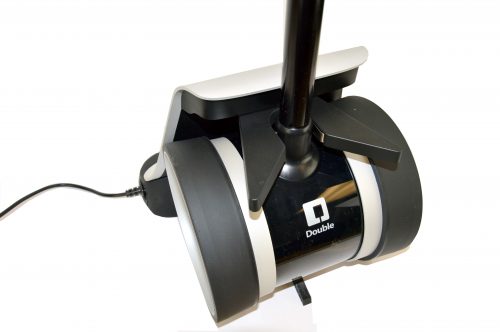
Double 2 Telepresence Robot Unboxing

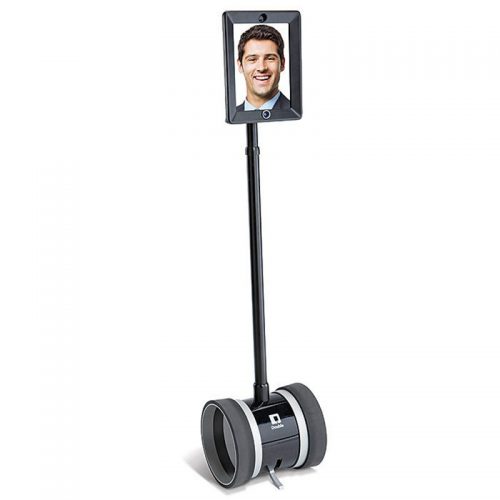
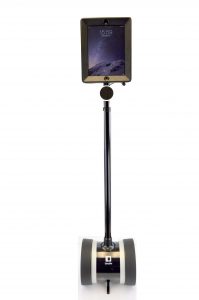
In the 21th century, the transmission of the information is probably the area that has had the greatest increase in terms of use and progress. The most important aspect that has led to this improvement is the speed of transmission (the time that it take for information to go from one end to the other) and the accuracy of the data (unchanged content without external interference or communication issues). Consequently, telecommunications has experienced an exponential growth. However, with the use of emails, Instant Messaging or even phone calls, we still don't have the full sense of satisfaction that we have when talking face to face with the other person, without having a device in hand or typing on a keyboard. The only substitute is probably using video chat softwares like Skype while we still need to be immobile in front of the camera and near to the microphone. That's where Telepresence Robots come to the rescue, and thankfully RobotShop and Double Robotics are here to offer you the Double 2 Telepresence Robot. A solution of having your own remote controlled robot; part IPad and part "Segway", to take your video conference experience to a another level. The Double 2 is the second generation of the Double Telepresence Robot which improves the lateral stability control and the power drive. You can either purchase the Double 2 in a bundle with the full set of add-ons like the Speaker (Audio Kit), the Charging Dock and the Camera Kit or purchase the Telepresence Robot separately.
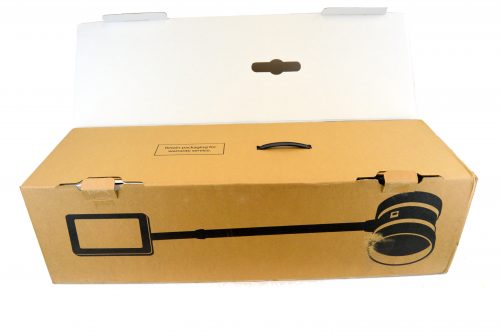
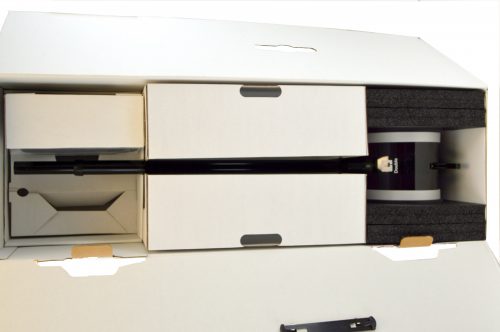
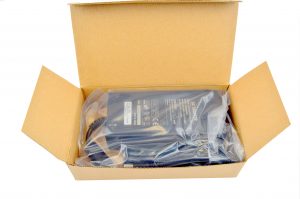
Packaging
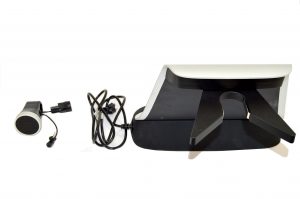
Contents
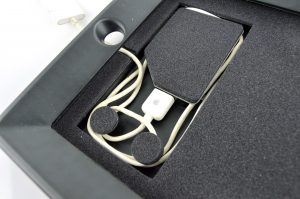
The Double 2 Telepresence Robot (Full Set) will contain the following parts :Assembling the Robot
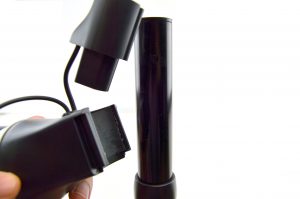
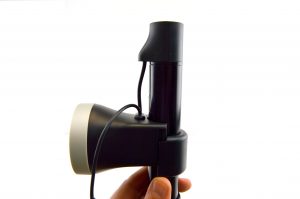
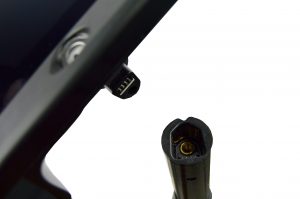
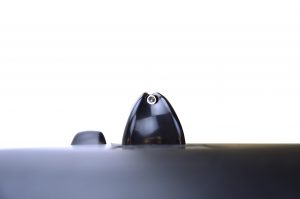
Assembling the Double 2 Telepresence Robot is straightforward and shouldn't be a hard task to do. Start by taking the Double 2 out of its box and stand it on a flat surface then follow these steps :- First, mount the speaker to the base :
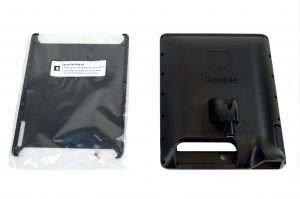
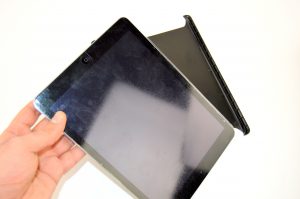
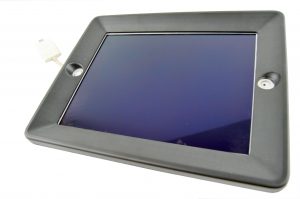
- Second, prepare the IPad mount :
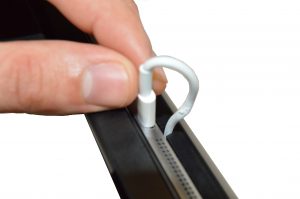
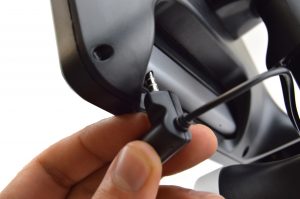
- Last, plug in the IPad mount :
Charging
- Without the Charging Dock : To charge your Double 2 without the Charging Dock, plug in the power cord to the back of the robot. The power LED will turn orange when charging, then when the Double 2 is fully charged, it will turn green. Normally, charging should take 2 to 3 hours.
- With the Charging Dock : Drive your Double 2 into the notch of the dock. The LED will light green when the unit is fully charged.
APP
First, turn the Double ON by holding the power button, located behind the robot (near the charging plug), for 3 seconds. The LED on front of the Double will blink blue indicating that the robot is in pairing mode. Double Robotics recommends using an IPad Air or IPad Air 2 for best results with the Double 2. You can download the Double App from Apple Store through this link. [youtubeThanks for helping to keep our community civil!
This post is an advertisement, or vandalism. It is not useful or relevant to the current topic.
You flagged this as spam. Undo flag.Flag Post


