


The first step in building R5D2 was putting together the plywood chassis. This part was simple and didn’t require anything special—just some clean cuts and basic woodwork. I cut the plywood panels for the front, rear, top, bottom, and sides, drilled the mounting holes, and screwed everything together. I also cut a few hardwood pieces needed for the axle mounts, rear caster, and the bumper.
Tools I used for the woodworking:
- Table saw
- Drill press
- Jigsaw
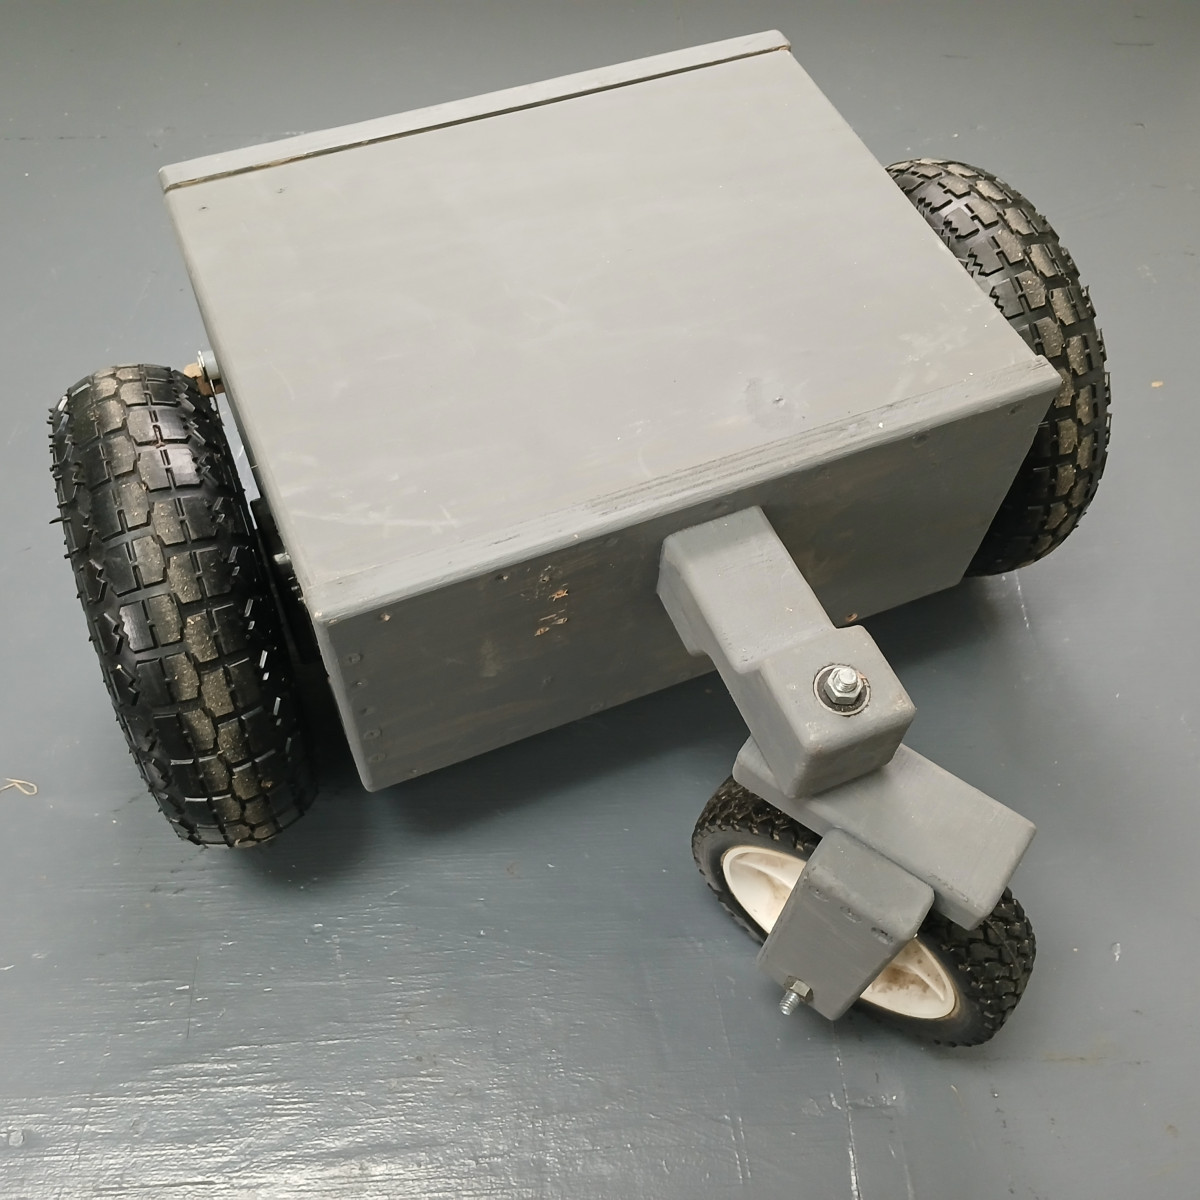
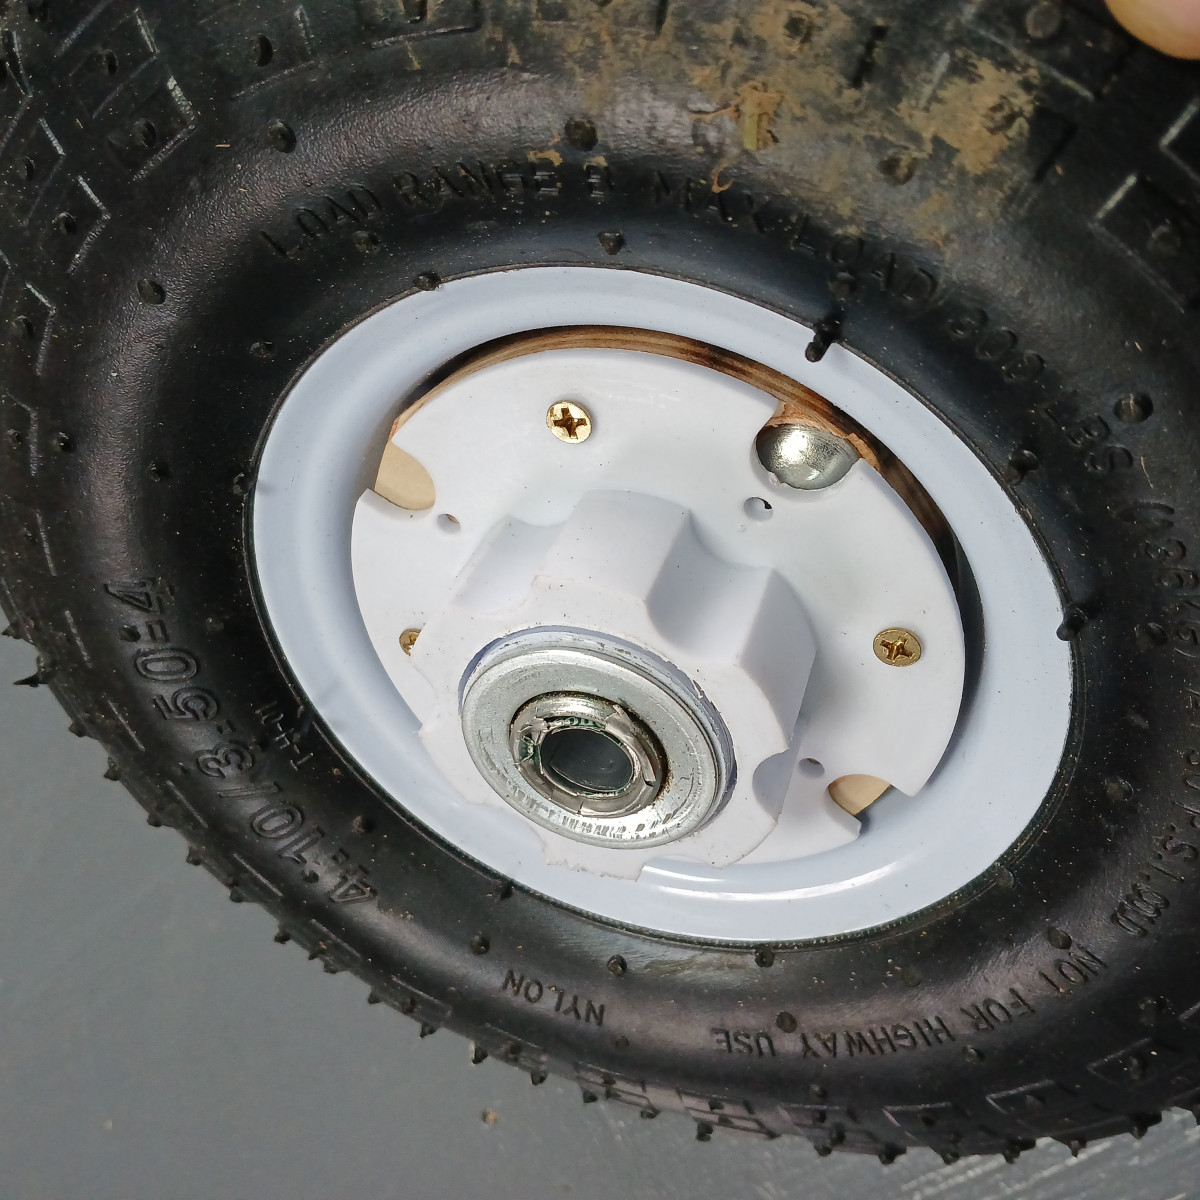
Once the body was done, I moved on to the most challenging (and fun) part: adapting the 10" Harbor Freight wheelbarrow tires (the ones that go on sale for $5) to the motor gearboxes.
The tricky part was that nothing matched:
- Gearbox bore: 12 mm
- Axle (all-thread): ½″
- Wheel bore: ⅝″
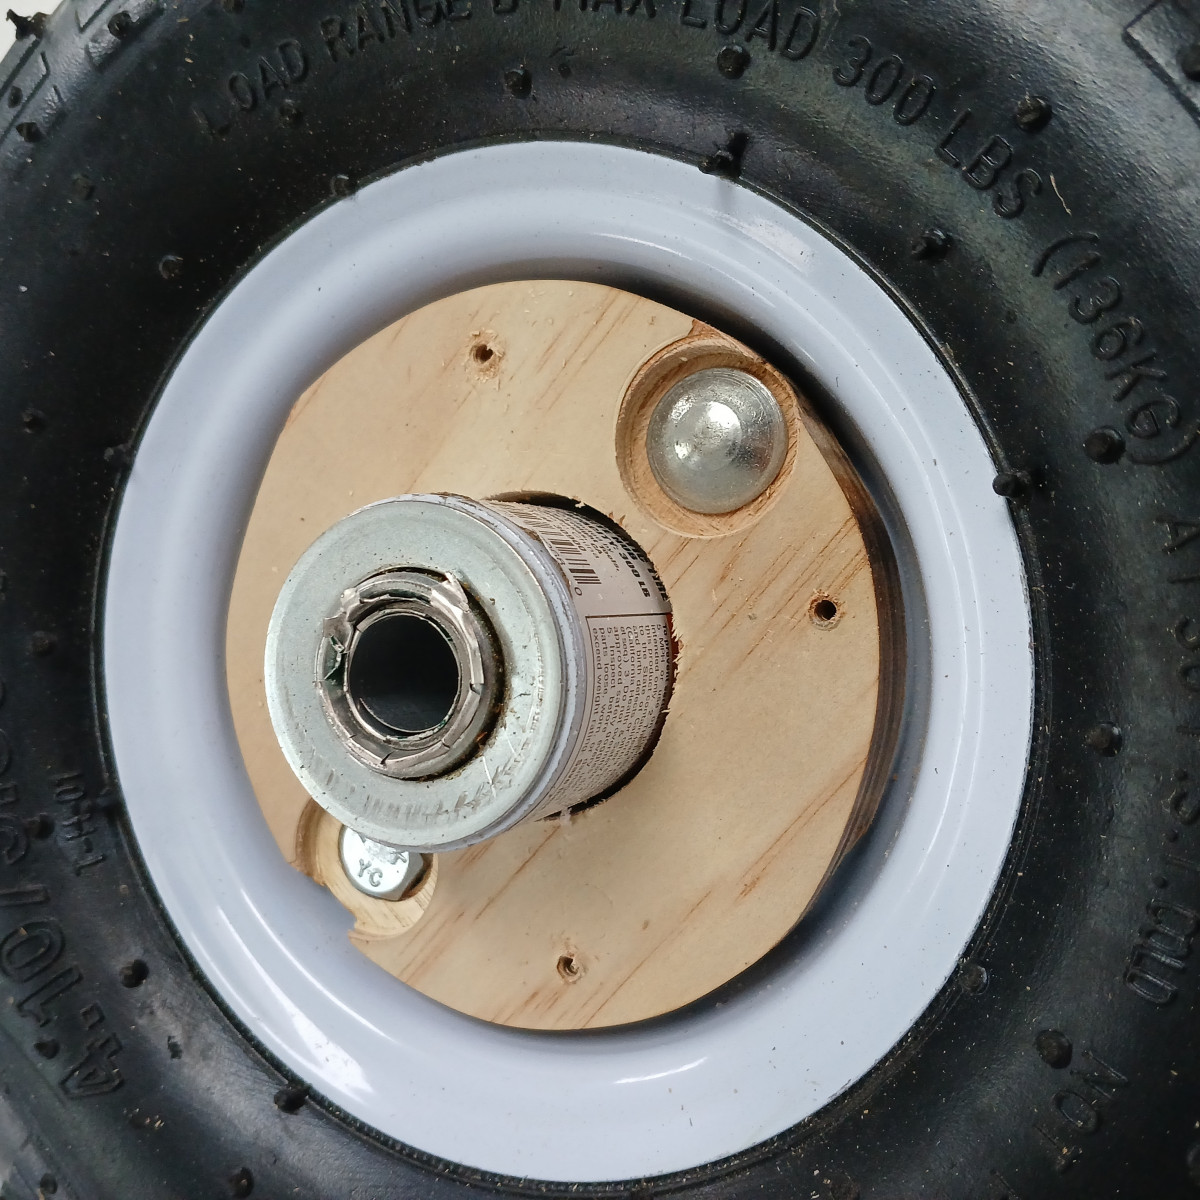
To make all of these work together, I took a bit of a creative approach. I built a ¾″ plywood adapter that connects the gearbox output to the wheel hub. The gearboxes themselves have a large plastic coupling, which is nice because it can flex just enough to forgive small misalignments.
To get the axle into the gearbox, I had to grind down some of the ½″ threaded rod using a bench grinder—½″ to 12 mm is only about a 0.0015″ difference, but the threads make it too tight. Removing a bit of material let it slip right in. For the other side, I used some scrap pipe as a ½″→⅝″ bushing, and the wheel fit onto the axle using shims.
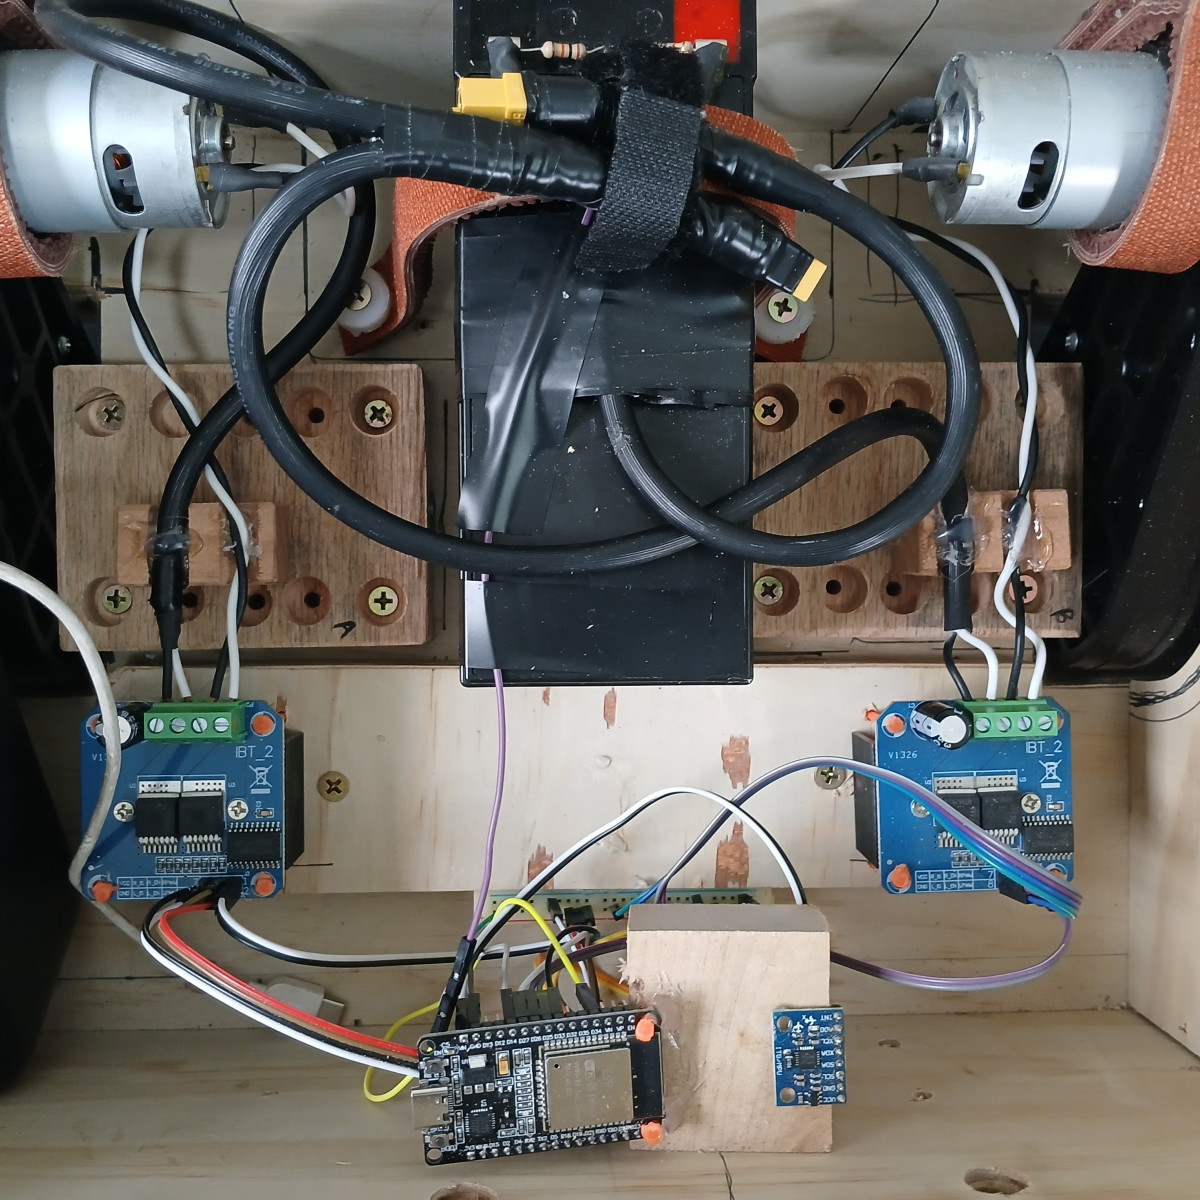
Compared to the wheel work, the wiring was very straightforward. I connected the 12V SLA battery to the BTS7960 motor drivers using an XT60 connector, which keeps the wiring clean and lets me unplug the battery easily for charging.
One thing that made the process much easier was mounting all of the electronics—the ESP32, both BTS7960 drivers, and the breadboard—onto a separate small piece of plywood. This let me do all the wiring and testing outside of the robot, where everything was easy to reach. Once the electronics were fully built and tested, I could just screw that little plywood board into the base of the robot and hook up the high-voltage connections. It made assembly and debugging a lot less stressful.
The ESP32 doesn’t run off the main drive battery. Instead, it’s powered by a simple 5V USB power pack, which helps avoid brownouts and keeps the logic clean from motor noise.
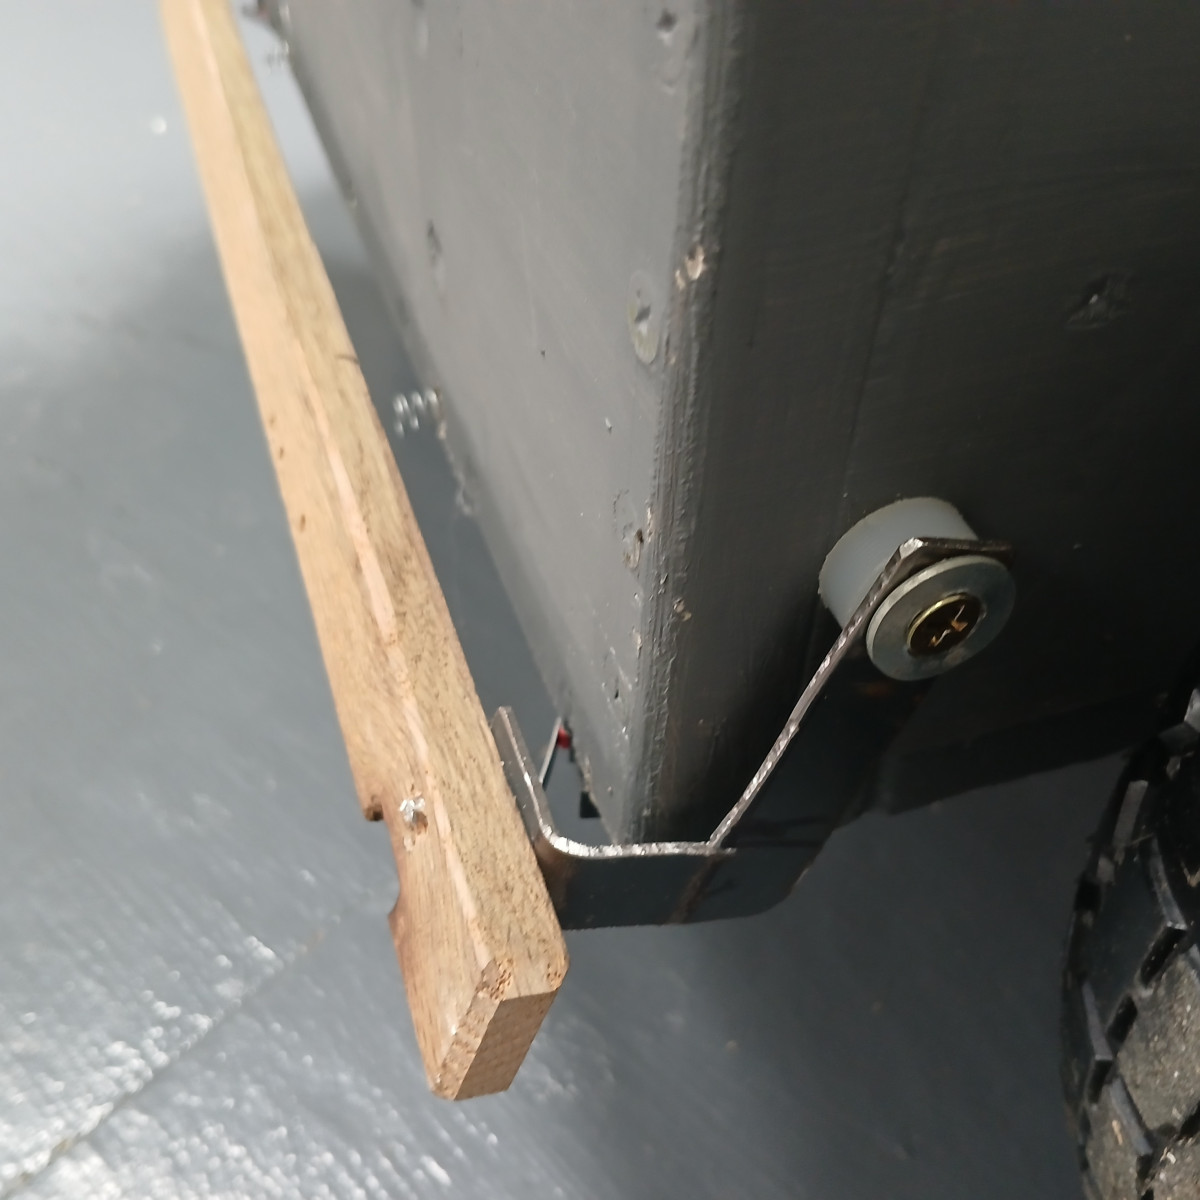
After driving the robot around for a bit, it was immediately clear that it needed some kind of interlock to keep it from continuously ramming into things. So I added a simple spring-loaded bumper to the front of the robot. This required a little metalwork, but the design is straightforward and works surprisingly well.
I started by cutting two small brackets from sheet metal and bending them into shape. These brackets mount to the front left and front right corners of the robot and hold a short piece of hardwood that serves as the bumper. Behind the bumper, I installed two springs—one on each side—to push it back out after it’s pressed in.
To detect contact, I mounted two limit switches, each positioned right next to a bracket. When the bumper is pushed in, one or both switches get triggered, letting the robot know it has hit something and needs to stop or reverse.
The whole bumper assembly is simple, strong, and easy to replace if anything breaks. It keeps the robot safe to use around furniture (and people), which is a nice upgrade for such a low-cost build.
Video of robot on youtube...